We’ll never forget the first time we bit into a perfectly spiced hot cross bun – that tender, pillowy texture combined with warm cinnamon and sweet dried fruit creates pure magic. These traditional Easter treats have been delighting families for centuries, and there’s something truly special about making them from scratch in your own kitchen.
Hot cross buns originated in medieval England and quickly became a beloved symbol of Good Friday. The cross on top represents the crucifixion, while the spices symbolize those used to embalm Christ. But beyond their religious significance, these aromatic buns simply taste incredible.
We’ve perfected this homemade hot cross bun recipe to give you that authentic bakery-quality result without leaving your home. Our version delivers the ideal balance of sweetness, spice, and texture that’ll have your family asking for seconds before they’ve finished their first bun.
Ingredients
Our homemade hot cross buns recipe requires three simple components that work together to create the perfect Easter treat. We’ve organized these ingredients by their exact purpose to ensure your baking success.
For the Dough
- 4 cups all-purpose flour
- 1 packet (2¼ teaspoons) active dry yeast
- ¼ cup granulated sugar
- 1 teaspoon salt
- 1 teaspoon ground cinnamon
- ½ teaspoon ground nutmeg
- ¼ teaspoon ground allspice
- ¼ teaspoon ground cloves
- 1 cup warm whole milk (110°F)
- ¼ cup unsalted butter, melted
- 1 large egg, room temperature
- ¾ cup dried currants
- ¼ cup candied orange peel, finely chopped
- Zest of 1 large orange
- 1 tablespoon vanilla extract
For the Cross
- ½ cup all-purpose flour
- 5-6 tablespoons water
- Pinch of salt
For the Glaze
- 3 tablespoons apricot jam
- 1 tablespoon water
- 1 teaspoon fresh lemon juice
Equipment Needed
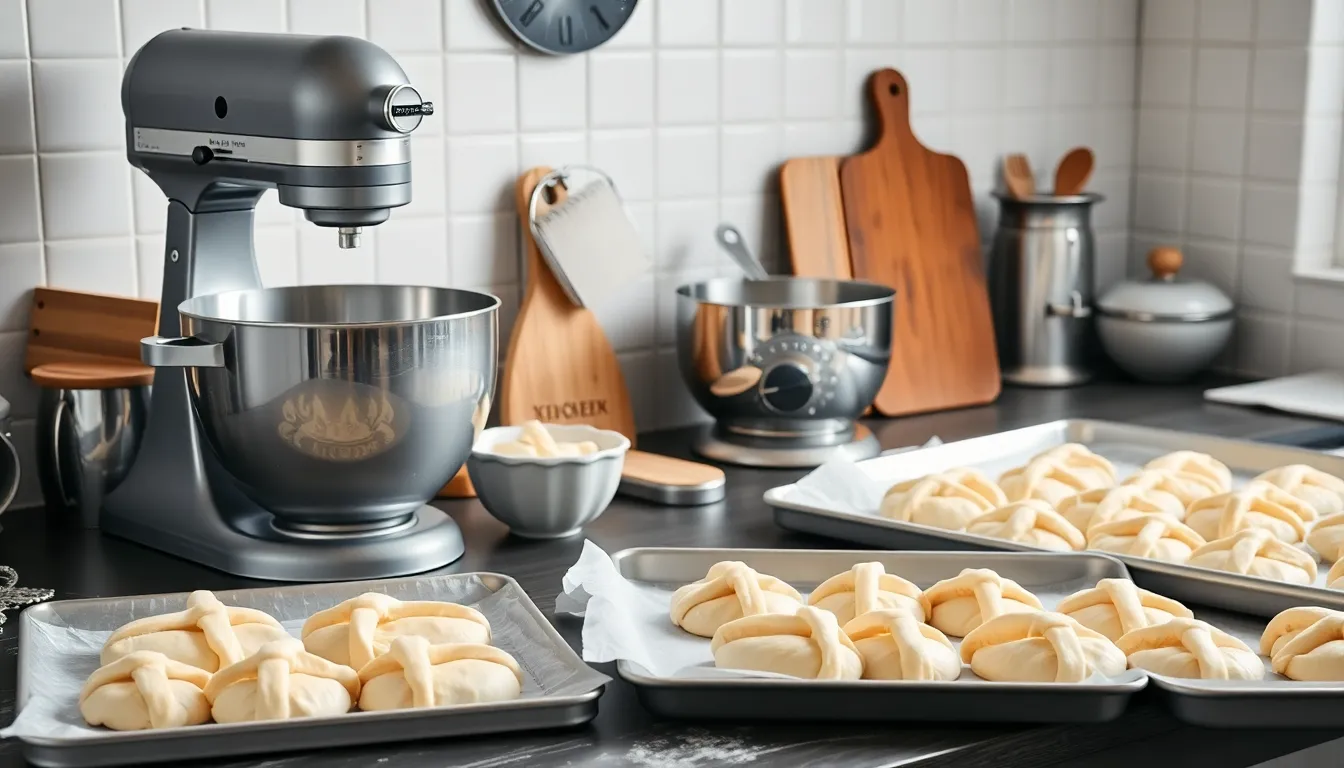
Creating perfect homemade hot cross buns requires the right tools to ensure our dough develops properly and our buns bake evenly. We’ve compiled this essential equipment list to help you achieve bakery-quality results in your own kitchen.
Measuring Tools
- Measuring cups and spoons for accurate ingredient portions
- Kitchen scale for precise flour measurements (optional but recommended)
Mixing Equipment
- Large mixing bowls for combining dry and wet ingredients
- Silicone spatula or wooden spoon for initial mixing
- Whisk or fork for blending wet ingredients
- Stand mixer with dough hook (optional for easier kneading)
Preparation Tools
- Plastic wrap or clean kitchen towel for covering rising dough
- Bench scraper or sharp knife for dividing dough into equal portions
- Clean work surface for shaping buns
Baking Essentials
- Large baking sheet or two medium sheets for spacing buns properly
- Parchment paper or silicone baking mat for easy removal
- Pastry brush for applying egg wash and glaze
- Wire cooling rack for proper air circulation after baking
Decorating Tools
- Small mixing bowl for creating cross paste
- Piping bag with round tip or small zip-top bag for piping crosses
- Small saucepan for preparing apricot glaze
Having these tools ready before we begin ensures our baking process flows smoothly from mixing to the final glazed buns. Most home bakers already own these basic items, making hot cross buns an accessible treat to create without special equipment purchases.
Instructions
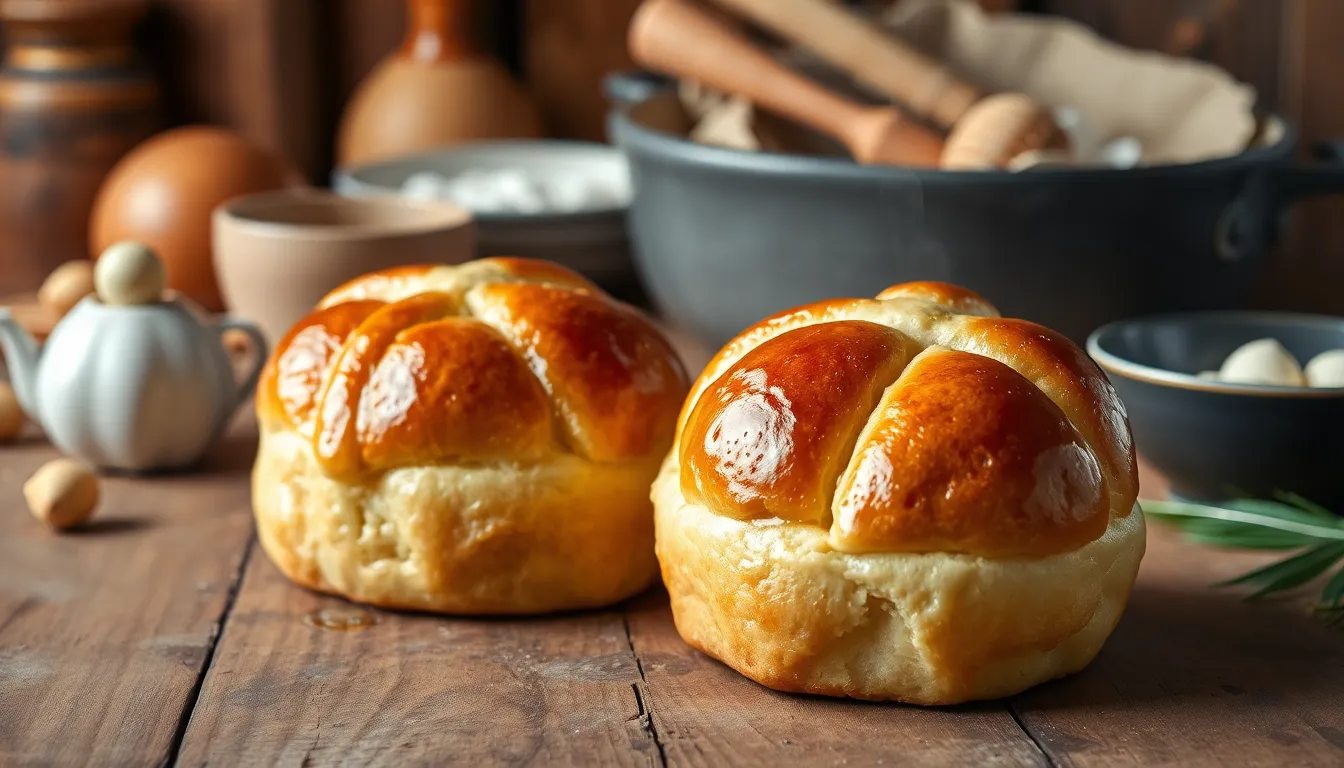
Follow these step-by-step instructions to create perfectly golden and fragrant hot cross buns that rival any bakery version. Each stage builds upon the previous one to ensure optimal texture and flavor development.
Prep the Yeast Mixture
Combine warm milk with sugar in a small bowl and sprinkle active dry yeast over the surface. Allow the mixture to sit undisturbed for approximately 10 minutes until it becomes bubbly and doubles in volume. This proofing process ensures our yeast is active and ready to create the perfect rise in our dough.
Make the Dough
Mix together the milk, sugar, softened butter, salt, beaten eggs, and the prepared yeast mixture in a large mixing bowl. Add aromatic spices like cinnamon and nutmeg to infuse the dough with traditional flavors. Gradually incorporate flour while kneading the mixture until it transforms into a smooth and elastic dough. Continue kneading for 8-12 minutes until the dough springs back when gently pressed.
First Rise
Place the prepared dough in a greased bowl and cover completely with plastic wrap. Position the bowl in a warm location away from drafts and let the dough rise until it doubles in size. This first rise typically takes 1-2 hours depending on room temperature and creates the foundation for our buns’ tender crumb.
Shape the Buns
Divide the risen dough into equal portions using a kitchen scale for uniform results. Roll each piece into a smooth ball by tucking the edges underneath and rolling on a lightly floured surface. Arrange the shaped buns on a greased baking sheet with enough space between each one to allow for expansion.
Second Rise
Cover the shaped buns with plastic wrap and allow them to rise again in a warm place. Watch for the buns to increase by about 75% in size rather than fully doubling, which typically takes 30-45 minutes. This controlled second rise prevents overproofing while ensuring perfectly fluffy buns.
Prepare the Cross Mixture
Create a thick paste by mixing flour and water until it reaches a consistency that flows smoothly but maintains its shape. The mixture should be thick enough to hold its form when piped but runny enough to flow through a piping bag opening.
Add the Crosses
Transfer the cross mixture to a piping bag or place it in a ziplock bag with one corner cut off. Pipe straight lines across the tops of the risen buns in both directions to form distinctive crosses. Apply steady pressure for even lines that will bake into the traditional hot cross bun appearance.
Bake the Buns
Preheat your oven to 180°C (350°F) before placing the prepared buns inside. Bake until the tops turn golden brown and the buns sound hollow when gently tapped on the bottom. This usually takes 15-20 minutes depending on your oven’s characteristics.
Apply the Glaze
Brush the hot buns immediately with warmed honey or golden syrup while they’re still fresh from the oven. The residual heat helps the glaze penetrate slightly into the surface while creating an appealing glossy finish. For an extra shiny appearance, you can brush with egg wash before baking instead of applying glaze afterward.
Make-Ahead Instructions
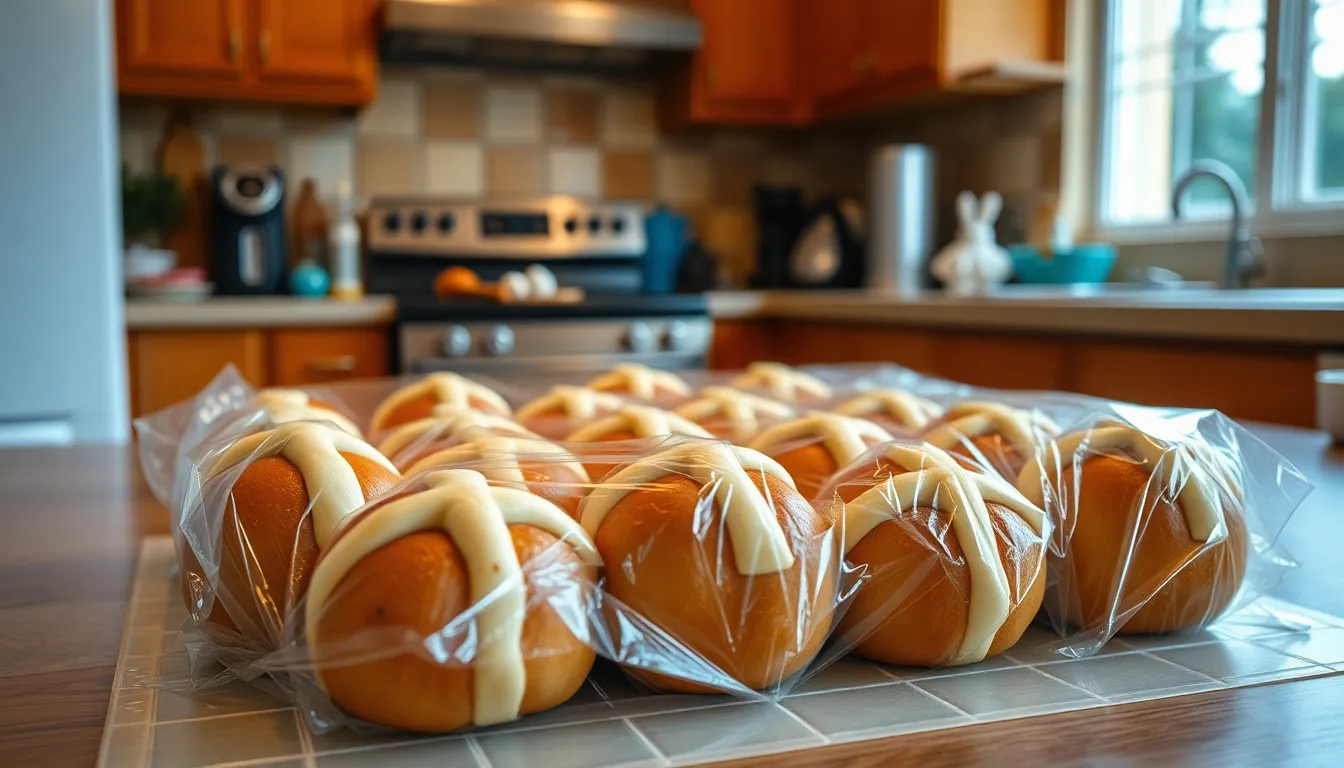
We understand that busy schedules sometimes require advance preparation for special occasions. Our make-ahead method allows you to prepare these traditional spiced buns up to several days before serving without compromising their quality or flavor.
Refrigerate Before Baking
After shaping your dough into individual buns, we recommend covering them tightly with plastic wrap and refrigerating for up to 18 hours. Do not add the flour cross before refrigerating as this prevents the cross from running during storage. When you’re ready to bake, remove the covered buns from the refrigerator and allow them to rise at room temperature. Once they’ve completed their second rise, prepare your cross mixture and proceed with baking as directed.
Multi-Day Preparation
For longer advance preparation, we can shape the buns and store them in your baking pan or tray for extended periods. Cover the shaped buns completely and refrigerate until the next day or longer. Before baking, bring them to room temperature and allow the dough to rise until the buns increase by approximately 75% of their original size. This process typically takes 30 to 45 minutes in a warm environment.
Freezing Shaped Dough
Our freezing method extends storage time up to 3 months while maintaining the buns’ quality. Place your shaped buns in a greased baking pan and cover them tightly with plastic wrap or aluminum foil. When you’re ready to bake, thaw the frozen buns completely at room temperature before allowing them to rise. The rising process will take slightly longer than fresh dough, so plan accordingly.
| Storage Method | Duration | Key Steps |
|---|---|---|
| Refrigeration | Up to 18 hours | Shape, cover, refrigerate, rise at room temp |
| Multi-day prep | 1+ days | Shape, cover, refrigerate, rise before baking |
| Freezing | Up to 3 months | Shape, cover tightly, freeze, thaw, rise |
Critical Timing Notes
We always apply the flour cross mixture and honey glaze immediately before and after baking respectively. Adding these elements too early causes the cross to run or the glaze to absorb into the dough. Our proven sequence ensures optimal results: mix dough, shape buns, store using your preferred method, complete final rise, add cross, bake until golden, and finish with glaze while the buns remain warm.
Storage Tips
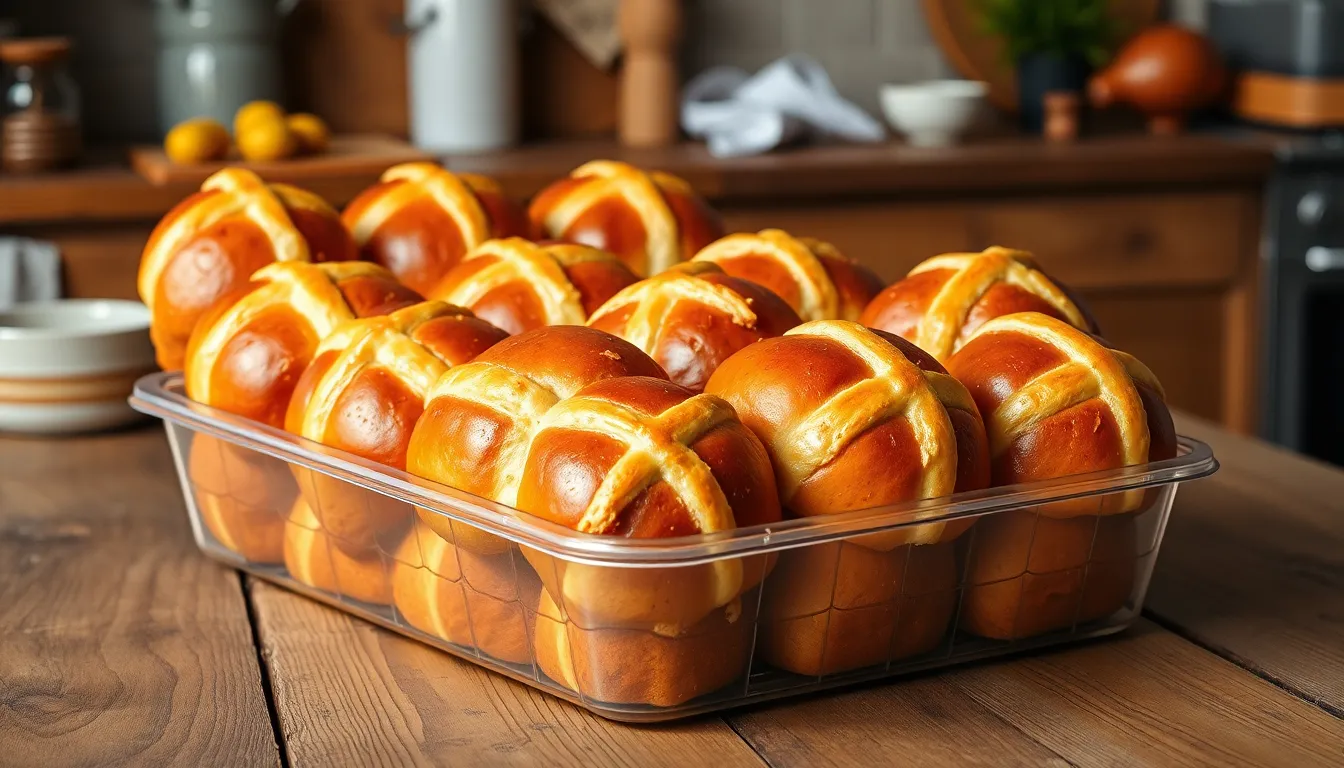
Proper storage ensures our freshly baked hot cross buns maintain their delicious flavor and tender texture for days to come. We recommend following these proven methods to keep your homemade treats at their best.
Room Temperature Storage
Store your hot cross buns in an airtight container at room temperature for optimal freshness lasting 2-3 days. This method works particularly well when you plan to enjoy the buns within a few days of baking. Cold and dry environments can cause the buns to become stale more quickly so we always ensure our storage container seals tightly.
Refrigeration Method
Place the buns in an airtight container in the refrigerator to extend their shelf life to approximately 7 days. When you’re ready to enjoy them warm them briefly in the microwave to restore their fresh-baked texture and flavor. This storage method proves especially useful during warmer weather when room temperature storage might compromise quality.
Freezing Options
Baked Buns: Freeze completely cooled buns for up to one month in freezer-safe containers or bags. Thaw them at room temperature or reheat directly in the oven for that just-baked warmth. We find this method particularly convenient for making large batches ahead of special occasions.
Unbaked Dough: Shape the buns after the first rise and freeze them on baking sheets before transferring to freezer bags. Once thawed let them prove according to the original recipe instructions then bake as directed. This approach allows us to enjoy fresh hot cross buns with minimal effort on busy days.
Freshness Preservation Tips
Always allow buns to cool completely before storing to prevent moisture from affecting their texture. Use parchment paper between layers when freezing multiple buns to prevent them from sticking together. Transform any buns that have become stale into delicious hot cross bun bread pudding rather than letting them go to waste.
| Storage Method | Duration | Best For |
|---|---|---|
| Room Temperature | 2-3 days | Immediate consumption |
| Refrigeration | 7 days | Extended freshness |
| Freezing (Baked) | 1 month | Long-term storage |
| Freezing (Dough) | 3 months | Make-ahead convenience |
Serving Suggestions
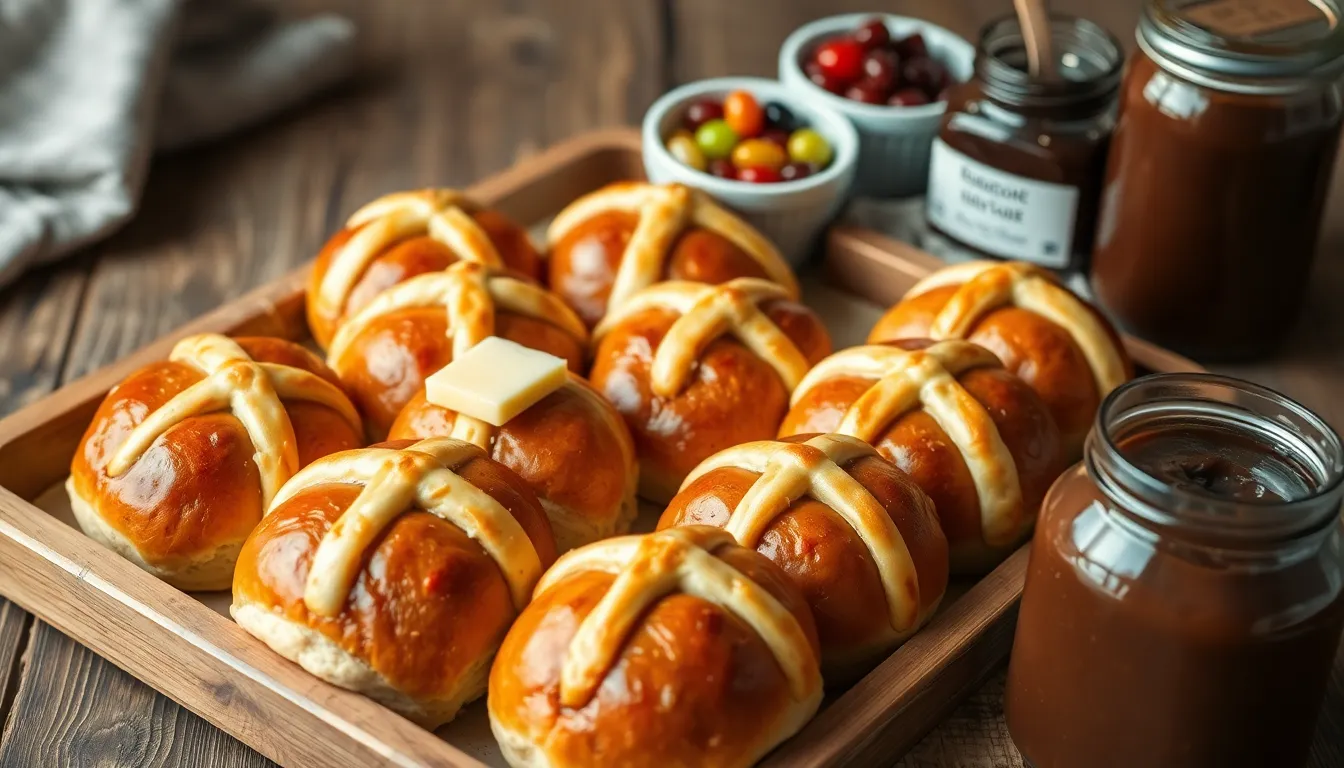
Our homemade hot cross buns shine brightest when served at their peak freshness. We recommend enjoying them while still warm from the oven or toasted lightly to restore their original texture and aroma.
Traditional serving methods bring out the classic flavors we all cherish. Split each bun in half and spread with creamy butter that melts into every crevice. Alternatively, we love adding a generous dollop of your favorite jam or preserves for a sweet contrast to the spiced dough.
Creative toppings transform these Easter treats into gourmet experiences. Melted cheese creates an unexpected savory twist that balances the fruit and spices beautifully. Chocolate spread appeals to those with a sweet tooth while fruit preserves offer endless flavor combinations to explore.
French toast transformation gives leftover buns new life and purpose. We whisk together eggs and milk, then dip each halved bun into the mixture before cooking in a hot buttered pan until golden brown. This method creates a decadent breakfast or dessert that rivals any restaurant version.
Innovative uses extend beyond traditional serving methods. Our hot cross buns make excellent slider bases for both sweet and savory fillings. They also serve as the foundation for creative desserts like Charlotte dessert, where their spiced flavor adds depth to elegant presentations.
Timing matters when serving these treats. We find that buns taste best within the first few hours of baking when their texture remains perfectly soft and their glaze maintains its glossy finish.
Conclusion
We’ve equipped you with everything needed to create bakery-quality hot cross buns in your own kitchen. From understanding the proper techniques to mastering storage and serving methods these traditional treats are now within your reach.
The beauty of this recipe lies in its flexibility – whether you’re planning ahead for a special occasion or wanting fresh buns for tomorrow’s breakfast the make-ahead options ensure success every time.
Now it’s time to gather your ingredients roll up your sleeves and fill your home with the irresistible aroma of freshly baked hot cross buns. Your family and friends will be amazed by your homemade creation that rivals any professional bakery.
Frequently Asked Questions
What are hot cross buns and where do they come from?
Hot cross buns are traditional Easter treats that originated in medieval England. These sweet, spiced buns feature a distinctive cross on top and hold religious significance as symbols of Good Friday. They’re characterized by their tender texture, warm spices, and glossy glaze, making them a beloved seasonal delicacy.
What ingredients do I need to make homemade hot cross buns?
The recipe requires three main components: dough ingredients (flour, yeast, sugar, spices, butter, eggs, and milk), cross mixture (typically flour and water), and glaze (honey or golden syrup). The article provides specific measurements for each ingredient to ensure bakery-quality results at home.
What equipment is essential for making hot cross buns?
You’ll need basic kitchen tools including measuring cups and spoons, mixing bowls, a wooden spoon or stand mixer, baking sheet, parchment paper, and decorating tools for the cross. Most of these items are commonly found in home kitchens, making the recipe accessible to most bakers.
Can I make hot cross buns ahead of time?
Yes, hot cross buns can be prepared in advance using several methods. You can refrigerate shaped dough for up to 18 hours, freeze unbaked dough for up to three months, or complete multi-day preparation. This flexibility makes them perfect for busy schedules while maintaining quality.
How should I store hot cross buns to keep them fresh?
Store baked hot cross buns in an airtight container at room temperature for 2-3 days, refrigerate for up to 7 days, or freeze for up to one month. Always allow buns to cool completely before storing and use parchment paper when freezing multiple buns.
What’s the best way to serve hot cross buns?
Hot cross buns taste best served warm or lightly toasted within the first few hours of baking. Enjoy them with butter, jam, or creative toppings like melted cheese or chocolate spread. Leftover buns can be transformed into French toast or used as slider bases for various fillings.
How long does the dough need to rise?
The recipe involves two rising periods: first rise after kneading the dough until it doubles in size, then a second rise after shaping the buns. Proper rising is crucial for developing the tender, fluffy texture that makes these buns special.
When should I apply the cross and glaze?
Apply the flour cross mixture before baking the shaped buns. The honey or golden syrup glaze should be brushed on immediately after the buns come out of the oven while they’re still hot, creating that signature glossy finish.

