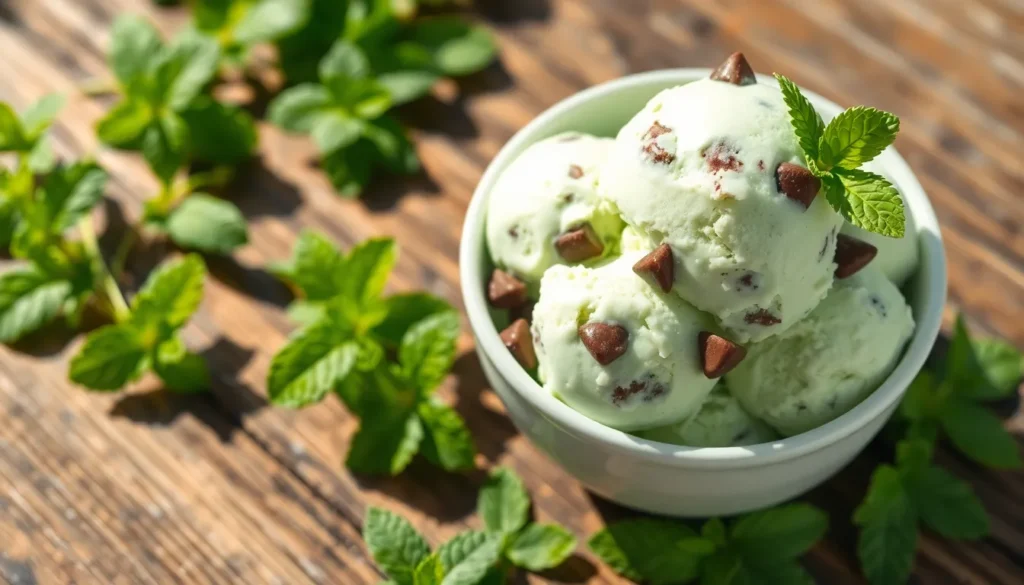
We can’t think of a more perfect flavor combination than cool mint and rich chocolate chips dancing together in creamy homemade ice cream. This classic American favorite has been winning hearts since the 1970s when it first appeared in ice cream parlors across the country.
Making mint chocolate chip ice cream at home lets us control every delicious detail – from the intensity of the mint flavor to the size of those irresistible chocolate chunks. We’ll show you how to create that signature pale green color naturally while achieving the perfect balance of refreshing mint and decadent chocolate.
There’s something magical about the way the cold mint base contrasts with those satisfying bites of chocolate. Whether you’re serving it at a summer barbecue or treating yourself to a midnight snack this homemade version will quickly become your new obsession.
Equipment and Tools Needed
Creating perfect mint chocolate chip ice cream requires the right equipment to achieve that smooth texture and even distribution of chocolate pieces. We recommend having these essential tools ready before starting your homemade ice cream adventure.
Ice Cream Maker
An ice cream maker stands as the most crucial piece of equipment for this recipe. We prefer using a freezer bowl model that requires 24 hours of freezing time before use. Compressor models work excellently if you plan to make ice cream frequently since they don’t require pre-freezing.
Heavy-Bottomed Saucepan
A medium-sized heavy-bottomed saucepan prevents the custard base from scorching during the heating process. We use this for creating the smooth mint-infused base that forms the foundation of our ice cream.
Fine-Mesh Strainer
Straining the custard base removes any lumps and ensures silky smooth texture. We always strain our mixture twice to achieve professional-quality results.
Mixing Bowls
Large mixing bowls serve multiple purposes throughout the process. We use them for whisking egg yolks and for creating an ice bath to cool the custard quickly.
Wire Whisk
A good wire whisk helps incorporate air into the mixture and prevents lumps from forming. We recommend using a medium-sized whisk for optimal control.
Measuring Tools
Accurate measurements make the difference between good and exceptional ice cream. We use dry measuring cups for solids and liquid measuring cups for cream and milk.
Sharp Knife
A sharp knife ensures clean cuts when chopping chocolate into uniform pieces. We aim for consistent chunk sizes to distribute evenly throughout the ice cream.
Rubber Spatula
Heat-resistant rubber spatulas help scrape every bit of custard from the pan and fold in chocolate pieces without breaking them.
Instant-Read Thermometer
Temperature control prevents overcooking the custard base. We monitor the mixture to reach exactly 170°F for perfect consistency.
Airtight Container
A shallow airtight container allows for easy scooping and proper storage. We recommend using containers that hold 1-2 quarts for optimal freezing.
Ingredients
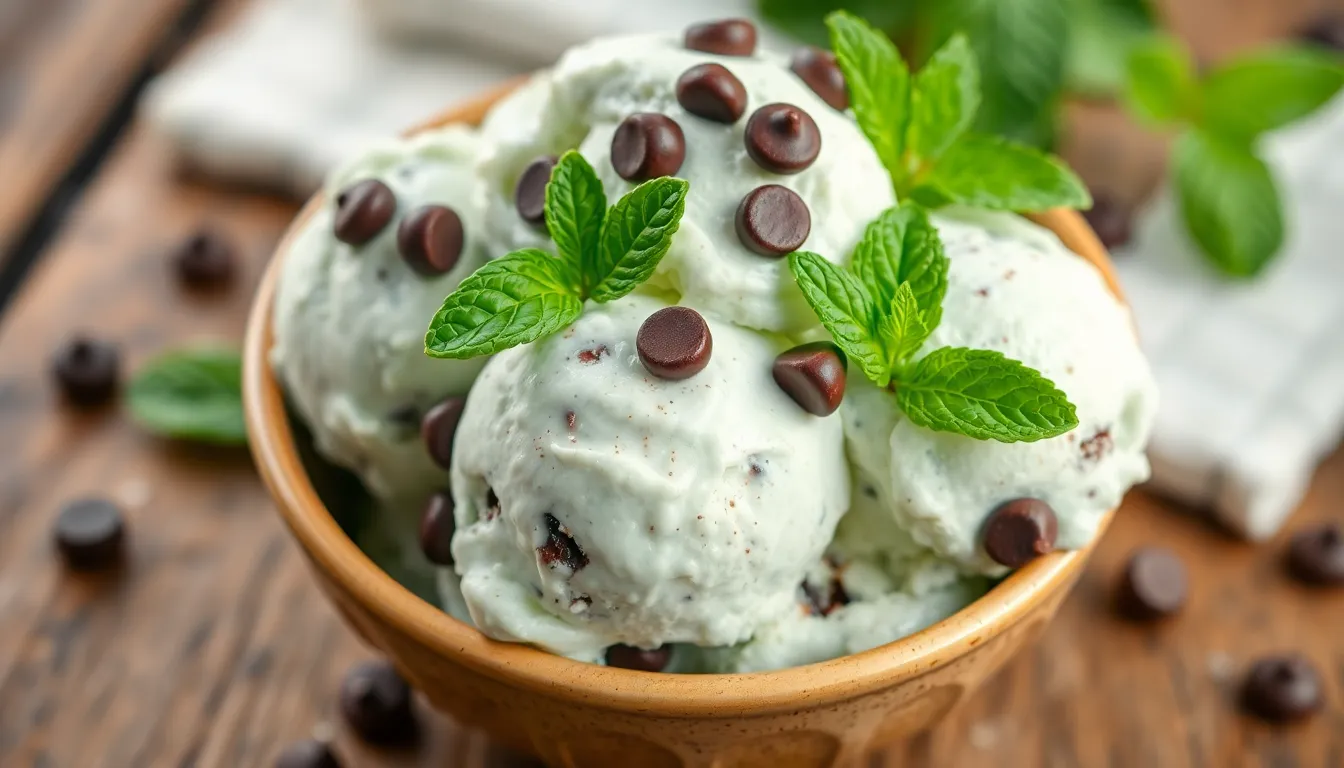
Creating exceptional mint chocolate chip ice cream requires carefully selected ingredients that work together to achieve the perfect balance of creamy texture and refreshing flavor. We’ve organized our ingredient list into two essential categories to streamline your preparation process.
For the Ice Cream Base
Our ice cream base combines rich dairy elements with aromatic extracts to create that signature mint flavor profile:
- 2 cups heavy cream (480g) – provides the luxurious richness and smooth mouthfeel
- 1 cup whole milk (240g) – balances the cream for optimal texture (substitute with 2 cups of 2% milk or half-and-half if desired)
- 1 cup granulated sugar (200g) – sweetens and helps prevent ice crystals from forming
- 1 to 1.5 teaspoons peppermint extract – delivers the essential mint flavor without overwhelming the palate
- ½ to 2 teaspoons vanilla extract – enhances overall flavor complexity and rounds out the mint notes
- ¼ to ½ teaspoon fine sea salt – amplifies flavors and balances sweetness
- 5 to 6 egg yolks (optional) – creates an ultra-creamy custard base for premium texture
For the Chocolate Chips
- 3 to 4 ounces dark mint chocolate or semisweet chocolate – provides rich chocolate flavor that pairs beautifully with mint
- Coconut oil – mixed with melted chocolate to ensure crispy texture when frozen, preventing the chips from becoming too hard
Instructions
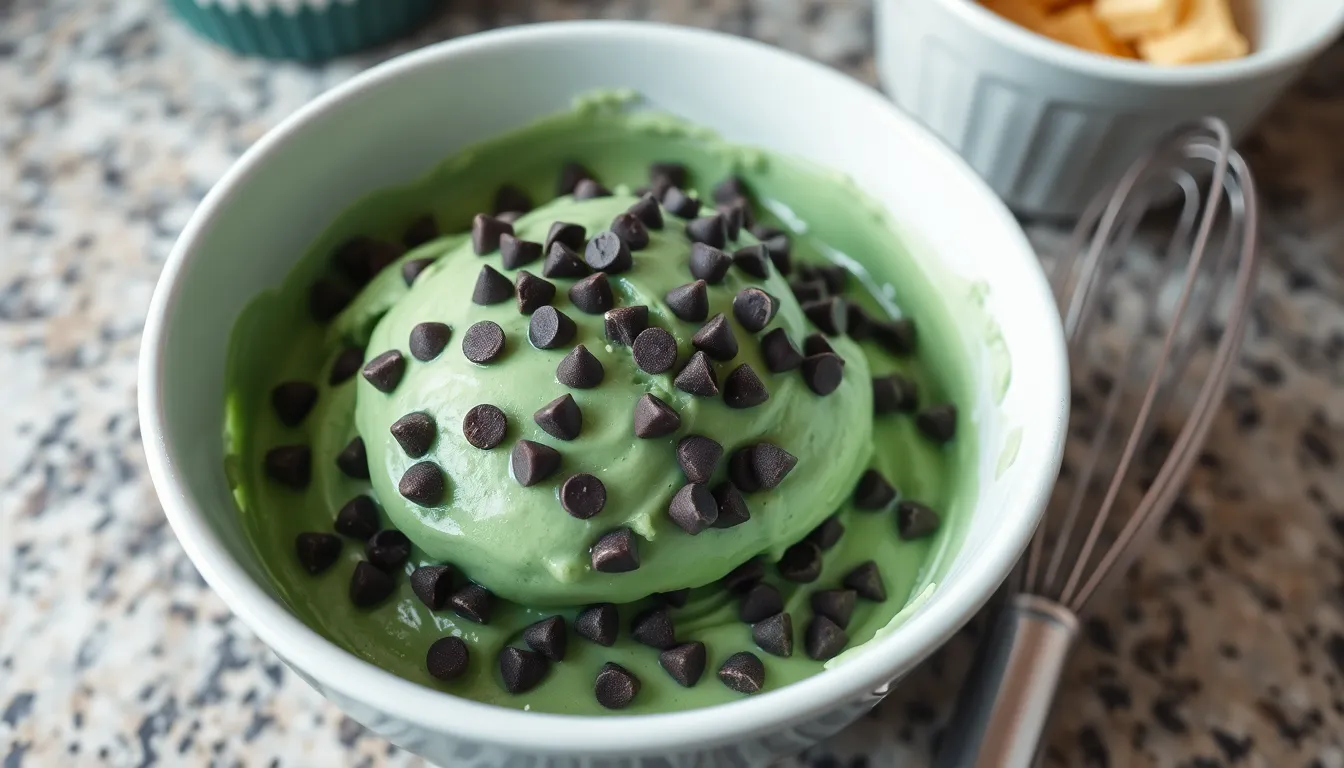
We’ll guide you through each step to create perfectly creamy mint chocolate chip ice cream with the ideal balance of refreshing mint and rich chocolate. Our method ensures a smooth texture and even distribution of chocolate throughout the frozen treat.
Prep the Ice Cream Base
We start by combining the heavy cream, whole milk, granulated sugar, and vanilla extract in a large mixing bowl. Whisk the ingredients thoroughly until the sugar completely dissolves into the liquid base. Add the peppermint extract gradually, tasting as we go to achieve the desired mint intensity. For the signature pale green color, we incorporate a few drops of green food coloring until the mixture reaches our preferred shade.
For those preferring a custard-style base, we heat the milk, cream, and sugar in a heavy-bottomed saucepan over medium heat until the mixture begins to steam. We then temper the egg yolks by slowly whisking the hot mixture into them, creating a thick custard-like consistency that will provide extra richness to our final product.
Chill the Mixture
We rapidly cool the prepared ice cream base to ensure optimal texture development. If using the custard method, we place the warm mixture over an ice bath and stir continuously until the temperature drops significantly. The base then goes into the refrigerator for thorough chilling, typically requiring several hours of cooling time.
This critical chilling step allows the flavors to meld together while preparing the mixture for the churning process. We ensure the base reaches a consistently cold temperature before proceeding to the next step.
Churn the Ice Cream
We pour our thoroughly chilled base into the pre-frozen ice cream maker bowl, following the manufacturer’s exact instructions. The churning process runs for approximately 20 to 25 minutes, during which the machine incorporates air while simultaneously freezing the mixture.
| Churning Phase | Duration | Key Process |
|---|---|---|
| Initial Stage | 15-20 minutes | Air incorporation and freezing |
| Final Stage | 5 minutes | Chocolate addition |
| Total Time | 20-25 minutes | Complete churning cycle |
We monitor the consistency throughout the churning process, watching for the mixture to increase in volume and develop a creamy texture characteristic of properly churned ice cream.
Add the Chocolate Chips
During the final few minutes of churning, we add our finely chopped chocolate or chocolate chips to the ice cream maker. This timing ensures even distribution throughout the mixture without breaking down the chocolate pieces excessively. We allow the machine to continue running just long enough for the chocolate to incorporate uniformly into the frozen base.
The chocolate pieces should maintain their distinct texture while becoming evenly dispersed throughout the pale green ice cream base.
Final Freeze
We transfer the freshly churned ice cream into an airtight container, using a rubber spatula to ensure complete removal from the ice cream maker bowl. Press plastic wrap directly onto the surface of the ice cream to prevent ice crystal formation during the freezing process.
The container goes into the freezer for several hours, allowing the ice cream to firm up to the ideal scooping consistency. We recommend a minimum of 4 hours of freezing time before serving for the best texture and flavor development.
Make-Ahead Instructions
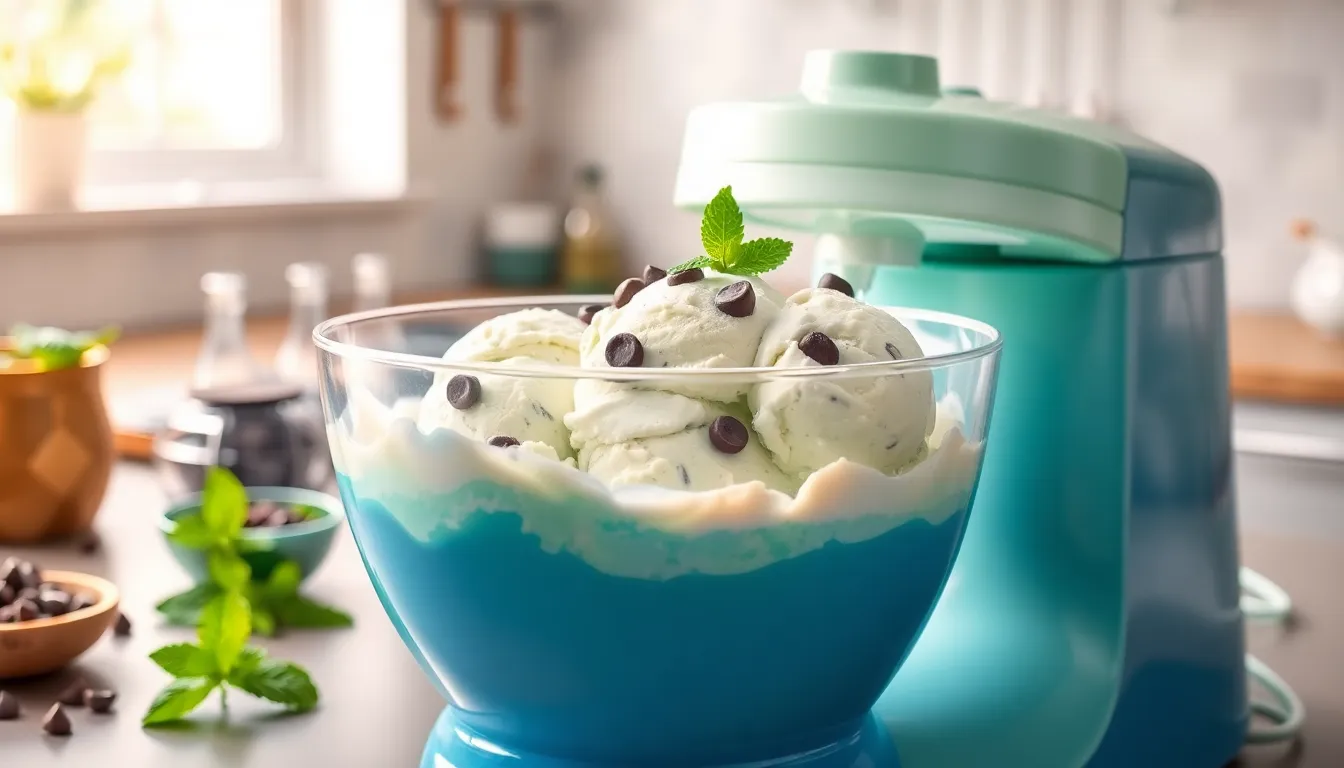
We recommend preparing mint chocolate chip ice cream ahead of time to ensure the best texture and flavor development. Planning ahead allows us to create a smoother dessert with perfectly distributed chocolate chips and a well-balanced mint taste.
Ingredient Preparation: We should chill all ingredients in the refrigerator for at least 2 hours before beginning the ice cream making process. Cold ingredients help the mixture reach the proper freezing temperature faster and create a smoother final product.
Custard Base Preparation: When using the custard method we need to prepare the base mixture one day in advance. After cooking and straining the custard we transfer it to an airtight container and refrigerate overnight. This extended chilling time allows the custard to thicken properly and helps the flavors meld together for a richer taste.
Ice Cream Maker Bowl: We must freeze the ice cream maker bowl for at least 24 hours before churning. Most ice cream makers require this advance preparation to ensure proper freezing during the churning process.
Final Freezing Process: After churning we transfer the soft ice cream to an airtight container and freeze for a minimum of 2 hours before serving. For the best scooping consistency we recommend freezing the ice cream for 4 to 6 hours.
Storage Guidelines: We can store the finished mint chocolate chip ice cream in the freezer for up to one week in an airtight container. Proper storage prevents ice crystals from forming and maintains the creamy texture we worked to achieve.
| Timeline | Task | Duration |
|---|---|---|
| Day Before | Freeze ice cream maker bowl | 24 hours |
| Day Before | Chill custard base (if using) | Overnight |
| 2 Hours Before | Chill all ingredients | 2 hours minimum |
| After Churning | Final freeze before serving | 2-6 hours |
| Storage | Maximum freezer time | Up to 1 week |
Storage Tips

Proper storage ensures our homemade mint chocolate chip ice cream maintains its creamy texture and vibrant flavor for months. We need to follow exact techniques that prevent ice crystal formation and preserve the delicate balance of mint and chocolate in every scoop.
Optimal Freezer Placement
We should always store our mint chocolate chip ice cream in the back of the freezer where temperatures remain most consistent. This location protects the ice cream from temperature fluctuations that occur when we open and close the freezer door. The back area maintains the steady cold environment our ice cream needs to prevent unwanted melting and refreezing cycles.
Container Selection and Sealing
An insulated or airtight container becomes essential for keeping our ice cream cold and maintaining its signature creamy texture. We must ensure the container stays tightly sealed when not serving to prevent air from entering and creating ice crystals that ruin the smooth consistency.
For maximum protection against freezer burn we place a piece of cling film or plastic wrap directly onto the ice cream’s surface before sealing the container. This extra barrier prevents air exposure and maintains the fresh mint flavor we worked hard to achieve.
Preventing Ice Crystal Formation
We recommend transferring our ice cream to a shallow flat container covered with plastic wrap to maintain optimal texture. This storage method minimizes the surface area exposed to air and helps preserve the creamy consistency that makes homemade ice cream superior to store-bought varieties.
Serving Best Practices
When scooping our mint chocolate chip ice cream we use a cold clean scoop to maintain both hygiene and quality. This practice prevents introducing bacteria into the container while preserving the ice cream’s integrity for future servings.
Shelf Life Guidelines
| Storage Aspect | Duration |
|---|---|
| Properly stored mint chocolate chip ice cream | 4 to 6 months |
| Optimal texture maintenance | First 2 weeks |
| Peak flavor quality | First month |
Our mint chocolate chip ice cream maintains its best quality during the first month of storage though it remains safe to eat for up to six months when we follow proper freezer storage guidelines. The chocolate chips retain their satisfying crunch throughout this extended storage period making every spoonful as delightful as the first taste.
Serving Suggestions
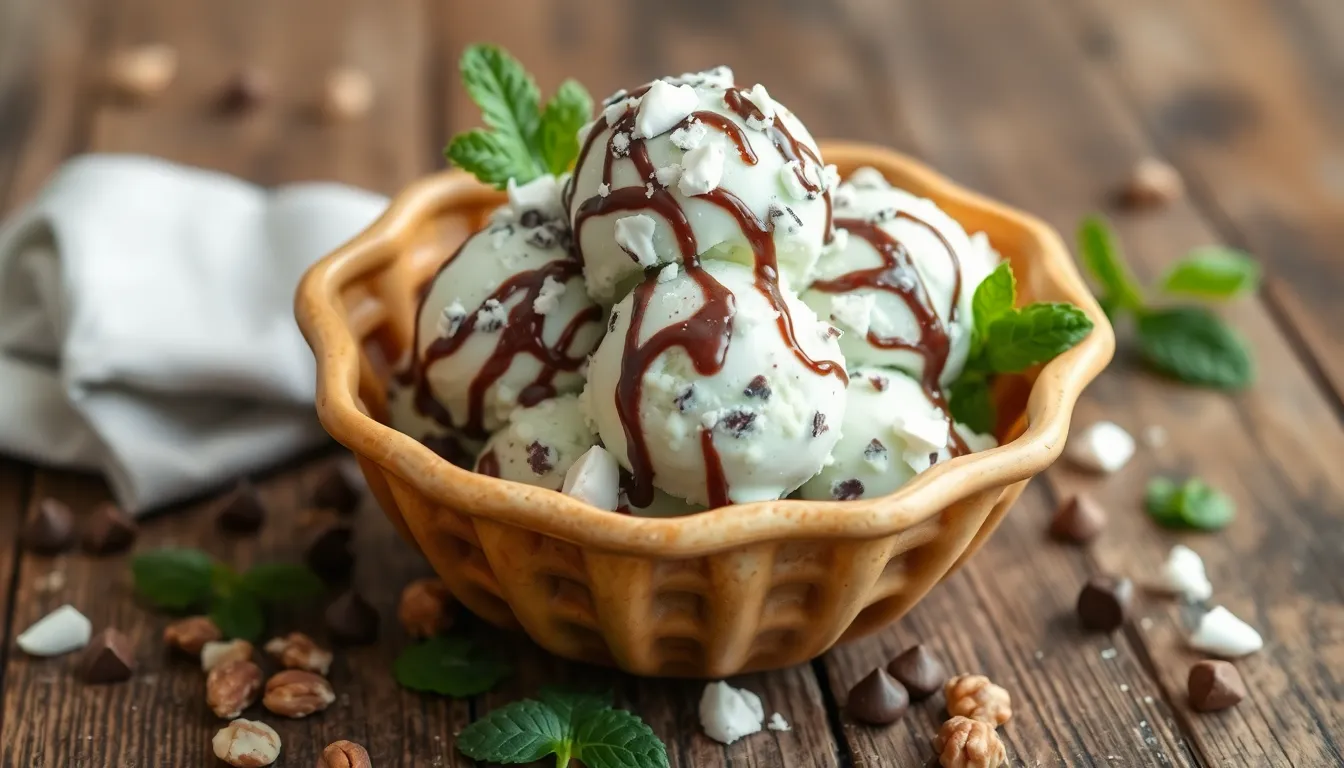
We love presenting our homemade mint chocolate chip ice cream in ways that enhance both its visual appeal and delicious flavor. A classic waffle bowl or cone provides the perfect vessel for this refreshing treat, adding a delightful crunch that complements the creamy texture.
Classic Presentation Options
Waffle bowls create an edible container that adds sweetness and texture to each bite. We recommend warming the waffle bowl slightly before adding the ice cream to prevent immediate melting while maintaining that satisfying crunch.
Ice cream cones offer a traditional approach that works beautifully for individual servings. Sugar cones provide extra sweetness, while waffle cones deliver more substantial flavor and texture.
Flavor Enhancement Ideas
Chocolate syrup drizzled over the mint chocolate chip ice cream creates an extra layer of chocolate indulgence. We suggest warming the syrup slightly for easier drizzling and better flavor distribution.
Crushed peppermint sprinkled on top intensifies the mint flavor while adding visual appeal and textural contrast. Fresh mint leaves also work as an elegant garnish that reinforces the primary flavor profile.
Creative Toppings and Mix-ins
| Topping Type | Examples | Flavor Impact |
|---|---|---|
| Nuts | Chopped almonds, walnuts, pistachios | Adds crunch and richness |
| Sauces | Hot fudge, caramel, strawberry | Creates flavor layers |
| Candies | Mini chocolate chips, crushed cookies | Enhances texture variety |
| Fresh Elements | Berries, mint sprigs | Provides color and freshness |
Whipped cream adds luxurious richness and creates a beautiful presentation when piped decoratively on top. We particularly enjoy adding a small amount of peppermint extract to the whipped cream for flavor harmony.
Unique Serving Ideas
Mint chocolate chip ice cream sandwiches transform this frozen treat into a handheld dessert. We use chocolate chip cookies, brownies, or even waffles as the sandwich base for creative variations.
Affogato-style service involves pouring hot espresso over a scoop of mint chocolate chip ice cream, creating an elegant dessert that combines hot and cold temperatures with complementary flavors.
Milkshake presentations blend our ice cream with milk and additional mint extract for a refreshing beverage that showcases the same beloved flavors in liquid form.
Variations and Customizations
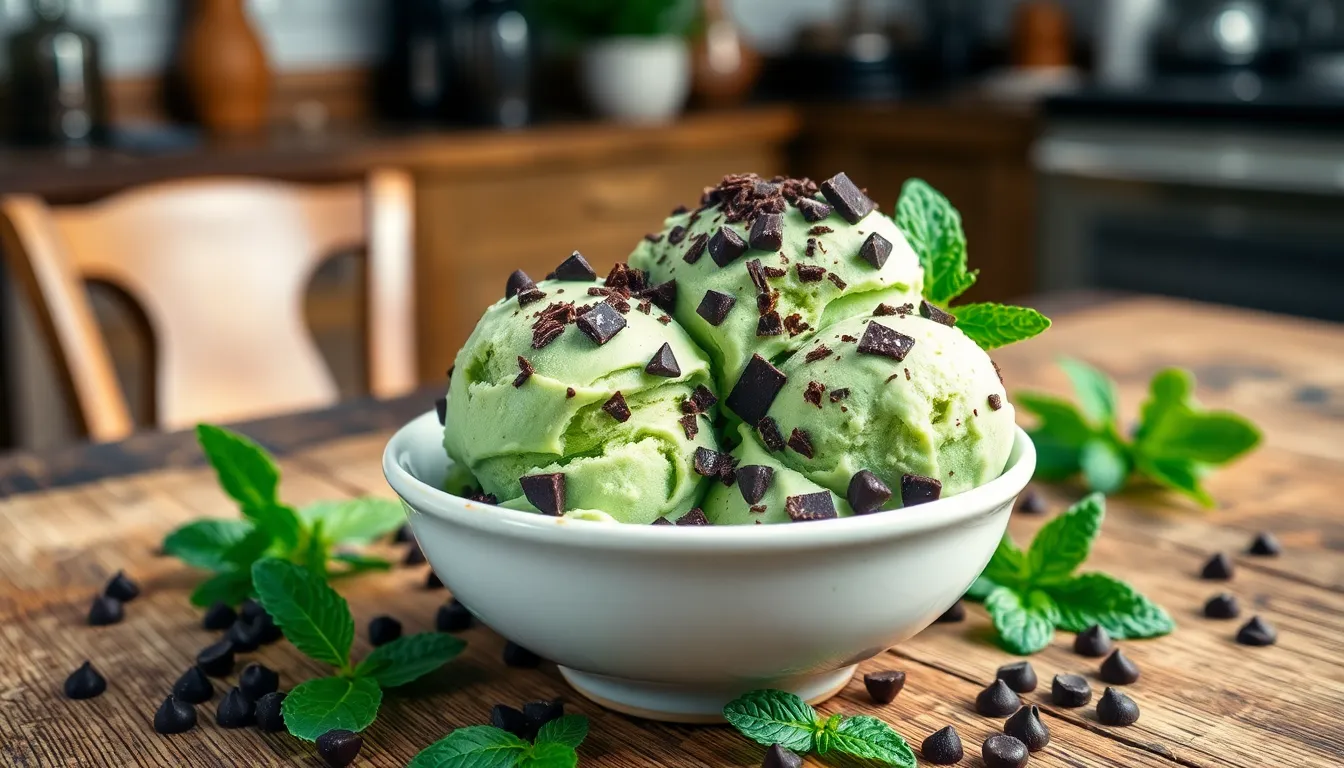
Our classic mint chocolate chip ice cream serves as the perfect foundation for countless creative adaptations. We can easily modify the recipe to accommodate different flavor preferences and dietary needs.
Natural Mint Flavor
We recommend infusing fresh mint leaves directly into the ice cream base for the most authentic minty taste. Gently heat the cream mixture with a handful of fresh mint leaves and let them steep for 30 minutes before straining out the leaves. This method delivers a more complex herbal flavor compared to artificial extracts.
Peppermint extract offers convenience and consistency when fresh mint isn’t available. We suggest starting with 1/2 teaspoon and gradually increasing to taste since extract potency varies between brands. The concentrated flavor allows us to achieve the desired mint intensity without diluting the cream base.
Different Chocolate Options
Dark chocolate creates a sophisticated flavor profile that pairs beautifully with mint’s brightness. We prefer using 60-70% cocoa content chocolate for the perfect balance of richness without overwhelming bitterness. Chop the chocolate into irregular pieces for an artisanal texture.
Our stracciatella style variation involves creating buttery peppermint chocolate by melting chocolate with butter and peppermint extract. Drizzle this mixture into the churning ice cream during the final minutes to create those signature chocolate ribbons throughout the base. This technique produces irregular chocolate pieces that add textural interest to every bite.
Semisweet chocolate chips provide the traditional experience most people expect from mint chocolate chip ice cream. We recommend mini chocolate chips for better distribution or chopping regular chips into smaller pieces to prevent them from overwhelming individual servings.
Dairy-Free Version
Coconut milk creates the creamiest dairy-free base due to its natural fat content. We combine full-fat canned coconut milk with unsweetened almond milk for optimal texture and flavor balance. This combination prevents the finished ice cream from becoming too dense while maintaining richness.
Cashew cream offers another excellent dairy alternative that churns beautifully and freezes well. Soak raw cashews overnight then blend them with water until completely smooth before incorporating into the ice cream base.
Vegan chocolate chips made from cocoa butter alternatives ensure the entire recipe remains plant-based. Many brands now offer dairy-free options made with coconut oil or rice milk that maintain the satisfying snap we love in traditional chocolate chips.
Troubleshooting Tips
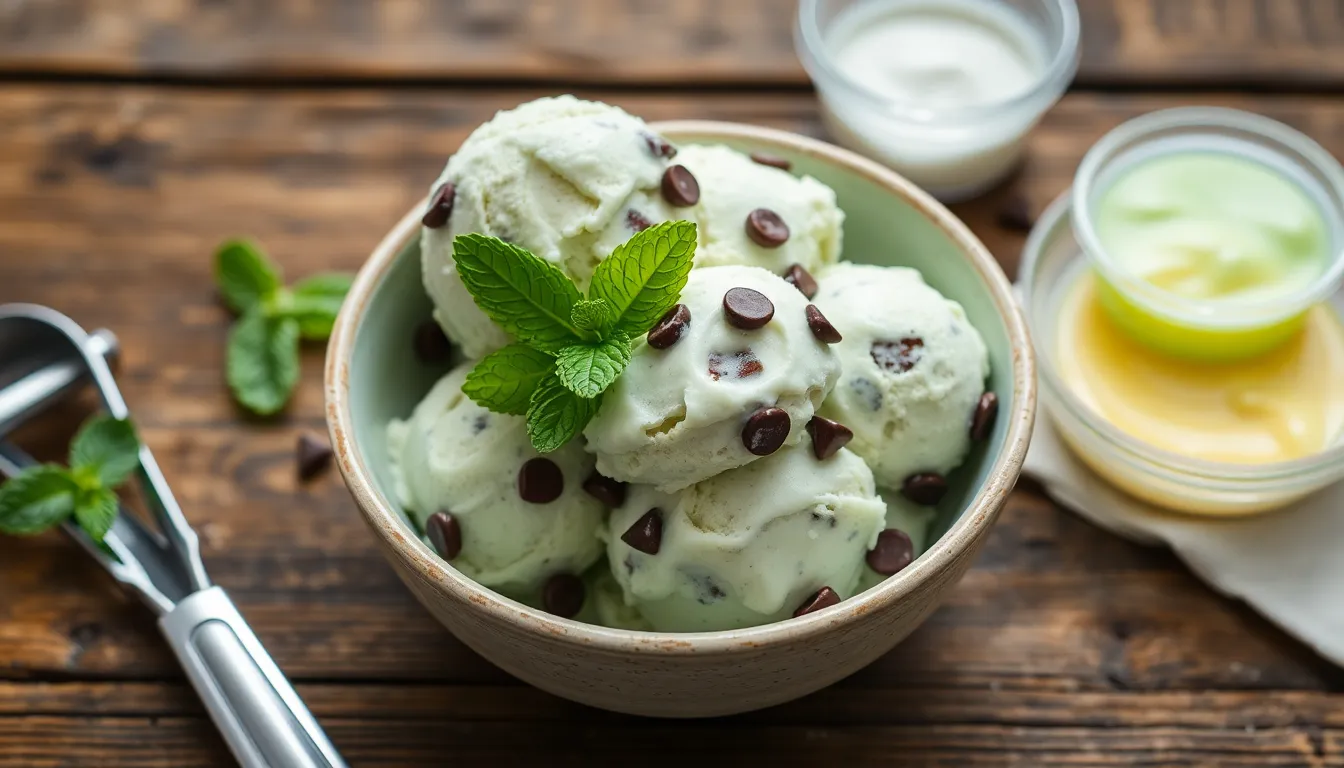
Making mint chocolate chip ice cream at home can present challenges. We’ve compiled answers to the most common issues you might encounter during the process.
Ice Crystal Formation Issues
Ice crystals can ruin the smooth texture of your ice cream. We recommend ensuring your ice cream maker bowl is thoroughly frozen for at least 24 hours before churning. Adding stabilizers like gelatin or pectin prevents crystal formation – use 1/4 teaspoon per 500ml of base for optimal results.
| Issue | Solution | Measurement |
|---|---|---|
| Ice Crystal Formation | Add gelatin or pectin | 1/4 teaspoon per 500ml base |
| Rock-Hard Ice Cream | Add alcohol or increase fat | 1-2 tablespoons alcohol per 500ml |
| Sandy Texture | Reduce skimmed milk powder | Keep MSNF below 16% |
Rock Hard Ice Cream Problems
Your ice cream might freeze too hard in the freezer. We suggest adding 1-2 tablespoons of alcohol like vodka or rum per 500ml to lower the freezing point. Increasing the fat content with additional cream or egg yolks also creates a softer texture.
Sandy Texture Answers
Lactose crystallization causes an unpleasant sandy texture in ice cream. We recommend reducing skimmed milk powder to avoid exceeding 16% milk solids-non-fat levels. This adjustment maintains smoothness while preserving the creamy consistency.
Ice Cream Not Freezing
Sometimes ice cream refuses to freeze after churning. We advise checking that your freezer bowl has been frozen for the full 24-hour minimum. Overfilling your ice cream maker can prevent proper freezing – ensure your recipe size matches your machine’s capacity.
Chocolate Chip Integration Tips
Achieving perfect chocolate chip distribution requires timing. We recommend drizzling chocolate during the last minute of churning to prevent streaking and maintain distinct chocolate pieces. Adding a neutral flavored oil to the chocolate improves texture and prevents the chips from becoming too hard when frozen.
Conclusion
We’ve shown you that creating exceptional mint chocolate chip ice cream at home isn’t just possible—it’s incredibly rewarding. With the right techniques and preparation you’ll achieve that perfect balance of refreshing mint and rich chocolate that makes this frozen treat so beloved.
The key to success lies in planning ahead and following our storage guidelines to maintain that creamy texture we all crave. Whether you’re experimenting with fresh mint infusions or trying dairy-free alternatives there’s a version that’ll satisfy your exact tastes and dietary needs.
Now it’s time to fire up that ice cream maker and start creating your own batch of this timeless dessert. Your family and friends will be impressed with the professional-quality results you’ll achieve right in your own kitchen.
Frequently Asked Questions
What equipment do I need to make homemade mint chocolate chip ice cream?
You’ll need an ice cream maker, heavy-bottomed saucepan, fine-mesh strainer, mixing bowls, wire whisk, measuring tools, sharp knife, rubber spatula, instant-read thermometer, and an airtight container. These tools ensure professional-quality results and smooth texture.
How long does homemade mint chocolate chip ice cream last in the freezer?
Homemade mint chocolate chip ice cream is best enjoyed within the first month for peak flavor and texture. However, when stored properly in an airtight container, it remains safe to eat for up to six months.
Can I make dairy-free mint chocolate chip ice cream?
Yes! You can create a dairy-free version using coconut milk or cashew cream as the base instead of heavy cream and whole milk. Use vegan chocolate chips to maintain a completely plant-based recipe.
How do I prevent ice crystals from forming in my homemade ice cream?
To prevent ice crystals, store the ice cream in the back of the freezer to avoid temperature fluctuations. Use an airtight container and place cling film directly on the ice cream’s surface before sealing to prevent air exposure.
How long should I freeze the ice cream maker bowl before churning?
The ice cream maker bowl should be frozen for at least 24 hours prior to churning. This ensures the bowl is cold enough to properly freeze the ice cream mixture during the churning process.
What type of chocolate works best for mint chocolate chip ice cream?
Dark mint chocolate or semisweet chocolate combined with coconut oil works best for a crispy texture. Dark chocolate provides a sophisticated taste that complements the mint flavor perfectly.
How do I achieve the perfect mint flavor without it being too strong?
Start by gradually adding peppermint extract to taste, as it’s very potent. You can also infuse fresh mint leaves for a more authentic, subtle flavor. Always taste-test as you go to avoid overpowering the ice cream.
Why is my homemade ice cream too hard to scoop?
Hard ice cream usually results from insufficient fat content or over-freezing. Ensure you’re using the correct ratio of heavy cream to milk, and let the ice cream sit at room temperature for 5-10 minutes before scooping.
When should I add the chocolate chips during churning?
Add chocolate chips during the final 2-3 minutes of churning. This ensures even distribution throughout the ice cream without causing streaking or breaking the chocolate into tiny pieces.
How far in advance can I prepare mint chocolate chip ice cream?
You can prepare the custard base up to one day in advance for optimal flavor melding. The finished ice cream should be frozen for at least 2 hours after churning, with 4-6 hours recommended for best scooping consistency.

