Nothing beats the irresistible aroma of freshly baked chocolate chip cookies wafting through our kitchen. These golden-brown treasures have been America’s favorite cookie since Ruth Wakefield accidentally created them at her Toll House Inn in 1938. What started as a happy accident became the most beloved cookie recipe in the industry.
We’ve perfected this classic recipe to deliver that perfect balance of crispy edges and chewy centers that cookie lovers crave. Every bite offers melted chocolate chips nestled in buttery vanilla-scented dough that practically melts in your mouth.
Whether you’re baking for a special occasion or simply satisfying that sweet tooth we all know too well, these homemade chocolate chip cookies will exceed your expectations. They’re incredibly easy to make and use simple pantry staples you likely already have on hand. Get ready to create cookie magic that’ll have everyone asking for your secret recipe.
Ingredients
We’ve carefully selected each ingredient to create the perfect balance of flavors and textures in our chocolate chip cookies. Our ingredient list combines pantry staples with premium additions that transform simple components into bakery quality treats.
Dry Ingredients
- 2¼ cups all-purpose flour
- 1 teaspoon baking soda
- 1 teaspoon salt
- ½ cup granulated sugar
- 1 cup packed light brown sugar
Wet Ingredients
- 1 cup unsalted butter, softened to room temperature
- 2 large eggs, room temperature
- 2 teaspoons pure vanilla extract
Mix-ins
- 2 cups semi-sweet chocolate chips
- 1 cup chopped walnuts (optional)
- ½ teaspoon sea salt for sprinkling (optional)
Equipment Needed
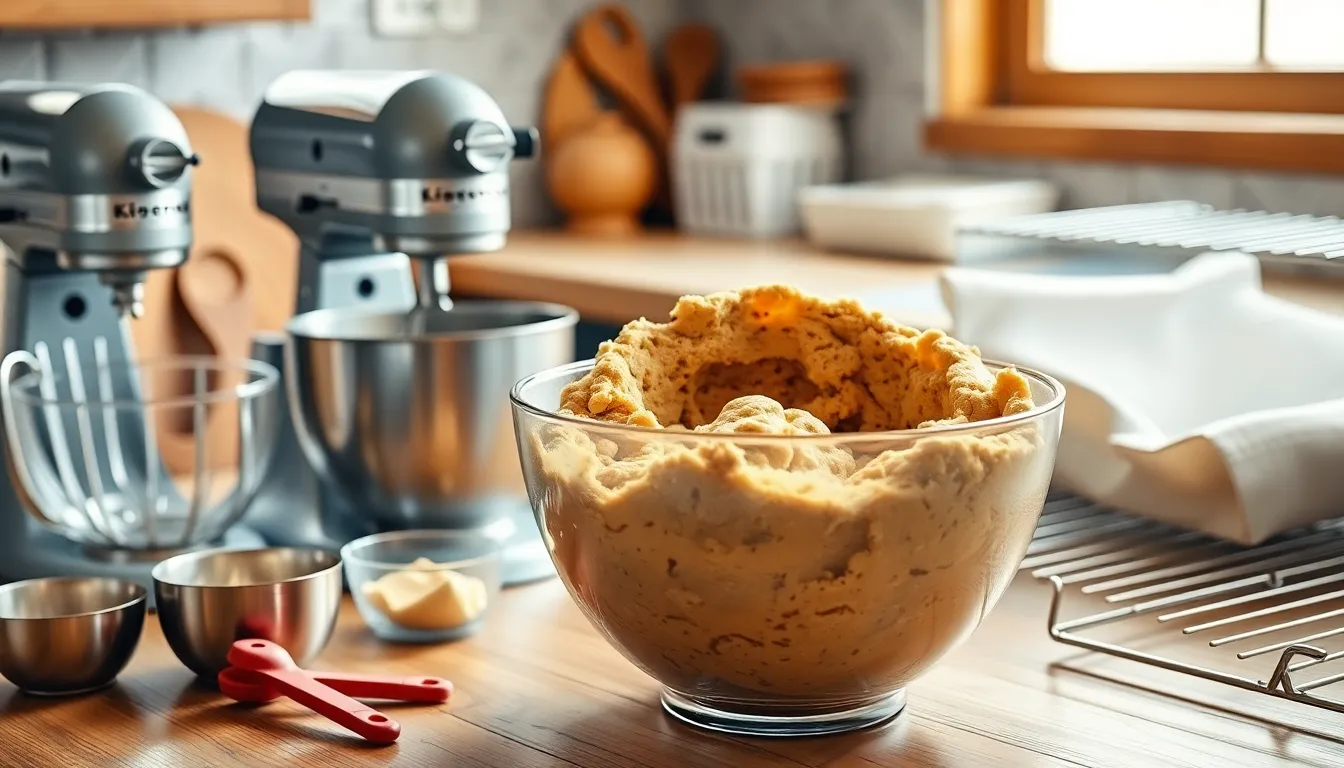
Creating the perfect chocolate chip cookies requires the right tools to ensure consistent results every time. We recommend gathering these essential pieces of equipment before starting your baking journey.
Essential Baking Equipment
Large Mixing Bowl or Stand Mixer serves as the foundation for combining our ingredients effectively. This equipment allows us to cream the butter and sugar properly while providing enough space for thorough mixing without spillage.
Hand Mixer or Stand Mixer makes the difference between laborious manual mixing and efficient ingredient combination. We find that electric mixers create the ideal texture by incorporating air into the butter and sugar mixture.
Sifter or Sieve ensures our dry ingredients blend seamlessly without lumps. Sifting the flour creates lighter cookies and prevents dense spots in our final product.
Dry Measuring Cups or Kitchen Scale provides the accuracy we need for consistent results. Precise measurements determine whether our cookies turn out perfectly balanced or fall short of expectations.
Measuring Spoons handle the smaller but crucial ingredients like baking soda and vanilla extract. These tools ensure we add exact amounts without overwhelming the delicate flavor balance.
Silicone Spatula helps us scrape every bit of dough from the bowl while gently folding in our chocolate chips. The flexible material prevents scratching and makes cleanup easier.
Cookie Scoop creates uniform cookie sizes that bake evenly across the batch. While optional, this tool eliminates guesswork and produces professional looking results.
Baking Sheet forms the foundation where our cookies transform from dough to golden perfection. We recommend using heavy duty sheets that distribute heat evenly.
Parchment Paper prevents our precious cookies from sticking to the baking sheet. This simple addition saves cookies from breaking and makes removal effortless.
Metal Spatula allows us to transfer hot cookies without damaging their shape. The thin edge slides easily under delicate cookies fresh from the oven.
Cooling Racks prevent soggy bottoms by allowing air circulation around our freshly baked cookies. Proper cooling maintains the perfect texture we worked to achieve.
Additional Helpful Tools
Bench Scraper assists with cleaning work surfaces and transferring dough efficiently. This versatile tool keeps our workspace organized throughout the baking process.
Oven Thermometer verifies that our oven maintains the correct temperature for optimal baking results. Many ovens run hot or cold, making this verification essential.
Electric Hand Mixer works perfectly for smaller batches when a stand mixer feels excessive. This compact option delivers the same mixing power with easier storage.
Having the right equipment transforms cookie baking from challenging to enjoyable while ensuring consistent results that match our expectations every time.
Instructions
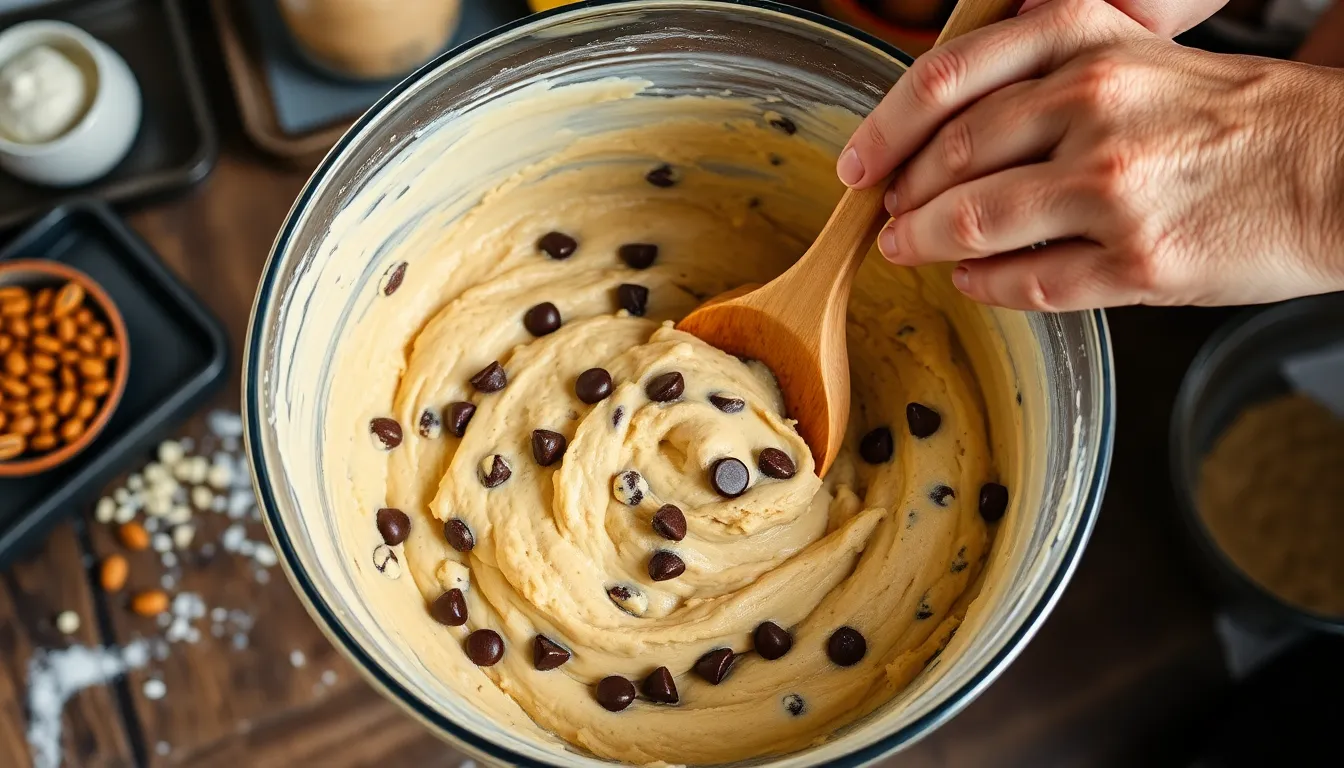
We’ll walk through each step to create perfectly balanced chocolate chip cookies that deliver crispy edges and chewy centers. Our method ensures consistent results every time.
Prep the Dough
We start by combining our dry ingredients in a medium bowl. Whisk together the flour, baking soda, and salt until evenly distributed. Set this mixture aside while we prepare the wet ingredients.
In our large mixing bowl, we cream the softened butter with both granulated and brown sugars using an electric mixer. Beat the mixture for 2-3 minutes until it becomes light and fluffy. This creates the foundation for our cookie texture.
Next, we add the eggs one at a time, beating well after each addition. Pour in the vanilla extract and mix until the mixture is smooth and well combined. The wet ingredients should appear uniform without any streaks.
Gradually add our flour mixture to the wet ingredients, stirring just until the ingredients are blended. We avoid overmixing to prevent tough cookies. Finally, fold in the chocolate chips and nuts if using, distributing them evenly throughout the dough.
Chill the Dough
We recommend chilling the dough for at least 30 minutes before baking. This step allows the flavors to meld together and improves the final cookie texture. Cover the bowl with plastic wrap and refrigerate the dough.
While chilling isn’t mandatory, this process helps prevent excessive spreading during baking. The chilled dough also holds its shape better when scooped onto the baking sheet.
Prepare for Baking
We preheat our oven to 375°F while the dough finishes chilling. Line our baking sheets with parchment paper to prevent sticking and ensure easy cleanup.
Using a cookie scoop or spoon, we form the chilled dough into balls approximately 1¼ inches in diameter. Space the dough balls about 2 inches apart on the prepared baking sheets to allow for spreading.
Bake the Cookies
We bake the cookies for 8 to 10 minutes or until the edges turn light golden brown. The centers may appear slightly underbaked, but they’ll continue cooking on the hot pan after removal from the oven.
| Temperature | Time | Visual Cue |
|---|---|---|
| 375°F | 8-10 minutes | Light golden brown edges |
Watch the cookies carefully during the final minutes to prevent overbaking. We remove them from the oven when the edges are set and lightly colored.
Cool and Finish
We let the cookies cool on the baking sheet for 2 minutes before transferring them. This brief cooling period allows them to firm up enough for safe handling.
Using a metal spatula, we carefully transfer the cookies to wire cooling racks. Allow the cookies to cool completely before storing them in an airtight container to maintain their perfect texture.
Tips for Perfect Chocolate Chip Cookies
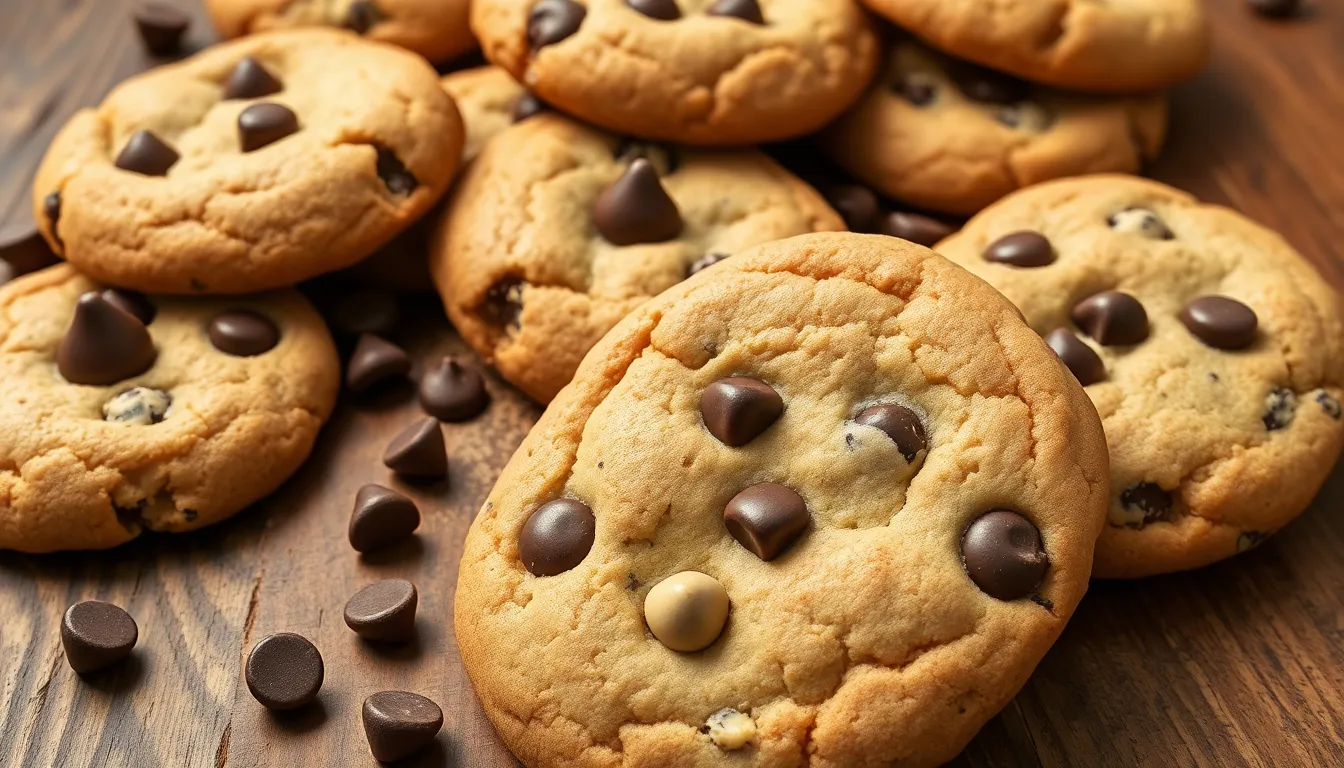
Creating exceptional chocolate chip cookies requires attention to detail and understanding key techniques. We’ve gathered proven strategies that transform ordinary cookies into bakery-quality treats.
Choosing the Right Chocolate Chips
We recommend using a combination of milk and dark chocolate for balanced flavor complexity that appeals to every palate. High-quality chocolate makes a important difference in both taste and texture, so invest in premium brands when possible. Strategic placement of extra chocolate chips on top creates visually appealing cookies that look as good as they taste. The chocolate quality directly impacts the final result, making this choice crucial for outstanding cookies.
Achieving the Perfect Texture
We achieve optimal texture by using a combination of white and brown sugars in our recipe. White sugar provides those coveted crisp edges, while brown sugar adds the perfect chewiness that makes cookies irresistible. Butter type plays a crucial role in texture development. We prefer salted butter for enhanced flavor and often use melted or browned butter for chewier results. Cookie size affects the final texture significantly. Larger cookies allow for thicker, more indulgent treats that satisfy even the strongest sweet cravings.
Temperature Control
We bake our cookies at 375°F (190°C) for optimal browning and texture development. Proper temperature ensures even cooking throughout while maintaining that perfect balance of crispy and chewy. Checking doneness requires careful observation of the edges. We look for slightly browned spots on the edges to ensure cookies are perfectly done without overcooking. This visual cue prevents dry, overcooked cookies while guaranteeing they’re safely baked through.
Storage Instructions
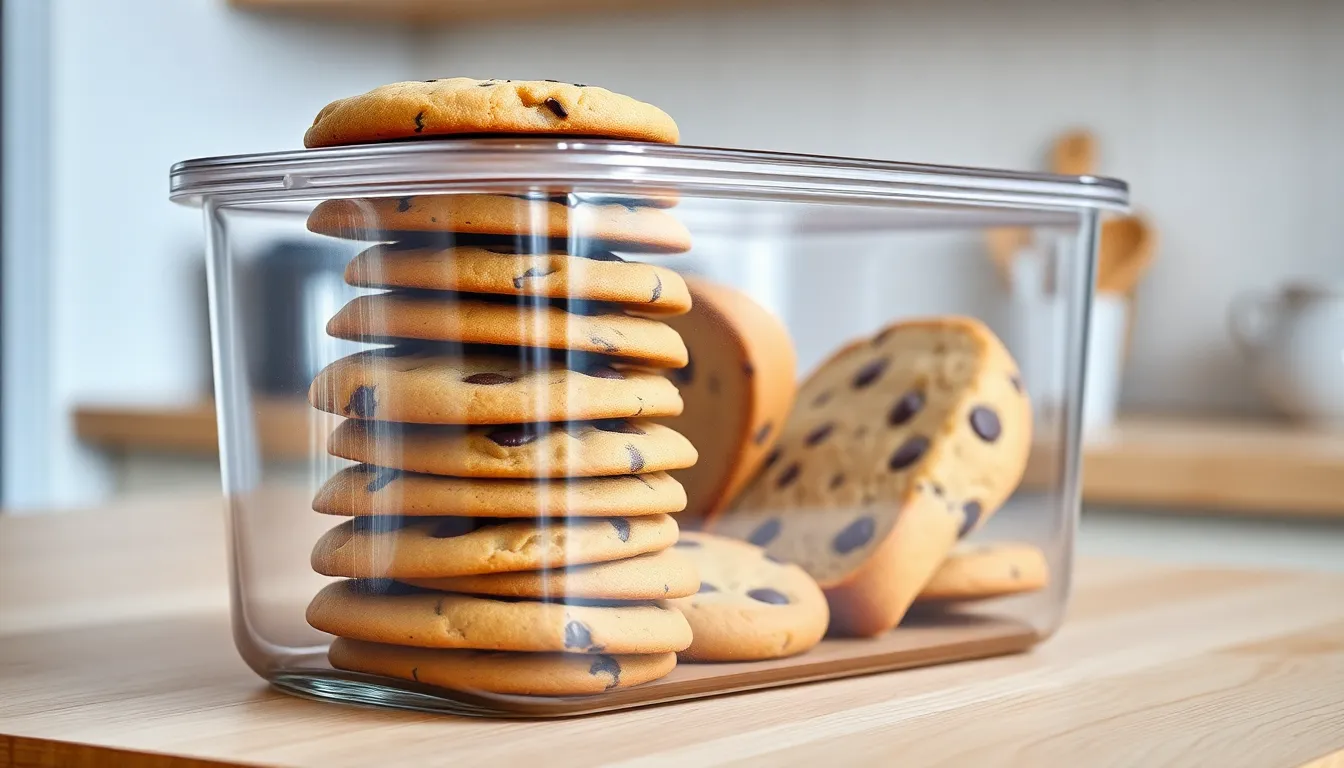
We understand the importance of keeping our freshly baked chocolate chip cookies at their peak deliciousness. Proper storage techniques ensure our cookies maintain their perfect texture and flavor for days or even months after baking.
Room Temperature Storage
Our preferred method for storing chocolate chip cookies involves using an airtight container at room temperature. This approach maintains the cookies’ optimal texture while preventing moisture from compromising their quality. We recommend storing soft cookies in layers separated by parchment or waxed paper to prevent them from sticking together.
| Storage Method | Duration | Container Type |
|---|---|---|
| Room Temperature | Up to 1 week | Airtight container |
| Refrigeration | Up to 1 month | Airtight container |
| Freezing | Up to 3 months | Freezer bag or airtight container |
Extended Storage Options
When we need to keep our cookies fresh beyond the typical week, refrigeration becomes our next best option. Cookies stored in the refrigerator can maintain their quality for up to one month when properly contained in airtight storage.
Freezing for Long-Term Storage
We often freeze our chocolate chip cookies for future enjoyment. Our method involves placing individual cookies or scoops of unbaked dough on a baking sheet until they become firm. Once frozen solid, we transfer them to freezer bags or airtight containers where they remain fresh for up to three months.
Professional Storage Tips
We enhance our storage success by implementing a few tried-and-true techniques. Placing a piece of bread or a marshmallow in the container helps absorb excess moisture and prevents our cookies from becoming stale. Also, we store different cookie flavors in separate containers to prevent any unwanted flavor transfer between varieties.
Make-Ahead Tips
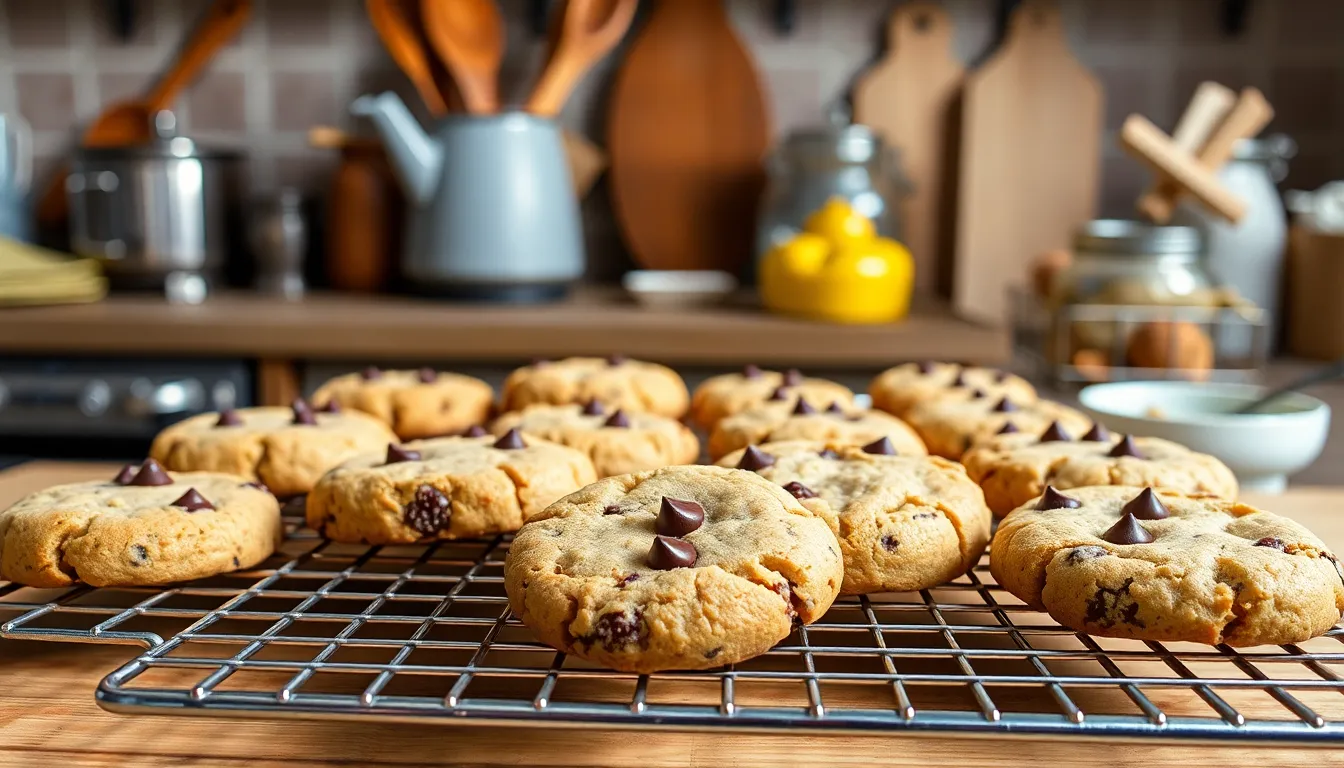
Planning ahead makes cookie baking effortless and ensures we always have fresh treats ready when cravings strike. Our tested methods preserve the perfect texture and flavor while saving precious time in the kitchen.
Chilling Dough for Better Results
Refrigerating cookie dough transforms the final product in remarkable ways. We recommend chilling the prepared dough for at least 24 hours to allow flavors to develop fully and prevent excessive spreading during baking. The cold temperature firms up the butter and creates thicker cookies with more concentrated flavor.
| Chilling Method | Time Range | Benefits |
|---|---|---|
| Refrigeration | 24-72 hours | Enhanced flavor, reduced spreading, thicker cookies |
| Flash freezing | 2+ hours | Long-term storage, bake-ready portions |
Store refrigerated dough in an airtight container for up to 72 hours maximum. Beyond this timeframe the dough quality begins to deteriorate and flavors become muted.
Freezing Cookie Dough
Flash freezing individual cookie dough balls offers the ultimate convenience for fresh baked cookies anytime. We shape the dough into portions using our cookie scoop then place them on a parchment lined baking sheet. After freezing solid for 2 hours we transfer the dough balls to airtight containers or freezer bags.
Frozen cookie dough maintains quality for several months when stored properly. We label containers with the date and baking instructions for easy reference later.
Baking from Frozen
Baking frozen cookie dough requires minimal adjustments to our standard technique. We place frozen dough balls directly on prepared baking sheets without thawing. The extended baking time adds just 1 to 3 minutes to our usual 8 to 10 minute range.
Cold dough spreads less during baking which helps maintain that coveted chewy texture we love. We watch for the same visual cues with lightly golden edges indicating perfect doneness.
Measuring for Consistency
Accurate flour measurement ensures consistent results every time we bake. We use dry measuring cups and level the flour with a straight edge rather than scooping directly from the bag. This technique prevents dense cookies caused by too much flour.
Loading each cookie with plenty of chocolate chips guarantees at least two gooey pieces in every bite. We never skimp on this essential ingredient that makes our cookies irresistible.
Variations
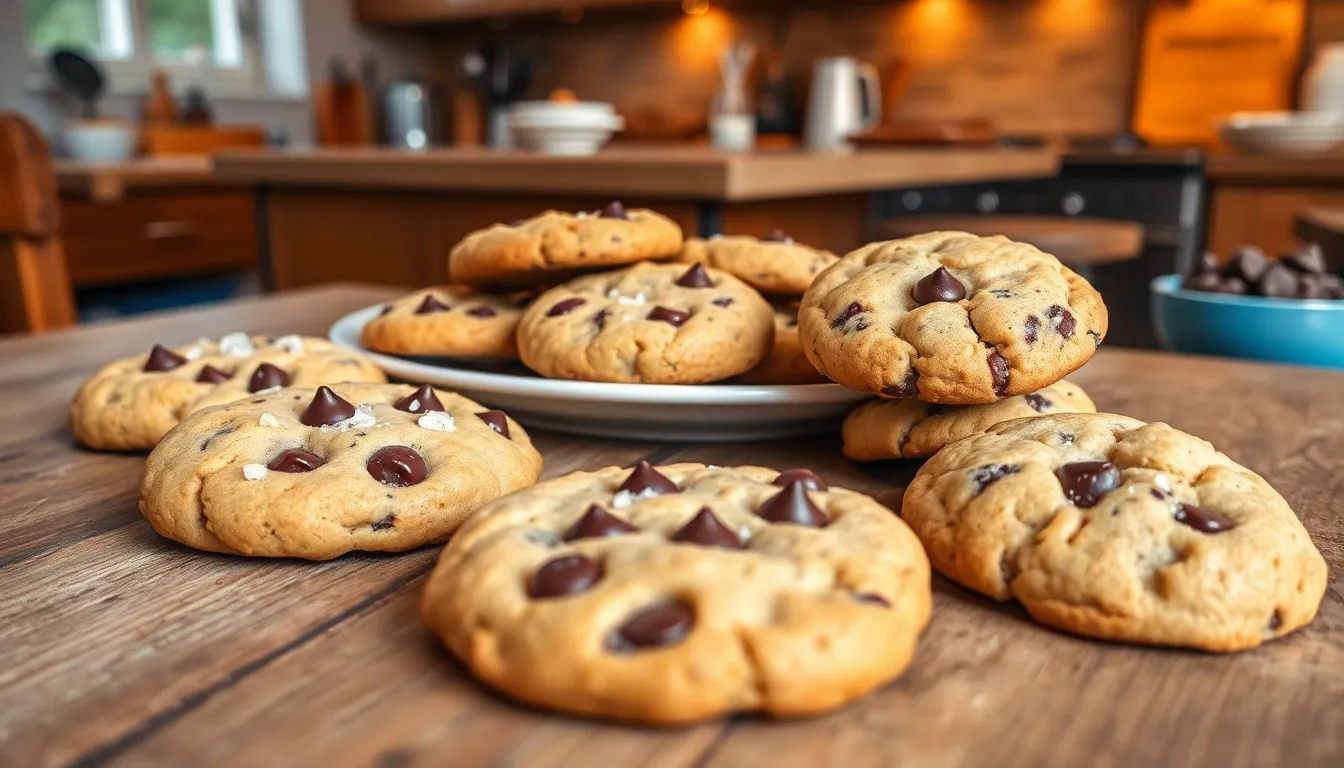
Our classic chocolate chip cookie recipe serves as the perfect foundation for creative variations that cater to different tastes and dietary needs. These adaptations allow us to customize our cookies while maintaining that irresistible homemade quality.
Brown Butter Chocolate Chip Cookies
Brown butter transforms our beloved cookies into something extraordinary with its rich nutty flavor profile. We create this variation by heating butter in a saucepan over medium heat until it turns golden brown and develops a fragrant aroma that fills the kitchen.
The browning process caramelizes the milk solids in the butter while adding complex flavors that complement the chocolate perfectly. We allow the browned butter to cool slightly before incorporating it into our cookie dough following the same method as our original recipe.
This technique intensifies the overall taste while creating cookies with deeper flavor notes that remind us of toasted nuts and caramel. The result delivers cookies that taste sophisticated yet remain familiar and comforting.
Sea Salt Chocolate Chip Cookies
A simple sprinkle of flaky sea salt elevates our cookies by creating the perfect sweet and salty balance that keeps us reaching for more. We add just a pinch of high-quality sea salt to the tops of our cookies before sliding them into the oven.
The salt crystals provide textural contrast while improving the chocolate flavor and balancing the sweetness naturally. This variation works particularly well when we use our combination of milk and dark chocolate chips.
We recommend using flaky sea salt rather than table salt because the larger crystals create bursts of flavor without overwhelming the cookie’s sweetness. The contrast makes each bite more interesting and satisfying.
Gluten-Free Option
Our gluten-free variation accommodates those with dietary restrictions without sacrificing the texture and flavor we love in traditional chocolate chip cookies. We replace the all-purpose flour with gluten-free alternatives like almond flour or a quality gluten-free flour blend.
When using almond flour we typically need about 2 cups instead of the standard 2¼ cups of wheat flour. Rice flour blends may require slight adjustments to the liquid content since they absorb moisture differently than traditional flour.
We find that adding an extra teaspoon of vanilla extract helps enhance the flavor when using gluten-free flours. The key lies in not overmixing the dough and allowing it to chill for the full 30 minutes to achieve the best texture possible.
Troubleshooting Common Issues
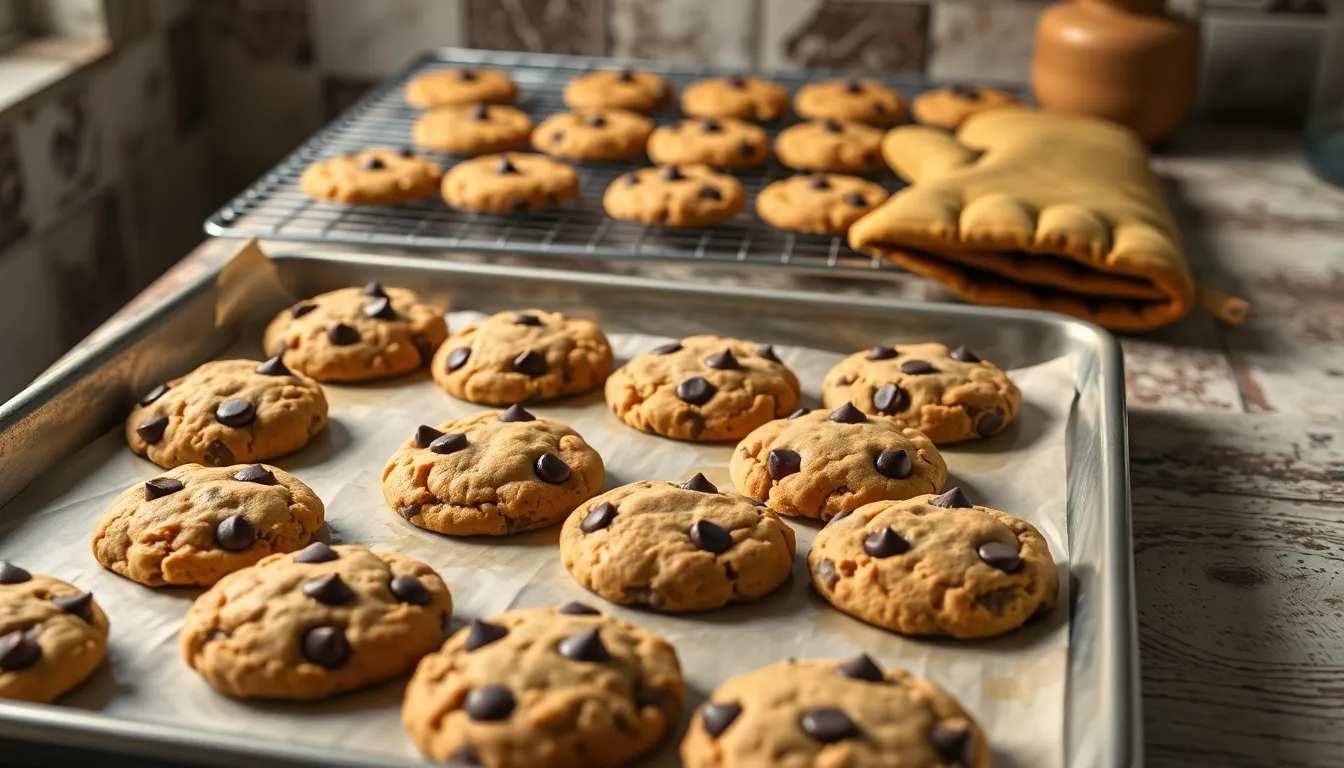
Even experienced bakers encounter challenges when making chocolate chip cookies. We understand how frustrating it can be when our cookies don’t turn out as expected. These common problems have simple answers that will help you achieve perfect results every time.
Excessive Spread
Our cookies spread too much across the baking sheet when several factors work against us. Overmixed dough creates this issue as excessive mixing develops the gluten structure. Too much white sugar compared to brown sugar also causes excessive spreading since white sugar melts faster during baking.
| Problem Factor | Solution |
|---|---|
| Overmixed dough | Mix just until ingredients combine |
| Sugar imbalance | Balance white and brown sugar ratios |
| Low baking temperature | Increase oven temperature |
| Warm baking sheets | Use cool baking sheets between batches |
| Skipped chilling | Chill dough before baking |
Low baking temperatures prevent the cookies from setting quickly enough to maintain their shape. Warm baking sheets from previous batches immediately start melting the dough. We recommend chilling the shaped cookie dough for at least 30 minutes before baking to firm up the fats.
Hard or Tough Cookies
Overmixing the dough creates tough cookies by developing too much gluten in the flour. Adding excessive flour also results in dry and hard cookies that lack the tender texture we want.
Mix the dough just until the flour disappears into the mixture. We suggest adding a few tablespoons of milk to soften overly dry dough. Measuring flour accurately prevents adding too much to the recipe.
Soft or Undercooked Cookies
Incorrect oven temperature often causes cookies to remain soft and undercooked in the center. Many home ovens run cooler than their display indicates.
Use an external oven thermometer to verify your actual baking temperature. Increase the temperature by 25 degrees if your oven runs cool. Bake cookies for additional 1-2 minutes if they appear too soft when you remove them from the oven.
Crumbly Cookies
Too much flour creates cookies that fall apart easily when handled. Insufficient fat in the dough also leads to crumbly texture since fats provide moisture and binding.
Check your ingredient measurements carefully and reduce flour if you added too much. Add more butter or margarine to dry dough that crumbles during mixing. We recommend weighing flour for the most accurate measurements.
Uneven Distribution of Chocolate Chips
Inadequate mixing leaves some cookies loaded with chocolate chips while others have very few. This happens when we don’t fold the chips thoroughly into the dough.
Gently fold chocolate chips into the dough using a spatula rather than a mixer. Ensure chips distribute evenly throughout the mixture before shaping cookies. Using a darker baking sheet prevents chocolate chips from melting unevenly during the baking process.
Conclusion
We’ve shared everything you need to transform your kitchen into a chocolate chip cookie haven. From Ruth Wakefield’s accidental invention to our foolproof recipe these timeless treats continue to bring joy to homes everywhere.
The beauty of chocolate chip cookies lies in their simplicity and endless possibilities. Whether you’re following our classic recipe or experimenting with brown butter and sea salt variations there’s a perfect cookie waiting to be discovered.
Armed with proper techniques storage tips and troubleshooting knowledge you’re ready to create bakery-quality cookies that’ll have everyone asking for your secret. So preheat that oven grab your ingredients and let’s make some magic happen one chocolate chip at a time.
Frequently Asked Questions
What is the origin of chocolate chip cookies?
Chocolate chip cookies were created by accident in 1938 by Ruth Wakefield at her Toll House Inn. She originally intended to make chocolate cookies but ran out of baker’s chocolate, so she chopped up a semi-sweet chocolate bar and added it to her cookie dough, expecting it to melt and create chocolate cookies. Instead, the chocolate pieces held their shape, creating the first chocolate chip cookies.
What ingredients do I need to make perfect chocolate chip cookies?
The essential ingredients include 2¼ cups all-purpose flour, 1 teaspoon each of baking soda and salt, ½ cup granulated sugar, 1 cup packed light brown sugar, 1 cup softened unsalted butter, 2 large eggs, 2 teaspoons pure vanilla extract, and 2 cups semi-sweet chocolate chips. Optional additions include 1 cup chopped walnuts and a sprinkle of sea salt.
What equipment is essential for baking chocolate chip cookies?
Key equipment includes a large mixing bowl or stand mixer, hand mixer, measuring cups and spoons, silicone spatula, cookie scoop, baking sheet, parchment paper, metal spatula, and cooling racks. Additional helpful tools include a bench scraper and oven thermometer. Having the right equipment ensures consistent results and makes the baking process more enjoyable and efficient.
How long should I chill the cookie dough before baking?
Cookie dough should be chilled for at least 30 minutes before baking, though chilling for 24 hours is even better. This chilling time improves the cookie texture, prevents excessive spreading during baking, and enhances the overall flavor development. The dough can be refrigerated for up to 3 days or frozen for longer storage.
What temperature should I bake chocolate chip cookies at?
Bake chocolate chip cookies at 375°F (190°C) for 8 to 10 minutes. Look for edges that are light golden brown as your visual cue for doneness. The centers may appear slightly underbaked, but they will continue cooking on the hot baking sheet after removal from the oven, resulting in the perfect chewy texture.
How should I store freshly baked chocolate chip cookies?
Store cookies in an airtight container at room temperature for up to one week, in the refrigerator for up to one month, or in the freezer for up to three months. To maintain freshness, place a piece of bread or marshmallow in the container to absorb moisture, and store different cookie flavors separately to prevent flavor transfer.
Why are my chocolate chip cookies spreading too much?
Excessive spreading usually occurs due to warm dough, too much butter, insufficient flour, or an oven temperature that’s too low. To fix this, chill your dough for at least 30 minutes, ensure proper ingredient measurements, verify your oven temperature with a thermometer, and avoid overmixing the dough once flour is added.
Can I make gluten-free chocolate chip cookies?
Yes, you can make gluten-free chocolate chip cookies by substituting the all-purpose flour with almond flour or a gluten-free flour blend. Maintain the same ratios and follow the same preparation methods. The texture may be slightly different, but the cookies will still be delicious and maintain their homemade quality.
What’s the secret to achieving the perfect cookie texture?
The perfect texture comes from using a combination of white and brown sugars, properly creaming butter and sugars until light and fluffy, not overmixing once flour is added, and chilling the dough. Using both milk and dark chocolate chips and ensuring accurate flour measurements also contribute to the ideal chewy center and crispy edges balance.
How can I prevent my cookies from becoming too hard or tough?
Hard or tough cookies usually result from overbaking, too much flour, or overmixing the dough. To prevent this, watch for light golden edges as your doneness indicator, measure flour accurately (preferably by weight), mix just until ingredients are combined, and remove cookies from the oven when centers still look slightly underbaked.

