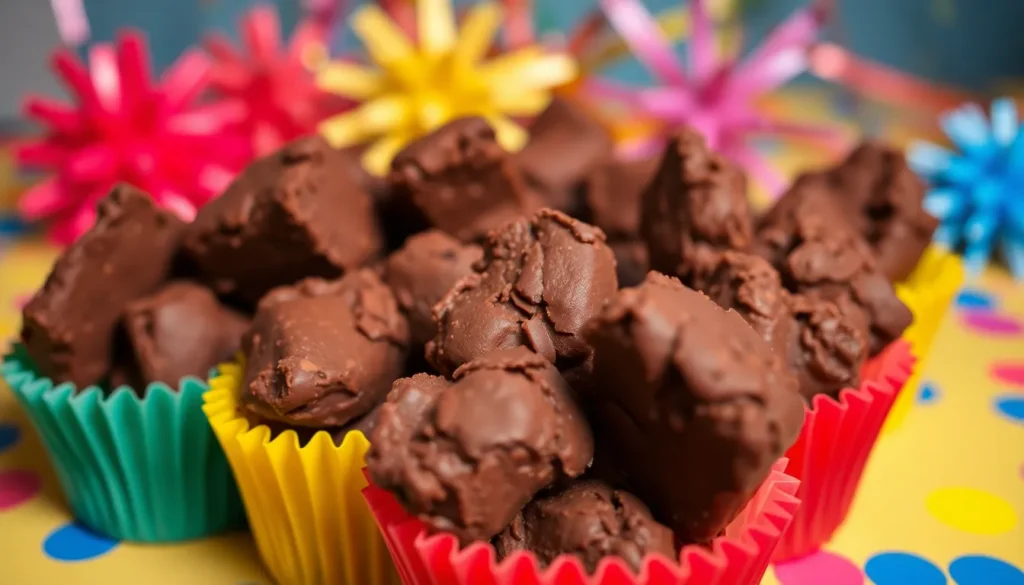
Nothing beats the nostalgic crunch of homemade chocolate crackles – those delightfully crispy treats that transport us back to childhood birthday parties and school fundraisers. These iconic no-bake confections combine the rich flavor of cocoa with the satisfying crunch of rice cereal, creating a texture that’s absolutely irresistible.
We’ve perfected this classic recipe to deliver the ultimate chocolate crackle experience. The secret lies in achieving that perfect balance between chocolatey sweetness and crispy texture that melts in your mouth. Whether you’re planning a children’s party, need a quick dessert for unexpected guests, or simply want to satisfy your sweet tooth, these treats come together in just minutes.
The best part? You don’t need any fancy equipment or baking skills. With just a handful of pantry staples and our foolproof method, you’ll create chocolate crackles that rival any bakery version – and they’re ready to enjoy in under 30 minutes.
Ingredients
We gather these pantry staples to create our perfect chocolate crackles that deliver that signature crispy texture and rich chocolate flavor. Our recipe uses everyday ingredients that most home cooks already have on hand.
For the Chocolate Crackles:
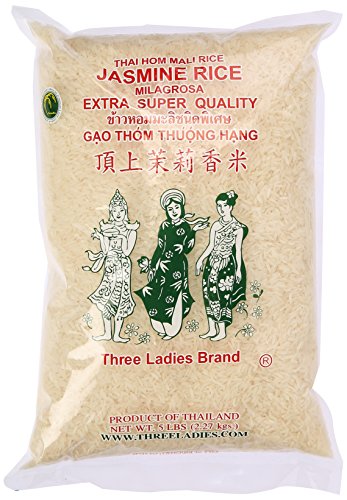
- 4 cups Rice Bubbles cereal (or Rice Krispies)
- 1 cup powdered sugar (sifted)
- 1 cup desiccated coconut
- 3 tablespoons unsweetened cocoa powder
- 125g butter (about 1/2 cup)
- 2 tablespoons golden syrup or honey
Optional Add-ins:
- 1/2 cup mini chocolate chips
- 1/4 cup chopped nuts (almonds or peanuts)
- 1 teaspoon vanilla extract
We recommend measuring the Rice Bubbles cereal carefully since too much will create crumbly crackles while too little results in overly dense treats. The butter should be at room temperature for easier melting and mixing. Fresh coconut works beautifully but desiccated coconut provides the traditional texture we associate with authentic chocolate crackles.
Our cocoa powder measurement creates the perfect chocolate intensity without overwhelming the delicate crunch of the cereal. We sift the powdered sugar to eliminate lumps that might create uneven sweetness distribution throughout our mixture.
Paper cupcake liners make the perfect serving vessels for these no-bake treats and prevent sticking during the setting process.


Equipment Needed

Making chocolate crackles requires minimal kitchen equipment that most home cooks already have on hand. We find that having the right tools makes the process smoother and ensures consistent results every time.
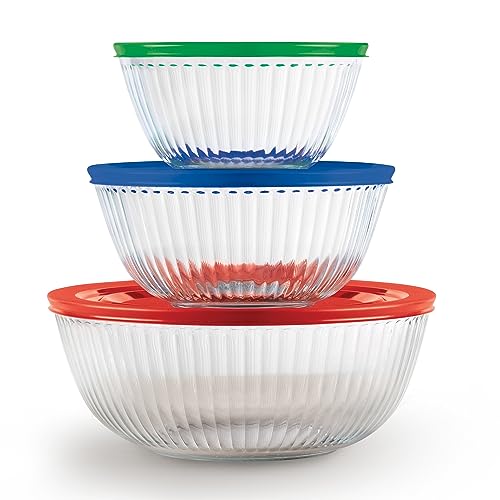
Large mixing pot serves as our primary vessel for melting butter and combining ingredients. The pot should have enough capacity to accommodate all ingredients while allowing room for stirring without spillage.
Wooden spoon or silicone spoon provides the ideal stirring tool for combining melted butter with dry ingredients. We prefer these materials because they won’t conduct heat and make the mixing process more comfortable.
Spatula helps us scrape down the sides of the pot and ensures every bit of mixture gets incorporated properly. This tool proves essential for transferring the mixture efficiently from pot to serving cups.
Muffin pan holds our paper cups steady during the filling and setting process. Standard 12-cup muffin pans work perfectly for organizing the chocolate crackles while they firm up.
Paper cups create individual servings and prevent sticking during the cooling process. We recommend using standard cupcake liners that fit comfortably in your muffin pan slots.
Microwave-safe bowl offers an alternative melting method for those who prefer using the microwave instead of stovetop cooking. Choose a bowl large enough to hold all ingredients with room for stirring.
Each piece of equipment plays a exact role in creating perfectly formed chocolate crackles that maintain their shape and texture. Having these tools ready before starting ensures a seamless cooking experience from start to finish.


Instructions

We’ve gathered all our ingredients and equipment, so now we’ll walk through the simple process of creating these irresistible chocolate crackles. Each step builds upon the last to ensure our treats achieve that perfect balance of crunch and flavor.
Prep the Ingredients
We start by measuring out 4 cups of Rice Bubbles cereal into a large bowl and setting it aside. Next, we sift 1 cup of icing sugar through a fine mesh strainer to eliminate any lumps that could create uneven texture. We measure 1 cup of desiccated coconut and place it in a separate bowl for easy access. Finally, we portion out 3 tablespoons of cocoa powder if we’re using it for extra chocolate intensity.
Melt the Chocolate
We place 250g of Copha or our chosen chocolate in a microwave-safe bowl and heat it in 30-second intervals, stirring between each burst until completely smooth. Alternatively, we can use a double boiler by placing the bowl over simmering water and stirring continuously until melted. The mixture should be liquid but not burning hot when we proceed to the next step.
Mix the Base
We pour the melted chocolate or Copha into our large mixing pot and immediately add the sifted icing sugar. Using our wooden spoon, we stir vigorously until the mixture becomes glossy and well combined. If we’re including cocoa powder, we whisk it in now until no streaks remain and the base achieves a rich, uniform color.
Add the Rice Cereal
We gradually fold the Rice Bubbles cereal into our chocolate base, ensuring each piece gets thoroughly coated. The coconut goes in next, and we continue stirring until every ingredient is evenly distributed throughout the mixture. Our spatula helps scrape down the sides of the pot to incorporate any ingredients that might stick.
Fill the Paper Cases
We spoon generous portions of our mixture into paper cupcake liners placed in our muffin pan, pressing gently to compact each crackle. The cases should be filled about three-quarters full to allow for proper setting. We transfer the filled muffin pan to the refrigerator and let the crackles set for 30 minutes to 1 hour until they hold their shape when gently pressed.


Directions for Setting

Once we’ve spooned our chocolate crackle mixture into the paper cupcake liners, the setting process becomes crucial for achieving that perfect texture we all remember from childhood. We need to ensure our chocolate crackles firm up properly while maintaining their signature crunch.
Temperature Control for Perfect Setting
We recommend setting our refrigerator temperature between 35-38°F for optimal results. This temperature range allows the chocolate mixture to firm up gradually without becoming too hard or developing condensation. Our chocolate crackles should feel solid to the touch but still have that satisfying bite when we test them after the initial setting period.
Timing Guidelines for Different Setting Methods
| Setting Method | Temperature | Time Required | Texture Result |
|---|---|---|---|
| Refrigerator | 35-38°F | 2-3 hours | Firm with slight give |
| Freezer | 0°F | 30-45 minutes | Very firm |
| Room Temperature | 68-72°F | 4-6 hours | Softer set |
We place our filled muffin pan directly into the refrigerator without covering for the first hour. This initial exposure allows any excess moisture to evaporate while the chocolate mixture begins to solidify. After the first hour passes, we can cover the pan with plastic wrap to prevent our chocolate crackles from absorbing other refrigerator odors.
Testing for Proper Set
We check our chocolate crackles after two hours by gently pressing the top center of one treat. The surface should spring back slightly without leaving an indentation. If our finger leaves a mark, we continue refrigerating for another 30 minutes before testing again.
Storage After Setting
Once our chocolate crackles have set completely, we transfer them to an airtight container. We can stack them with parchment paper between layers to prevent sticking. Our properly set chocolate crackles will maintain their texture for up to one week when stored in the refrigerator or up to three weeks in the freezer.


Make-Ahead Tips

We recommend planning ahead when making chocolate crackles since they require proper setting time and benefit from strategic storage techniques. Our experience shows that these treats actually improve in flavor and texture when prepared in advance.
Storage Guidelines
Storing chocolate crackles properly ensures they maintain their signature crispy texture and rich chocolate flavor. We store our finished chocolate crackles in an airtight container in the refrigerator for up to four days. The container prevents moisture from affecting the cereal’s crunch while keeping the chocolate coating firm.
Room temperature storage works for short periods but we prefer refrigeration for optimal texture retention. Place parchment paper between layers when stacking multiple chocolate crackles to prevent them from sticking together.
Freezing Options
We frequently freeze chocolate crackles for longer storage since they freeze exceptionally well. Our freezing method involves placing the set chocolate crackles in zip-lock bags where they maintain quality for up to one month. Remove as much air as possible from the bags before sealing to prevent freezer burn.
Thaw frozen chocolate crackles in the refrigerator for about 30 minutes before serving. We find they taste just as fresh as when first made using this approach.
Setting Time Requirements
| Setting Method | Time Required | Temperature Range | Texture Result |
|---|---|---|---|
| Refrigerator | 30-60 minutes | 35-38°F | Firm and crispy |
| Freezer | 15-20 minutes | 0°F | Very firm |
| Room Temperature | 2-3 hours | 68-72°F | Soft set |
Allow chocolate crackles to set in the refrigerator for at least 30 minutes to an hour before serving for the best texture. We always plan this setting time into our preparation schedule when hosting parties or events.
Make-Ahead Strategies
Our most successful make-ahead approach involves preparing chocolate crackles the night before serving. This timing allows the flavors to meld while ensuring the treats are perfectly set. We prepare the mixture and portion it into cupcake liners before refrigerating overnight.
For parties we make chocolate crackles up to three days in advance. Store them in sealed containers in the refrigerator and bring to room temperature 15 minutes before serving for optimal taste and texture.
Storage Instructions

We store our chocolate crackles using different methods depending on how long we plan to keep them. Proper storage ensures these treats maintain their signature crunch and delicious flavor.
Refrigerator Storage
We recommend storing chocolate crackles in an airtight container in the refrigerator for optimal freshness. The cool temperature preserves their texture and prevents any melting issues. Our chocolate crackles stay fresh for 4 to 5 days when refrigerated properly.
| Storage Method | Duration | Container Type | Temperature |
|---|---|---|---|
| Refrigerator | 4-5 days | Airtight container | 35-38°F |
| Room temperature | 1-2 days | Airtight container | Below 73°F |
| Freezer | 2-3 months | Wrapped individually | 0°F |
Room Temperature Storage
We can store chocolate crackles at room temperature for short periods. This method works best for 1 to 2 days maximum. Keep in mind that warmer temperatures may cause them to lose their crunch and structural integrity.
Freezer Storage
We freeze chocolate crackles for extended storage by wrapping each piece individually in plastic wrap. Alternatively we place them in zip-lock bags before freezing. This method preserves them for several months while maintaining their quality.
Special Storage Considerations
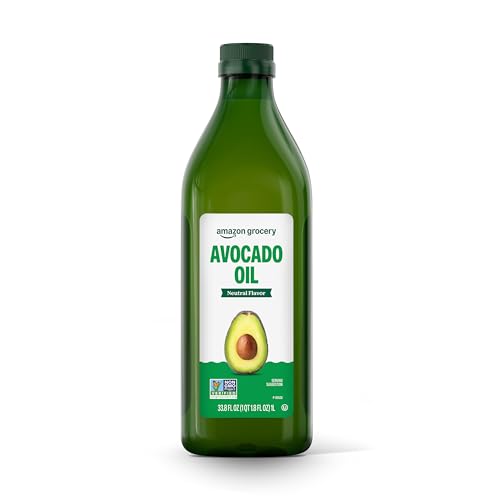
We pay special attention to the type of fat used in our recipe when determining storage methods. Chocolate crackles made with copha remain stable at temperatures up to 96.8°F. Those made with coconut oil require refrigeration since coconut oil melts at 73°F.
Environmental conditions play a crucial role in storage success. We avoid storing chocolate crackles in warm environments where they might melt and lose their appealing texture. The refrigerator remains our preferred storage location for consistent results.


Serving Suggestions

Our perfectly set chocolate crackles offer endless presentation possibilities that transform these simple treats into memorable centerpieces for any occasion. Individual serving cups remain the most popular approach, with each chocolate crackle nestled in its paper liner for easy handling and portion control.
Party-Perfect Presentations
We recommend arranging individual chocolate crackles on colorful serving platters for children’s birthday parties. Decorative elements like edible glitter, rainbow sprinkles, or mini marshmallows can be pressed gently into the surface before the final setting stage. For unicorn-themed celebrations, we create stunning visual displays by adding pastel-colored candies and edible pearls to transform ordinary chocolate crackles into magical treats.
Elegant Layered Variations
Creating a layered chocolate crackle slice elevates these treats to dessert status suitable for adult gatherings. We construct these impressive desserts with a crushed biscuit base, followed by a white chocolate crackle center layer, and finished with our traditional dark chocolate crackle mixture on top. Each layer requires individual setting time in the refrigerator before adding the next component.
Seasonal and Holiday Adaptations
Holiday presentations allow us to showcase chocolate crackles in themed arrangements throughout the year. Christmas tree shapes work beautifully when we mold the mixture into cone forms using parchment paper, while Easter bunny silhouettes create delightful spring treats. We achieve these shapes by pressing the mixture into custom molds or hand-forming while the mixture remains pliable.
Dietary Accommodation Options
Gluten-free versions expand our serving possibilities for guests with dietary restrictions. We substitute traditional biscuit bases with gluten-free alternatives and top finished crackles with rich chocolate ganache and oversized rice bubble clusters for added texture contrast. These adaptations maintain the authentic chocolate crackle experience while meeting exact nutritional requirements.
Temperature Considerations for Service
Serving temperature significantly impacts the chocolate crackle experience. We serve these treats directly from refrigerator storage for optimal texture, allowing them to reach room temperature for only 5-10 minutes before consumption. This brief warming period enhances flavor release while maintaining the characteristic firm bite that defines perfectly made chocolate crackles.


Conclusion
We’ve covered everything you need to know about creating perfect chocolate crackles that’ll transport you back to childhood with every bite. These timeless treats prove that the simplest recipes often deliver the most satisfying results.
The beauty of chocolate crackles lies in their versatility and foolproof nature. Whether you’re planning ahead for a special event or need a quick dessert solution we’ve shown you how proper storage and setting techniques ensure consistent results every time.
With our detailed guidance on ingredients equipment and serving suggestions you’re now equipped to create chocolate crackles that’ll impress guests and satisfy that nostalgic craving. The combination of crispy texture rich cocoa flavor and effortless preparation makes these treats a winner for any occasion.
Frequently Asked Questions
What are chocolate crackles and why are they so popular?
Chocolate crackles are no-bake treats made with Rice Bubbles cereal, cocoa powder, and other simple ingredients. They’re popular because they evoke childhood memories, have a perfect crispy texture with rich cocoa flavor, and are incredibly easy to make without any baking skills required.
What ingredients do I need to make chocolate crackles?
You’ll need Rice Bubbles cereal, powdered sugar, desiccated coconut, cocoa powder, butter, and golden syrup or honey. Optional add-ins include mini chocolate chips, chopped nuts, and vanilla extract. All ingredients are basic pantry staples that are easy to find.
What kitchen equipment is required for making chocolate crackles?
You need minimal equipment: a large mixing pot for melting ingredients, a wooden or silicone spoon for stirring, a spatula for scraping, a muffin pan to hold paper cups steady, and a microwave-safe bowl if using the microwave method.
How long do chocolate crackles take to set?
In the refrigerator at 35-38°F, chocolate crackles take about 2-3 hours to set completely. For faster results, freeze them for 30-45 minutes. Room temperature setting takes 4-6 hours but may result in softer texture depending on ambient temperature.
How should I store chocolate crackles and how long do they last?
Store chocolate crackles in an airtight container in the refrigerator for 4-5 days for best quality. They can be kept at room temperature for 1-2 days or frozen for 2-3 months. Refrigeration is preferred for maintaining optimal texture and freshness.
Can I make chocolate crackles ahead of time?
Yes, chocolate crackles actually improve in flavor and texture when made in advance. They can be prepared up to 4 days ahead and stored in the refrigerator, or frozen for up to one month, making them perfect for party planning.
What’s the best way to serve chocolate crackles?
Serve chocolate crackles directly from the refrigerator in individual paper cups for easy handling. Let them warm slightly at room temperature for 5-10 minutes before serving to enhance flavor while maintaining their characteristic crispy texture.
Are there any variations or dietary adaptations for chocolate crackles?
Yes, you can create gluten-free versions using certified gluten-free Rice Bubbles. Add-ins like mini chocolate chips, nuts, or different extracts can customize the flavor. You can also create themed shapes for holidays or layer different variations for adult gatherings.


