We’re about to share our secret weapon for impressing guests without spending hours in the kitchen. Cookie butter truffles combine the irresistible flavor of Biscoff or speculoos spread with rich chocolate coating to create bite-sized pieces of pure indulgence.
These no-bake treats deliver maximum impact with minimal effort. We’ve perfected this simple technique that transforms just a few pantry staples into elegant confections that rival expensive chocolatier creations. The creamy cookie butter center provides that perfect balance of spiced sweetness and smooth texture that’ll have everyone asking for your recipe.
Whether you’re planning a holiday party or need a quick dessert for unexpected company, these truffles solve your entertaining dilemma. They’re ready in under 30 minutes and can be customized with different coatings and toppings to match any occasion.
Ingredients
We need just a few simple ingredients to create these decadent cookie butter truffles. Our recipe focuses on quality ingredients that deliver maximum flavor with minimal effort.
For the Truffle Base
- 1 cup cookie butter (Biscoff or speculoos spread)
- 4 tablespoons unsalted butter, softened at room temperature
- 1½ cups powdered sugar, sifted
- 1 teaspoon vanilla extract
- ¼ teaspoon fine sea salt
- 2 tablespoons heavy cream, room temperature
For the Coating
- 12 ounces dark chocolate chips or chopped chocolate (60-70% cocoa)
- 2 tablespoons coconut oil or vegetable shortening
- Optional toppings: crushed Biscoff cookies, chopped nuts, or sea salt flakes
Equipment Needed
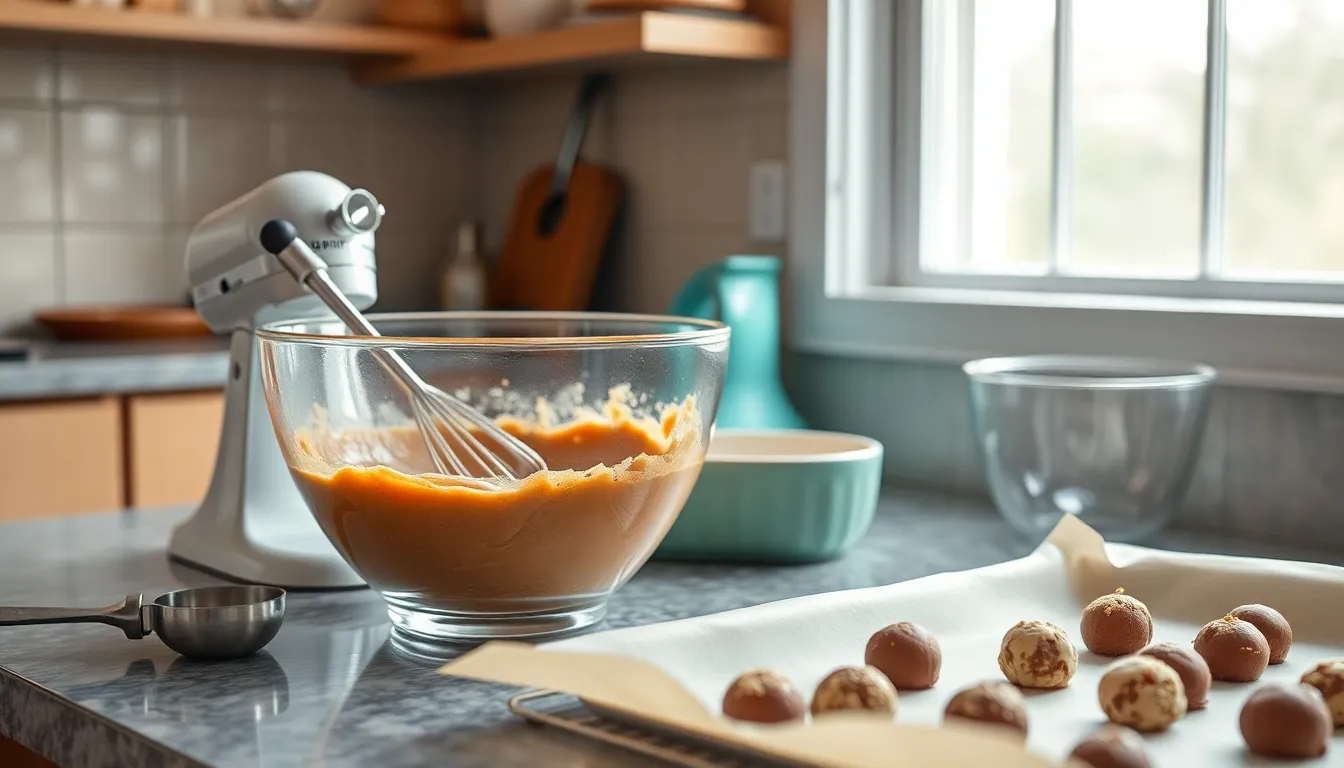
Making these luxurious cookie butter truffles requires just a handful of basic kitchen tools that most home bakers already have on hand. We’ve designed this recipe to be accessible without needing specialized equipment or expensive gadgets.
A large mixing bowl serves as our primary workspace for combining the cookie butter mixture. This bowl needs enough capacity to accommodate all ingredients while allowing room for thorough mixing without spillage.
For achieving the perfect creamy texture, we recommend using a hand mixer or electric mixer. These tools ensure the cookie butter and softened butter blend completely smooth, creating the ideal base for our truffles. Manual mixing works in a pinch but requires significantly more effort and time.
The small to medium cookie scoop becomes essential for creating uniform truffle portions. This tool helps us maintain consistent sizing, which ensures even coating and professional presentation. Each truffle will be approximately 1 inch in diameter when using a standard small scoop.
A parchment lined baking sheet provides the perfect surface for chilling our formed truffles. The parchment paper prevents sticking and makes transferring the truffles much easier during the coating process.
Finally, we need a microwave safe bowl for melting our chocolate coating. This vessel must be deep enough to allow easy dipping of each truffle while providing sufficient chocolate depth for complete coverage.
These basic tools work together to streamline the truffle making process, allowing us to focus on technique rather than equipment challenges. Most home kitchens already contain these items, making this recipe immediately accessible for any skill level.
Instructions
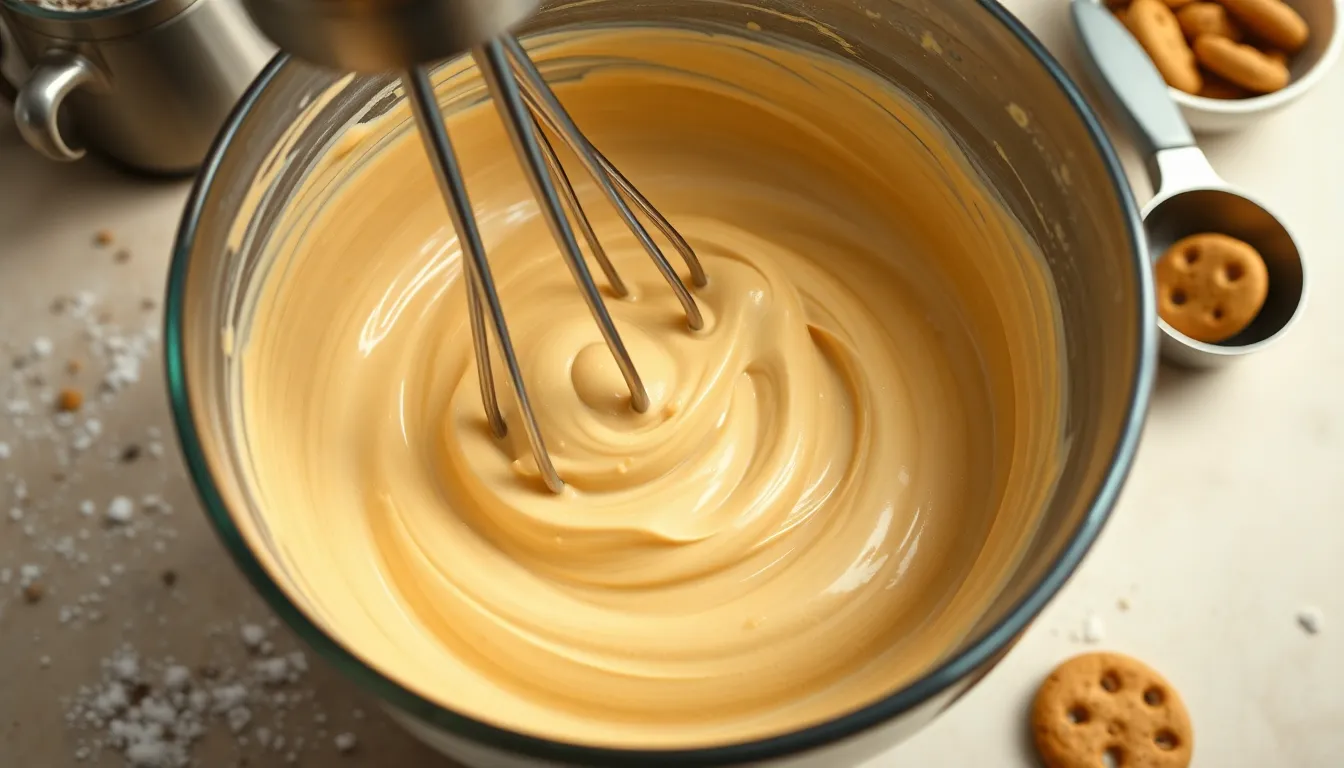
Follow these straightforward steps to create your cookie butter truffles. We’ll guide you through each stage to ensure perfect results every time.
Prep the Truffle Mixture
We start by combining 14 oz creamy cookie butter with 1/2 cup butter in a large mixing bowl. Add 1/4 tsp salt and 1/2 tsp vanilla extract to enhance the flavors. Using your hand mixer, blend these ingredients until completely smooth and well incorporated.
Gradually add 2 cups powdered sugar to the mixture while mixing on low speed. Continue mixing slowly until the mixture reaches a dough-like consistency that holds together without being sticky. The texture should be firm enough to shape but still pliable.
Chill the Mixture
Transfer your truffle mixture to the refrigerator or freezer to firm up. We recommend chilling for approximately 30 minutes in the freezer for optimal results. This crucial step makes the mixture much easier to handle when shaping the truffles.
The mixture is ready when it feels firm to the touch and doesn’t stick to your fingers when pressed gently. Proper chilling ensures clean, uniform truffle shapes in the next step.
Shape the Truffles
Scoop the chilled mixture into portions of 1 to 1.5 tablespoons using your cookie scoop. Roll each portion between your palms to form smooth, round balls. Work quickly to prevent the mixture from warming up too much in your hands.
Place each shaped truffle on your parchment-lined baking sheet, spacing them evenly apart. Keep the shaped truffles cool while you prepare the chocolate coating.
Coat the Truffles
Melt your chosen chocolate in a microwave-safe bowl using 15-second increments, stirring thoroughly between each interval. Alternatively, use a double boiler method for more controlled melting. The chocolate should be smooth and glossy when properly melted.
Dip each truffle into the melted chocolate using a fork, allowing excess chocolate to drip back into the bowl. Place the coated truffles back on the parchment-lined baking sheet immediately after coating.
Final Chilling
Refrigerate the chocolate-coated truffles for a minimum of 30 minutes to set the coating completely. The chocolate shell should feel firm and no longer tacky when properly set.
Store your finished cookie butter truffles in an airtight container in the refrigerator for up to one week. Allow them to come to room temperature for 5-10 minutes before serving for the best texture and flavor.
Storage Instructions
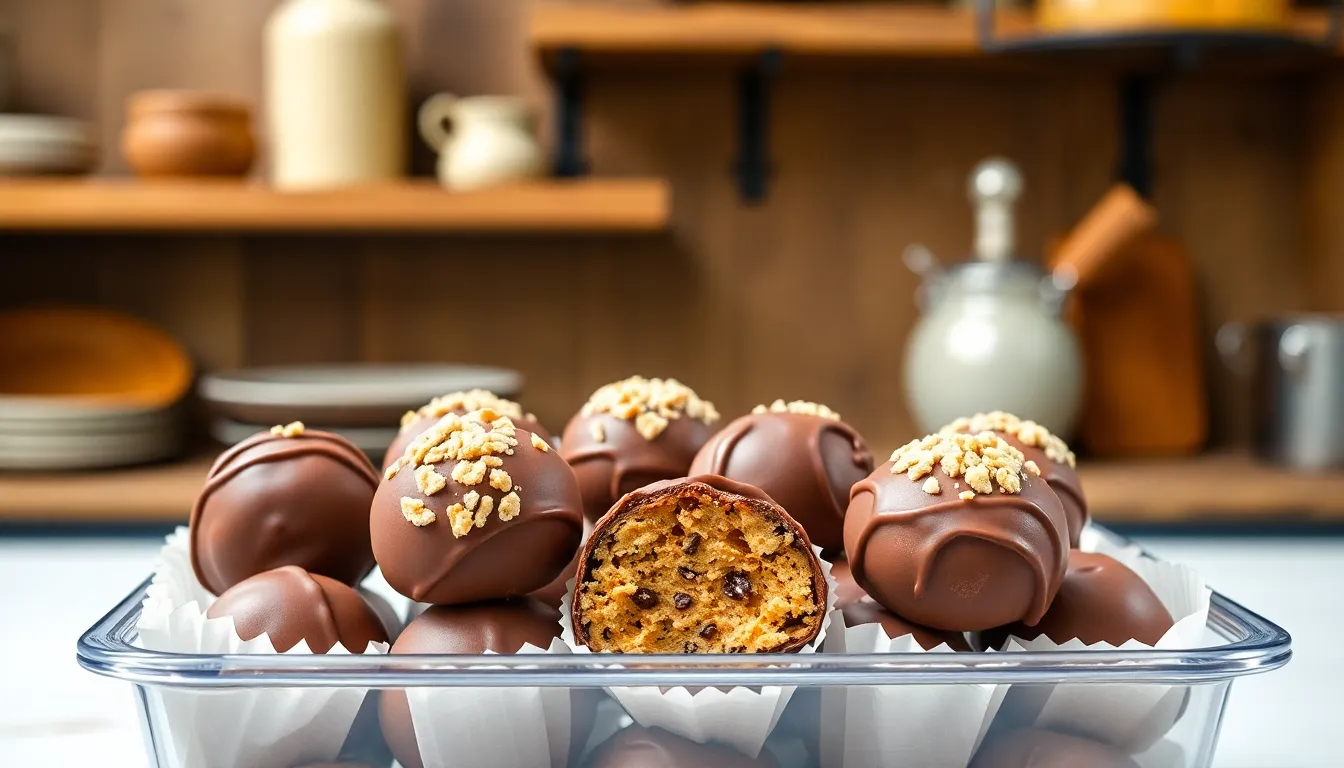
Proper storage keeps our cookie butter truffles fresh and delicious for extended periods. We recommend storing these decadent treats in an airtight container to maintain their texture and prevent them from absorbing unwanted odors.
Refrigerator Storage
For short-term storage, place the truffles in an airtight container and store them in the refrigerator. Our cookie butter truffles maintain their quality for up to 2 weeks when properly refrigerated. We suggest placing paper towels in the container to absorb any oil that may seep from the truffles during storage.
Freezer Storage
When we need longer storage options, freezing provides an excellent solution. Flash freeze the truffles on a parchment-lined baking sheet for approximately 30 minutes before transferring them to a freezer-safe container or zip-top bag. Remove as much air as possible from the container to prevent freezer burn. Our properly frozen cookie butter truffles stay fresh for up to 2 to 3 months.
| Storage Method | Duration | Container Type |
|---|---|---|
| Refrigerator | Up to 2 weeks | Airtight container |
| Freezer | 2 to 3 months | Freezer-safe container or zip-top bag |
Thawing Guidelines
We recommend thawing frozen truffles gradually for the best texture. Place frozen truffles in the refrigerator for 60 to 90 minutes or leave them at room temperature for about 20 minutes. This gentle thawing process preserves the smooth chocolate coating and creamy interior that makes these treats so irresistible.
Serving Suggestions

Temperature plays a crucial role in maximizing the flavor and texture of our cookie butter truffles. We recommend serving them after they’ve been chilled in the refrigerator for 30 minutes to achieve the perfect firm exterior and creamy interior. Allow the truffles to sit at room temperature for 5-10 minutes before serving to enhance their rich, buttery flavors and create an ideal eating experience.
Presentation Ideas
Elegant presentation elevates these homemade treats to professional standards. We suggest arranging the truffles on a decorative platter lined with parchment paper or placing each one in mini cupcake liners for individual portions. For special occasions, consider incorporating them into a larger dessert table alongside other confections to create visual variety and appeal.
Perfect Pairings
Coffee and tea complement the warm spice notes in our cookie butter truffles beautifully. We find that dark roast coffee enhances the chocolate coating while bringing out the caramelized cookie flavors. Earl Grey or chai tea provides aromatic balance to the rich, sweet profile of these treats.
Dessert wines offer another sophisticated pairing option for adult gatherings. Port wine or late harvest Riesling creates an indulgent flavor combination that highlights both the chocolate coating and the speculoos center.
Occasion Exact Serving
Holiday gatherings benefit from arranging these truffles alongside other seasonal treats. We recommend grouping them with complementary flavors like peppermint bark or gingerbread cookies to create a cohesive dessert spread. For casual entertaining, serve them directly from an attractive tin or glass container to encourage guests to help themselves.
Party presentations work exceptionally well when we display the truffles on tiered serving stands. This approach maximizes visual impact while making the treats easily accessible to guests throughout the event.
Recipe Variations
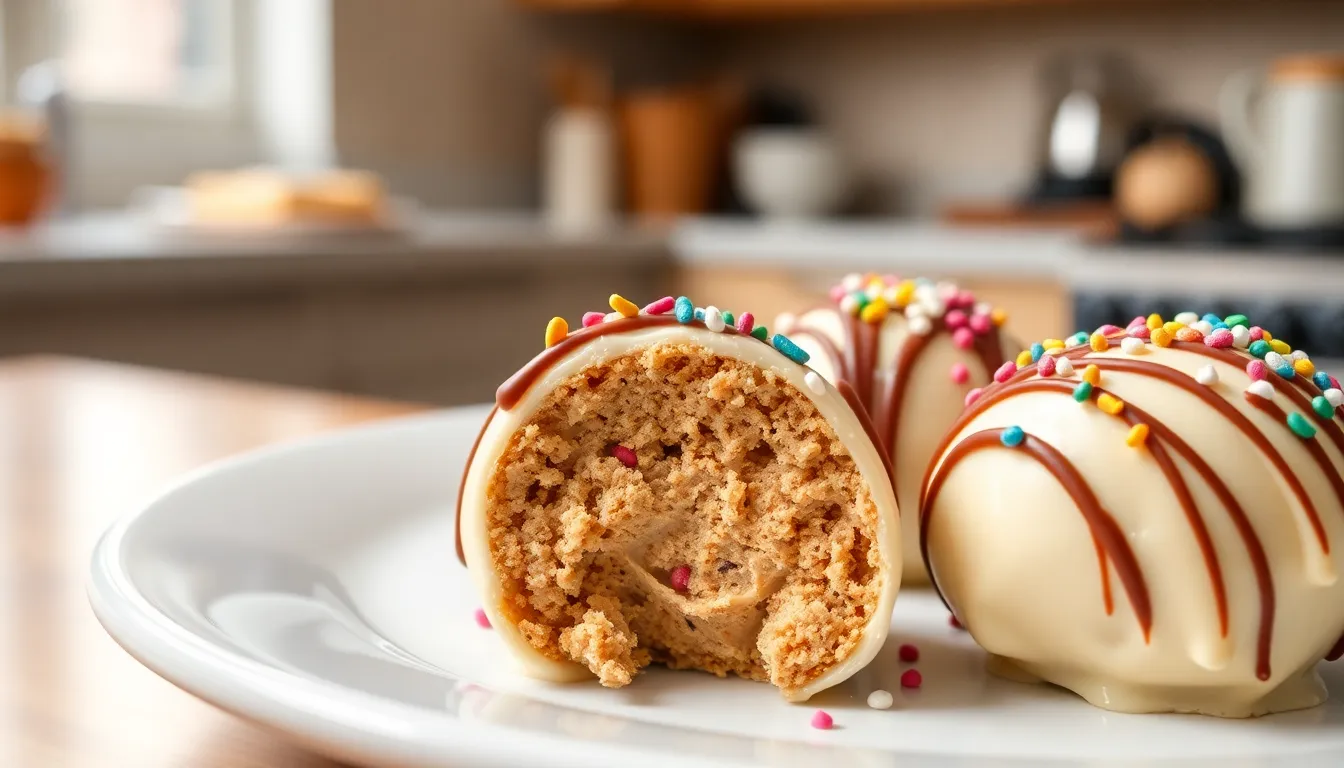
We can transform our basic cookie butter truffle recipe into exciting variations that offer different flavors and textures. Each adaptation maintains the simple no-bake approach while creating distinct visual and taste experiences.
White Chocolate Cookie Butter Truffles
We combine our standard cookie butter base with softened butter, powdered sugar, vanilla, and a pinch of salt to create the filling for these elegant truffles. Adding crushed Biscoff cookies to the mixture provides delightful textural contrast with every bite. We roll the chilled mixture into uniform balls before dipping them in melted white chocolate that we’ve enhanced with a touch of oil for smoothness. The sweet white chocolate coating creates a beautiful contrast against the spiced cookie butter center, resulting in creamy, crunchy confections that showcase sophisticated flavor balance.
Rolled Cookie Butter Truffles
We shape our cookie butter mixture into balls and coat them by rolling in additional cookie crumbs, cocoa powder, or powdered sugar instead of using chocolate. This streamlined method eliminates the dipping step entirely, making the process faster and more accessible for busy schedules. The rolling technique produces firmer truffles that are easier to handle and transport. We can customize the coating by using different cookie varieties or mixing cocoa powder with powdered sugar for varied appearances and subtle flavor differences.
Drizzled Cookie Butter Truffles
We dip our shaped truffles in chocolate and then drizzle them with contrasting chocolate types for stunning visual appeal. Milk or dark chocolate drizzled over white chocolate creates elegant patterns, while white chocolate over dark coating offers striking contrast. We enhance the presentation by sprinkling graham cracker dust or colored sprinkles on top before the drizzle sets. This variation transforms simple truffles into bakery-quality confections perfect for special occasions or gift giving.
Make-Ahead Tips

Planning ahead transforms cookie butter truffle making from a last-minute rush into a stress-free process. We recommend preparing these delightful treats days or even weeks before your event to ensure perfect results every time.
Chilling for Success
Our truffle mixture needs proper chilling to achieve the ideal texture for shaping. After combining cookie butter, butter, powdered sugar, and other ingredients, we chill the mixture for 1.5 to 2 hours in the refrigerator until it firms up sufficiently. When time is limited, a quick 5 to 15 minute freeze works perfectly for immediate handling and shaping.
Once we roll the mixture into balls, another 30-minute chill ensures the centers hold their shape during chocolate dipping. This double chilling method prevents messy melting and creates professional-looking results.
Efficient Chocolate Coating
Using chilled truffle centers makes chocolate coating significantly easier. We dip each firm center with a fork into melted chocolate, creating smooth, even coverage without the mixture falling apart. Adding a small amount of vegetable shortening to the chocolate prevents sweating after refrigeration and maintains that glossy finish.
Professional Uniformity
A cookie scoop creates consistently sized truffles that not only look professional but also ensure even chilling and coating times. This simple tool eliminates guesswork and produces bakery-quality results every time we make a batch.
Storage Timeline
| Storage Method | Duration | Best Practices |
|---|---|---|
| Refrigerator | Up to 7 days | Store in airtight container |
| Freezer | Up to 2 months | Flash freeze before long-term storage |
| Room Temperature | 2-3 hours max | Only for serving periods |
We store finished truffles in the refrigerator for up to 7 days or freeze them for up to 2 months. Before serving, we let frozen truffles sit at room temperature for just a few minutes to achieve the perfect creamy texture that makes these treats irresistible.
Preparing cookie butter truffles weeks in advance makes them ideal for holiday parties, gifts, or any special occasion where we want to minimize last-minute preparation while maximizing impressive results.
Troubleshooting Common Issues
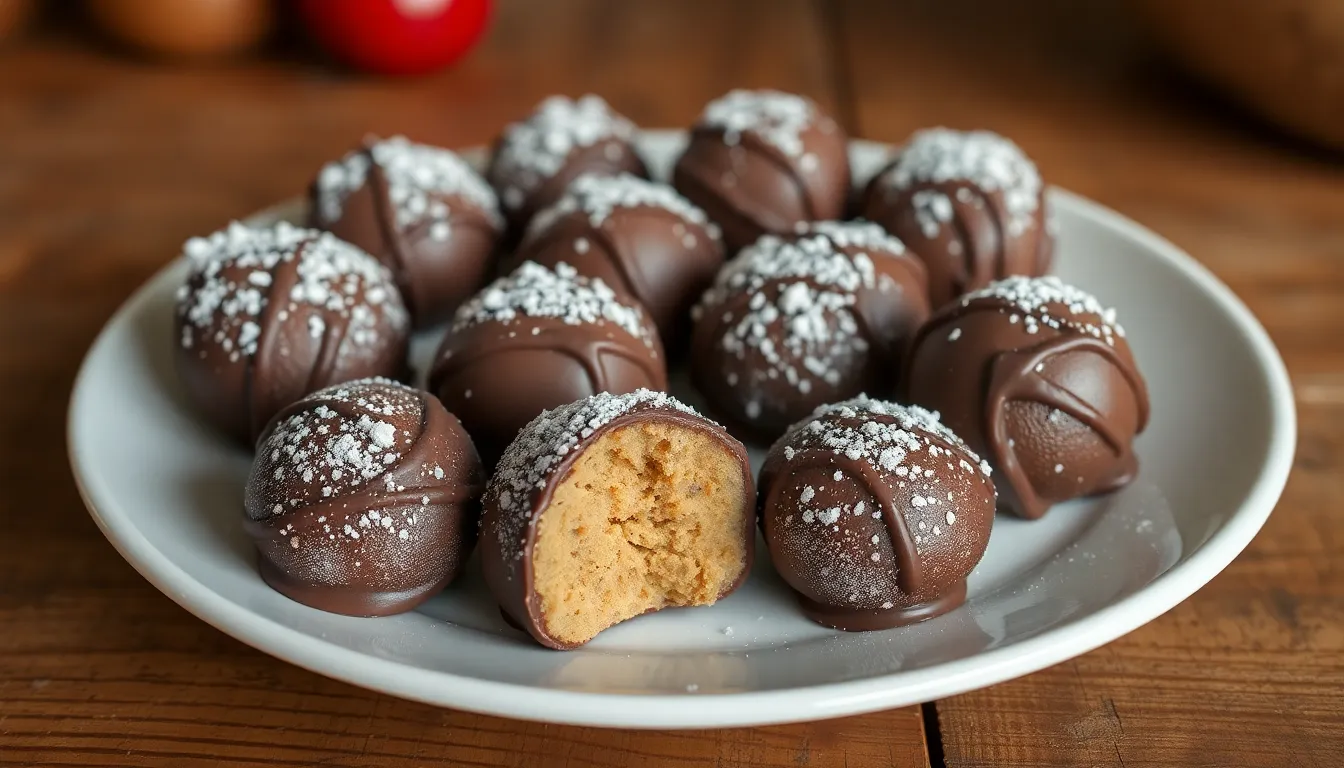
We understand that making cookie butter truffles can present some challenges even with the simplest recipes. These common problems have straightforward answers that will help you achieve perfect results every time.
Truffle Mixture Too Soft or Sticky
When our truffle mixture refuses to hold its shape, the issue typically stems from insufficient chilling time or not enough powdered sugar in the recipe. We recommend chilling the dough in the refrigerator for at least 30 minutes before attempting to roll it into balls. If the mixture remains sticky after proper chilling, gradually add more powdered sugar until you achieve a workable dough-like consistency.
| Issue | Cause | Solution | Additional Tip |
|---|---|---|---|
| Soft mixture | Insufficient chilling | Chill for 30+ minutes | Use freezer for faster results |
| Sticky texture | Not enough powdered sugar | Add gradually while mixing | Avoid overworking the dough |
We find that refrigerating the mixture again after rolling into balls makes the chocolate coating process much easier to manage.
Chocolate Coating Problems
Chocolate coating can seize or break when we overheat it or introduce moisture accidentally. We always melt chocolate in short microwave bursts or using a double boiler, stirring between each interval to prevent overheating. If your chocolate does seize, add one tablespoon of cream at a time while gently heating and stirring until the mixture becomes smooth again.
Our truffle centers must be cold and completely dry before dipping to prevent moisture from affecting the chocolate coating quality.
Truffles Falling Apart During Dipping
We encounter this problem when our truffle dough is too soft or not sufficiently chilled before the coating process. The solution involves chilling truffles until they become very firm, sometimes requiring overnight refrigeration for optimal results. We use a fork or specialized dipping tools for gentle handling that prevents the truffles from breaking apart.
Warm kitchens require extended chilling time or brief freezing before we begin the coating process.
Achieving Uniform Truffle Sizes
Manual scooping often results in uneven truffle sizes that affect the final presentation. We solve this by using a small to medium cookie scoop for consistent portions every time. Rolling the scooped mixture gently with slightly damp hands creates smooth, uniform truffles that look professionally made.
Fixing Crumbly Texture Issues
Crumbly truffles usually result from too much powdered sugar or insufficient fat content in our mixture. We carefully balance recipe proportions to avoid this problem. When truffles become too crumbly, adding a teaspoon of melted cookie butter or cream helps restore the proper malleable texture we need for shaping.
These troubleshooting techniques ensure our cookie butter truffles maintain consistent texture and professional appearance throughout the entire preparation process.
Conclusion
These cookie butter truffles prove that creating impressive desserts doesn’t require advanced baking skills or endless hours in the kitchen. With just a handful of pantry ingredients and simple techniques we’ve shared you’ll have restaurant-quality treats ready in no time.
We’ve covered everything from basic preparation to creative variations storage tips and troubleshooting answers. Whether you’re preparing for a holiday gathering or simply craving something indulgent these truffles deliver both convenience and sophistication.
The beauty of this recipe lies in its flexibility – you can customize flavors adjust sweetness levels and present them in countless ways. Give these cookie butter truffles a try and discover why they’ve become our go-to dessert for impressing guests without the stress.
Frequently Asked Questions
What are cookie butter truffles?
Cookie butter truffles are no-bake chocolate confections made with Biscoff or speculoos spread, butter, powdered sugar, and vanilla, then coated in dark chocolate. These bite-sized treats combine the warm spice flavors of cookie butter with rich chocolate coating, creating an indulgent dessert that rivals store-bought chocolates.
How long do cookie butter truffles take to make?
Cookie butter truffles can be prepared in under 30 minutes of active time. However, the process includes chilling periods – 1.5 to 2 hours for the initial mixture to firm up, plus additional chilling time after coating in chocolate to set properly.
What ingredients do I need for cookie butter truffles?
You’ll need 1 cup cookie butter, 4 tablespoons softened butter, 1½ cups powdered sugar, 1 teaspoon vanilla extract, ¼ teaspoon sea salt, 2 tablespoons heavy cream, 12 ounces dark chocolate chips, and 2 tablespoons coconut oil. Optional toppings include crushed cookies or nuts.
Do I need special equipment to make these truffles?
No special equipment is required. You’ll need basic kitchen tools: a large mixing bowl, hand or electric mixer, small cookie scoop, parchment-lined baking sheet, and microwave-safe bowl for melting chocolate. These common kitchen items make the recipe accessible for all skill levels.
How should I store cookie butter truffles?
Store truffles in an airtight container in the refrigerator for up to 7 days. For longer storage, flash-freeze for 30 minutes, then transfer to a freezer-safe container for 2-3 months. Let them come to room temperature before serving for optimal flavor and texture.
Can I make cookie butter truffles ahead of time?
Yes, these truffles are perfect for make-ahead preparation. You can prepare them days or weeks in advance and store them properly. This makes them ideal for holiday parties or special occasions when you want to reduce last-minute stress while ensuring delicious homemade treats.
What variations can I make with this recipe?
Popular variations include white chocolate coating with crushed Biscoff cookies, rolling truffles in cocoa powder or cookie crumbs instead of chocolate coating, and creating drizzled truffles with contrasting chocolate designs. Each variation maintains the no-bake approach while offering unique flavors and presentations.
Why is my truffle mixture too soft or sticky?
If your mixture is too soft, chill it longer in the refrigerator or add more powdered sugar gradually. Ensure your cookie butter and butter are at the right consistency. The mixture should hold its shape when scooped but not be too firm to roll into balls.
How do I get a smooth chocolate coating?
Melt chocolate slowly in 30-second intervals, stirring between each. Add coconut oil or vegetable shortening for smoothness and shine. Ensure truffle centers are chilled before dipping, and tap off excess chocolate. Work quickly and return coated truffles to the refrigerator to set.
What’s the best serving temperature for cookie butter truffles?
Let refrigerated truffles sit at room temperature for 10-15 minutes before serving. This allows the flavors to develop fully and the texture to soften slightly, creating the perfect bite. Avoid leaving them out too long in warm conditions to prevent melting.

