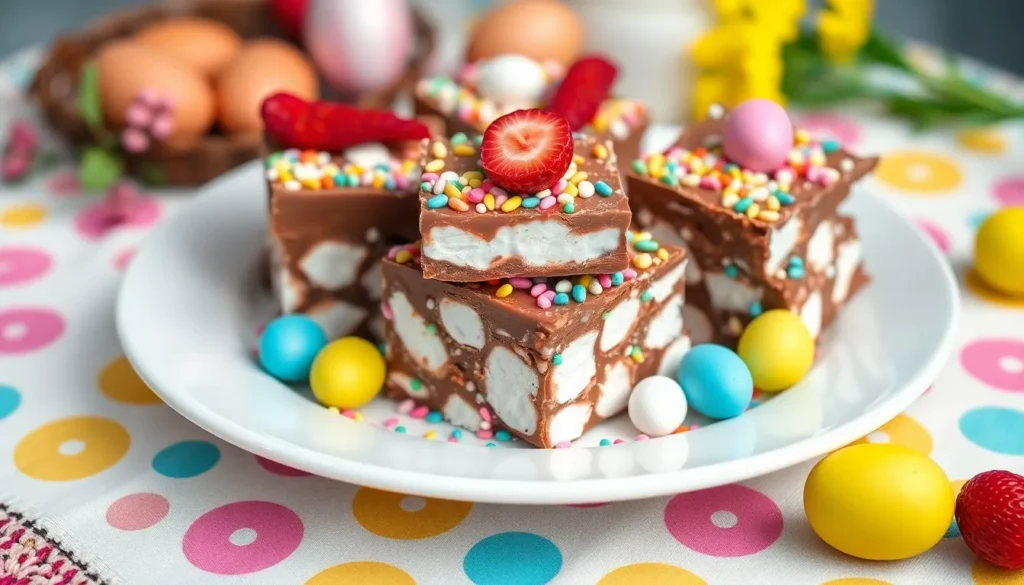
We’re about to transform your leftover Easter eggs into something absolutely irresistible! This Easter Egg Rocky Road takes the classic no-bake treat to holiday heights by incorporating those colorful chocolate eggs we all accumulate during the season.
There’s something magical about combining the nostalgic crunch of Easter eggs with the traditional rocky road mix of marshmallows and nuts. We’ve discovered this recipe not only helps clear out your Easter candy stash but creates a dessert that’s somehow even more addictive than the original treats themselves.
The best part? This indulgent confection requires zero baking skills and comes together in just minutes. We’ll show you how to create perfectly balanced squares that deliver satisfying crunch with every bite while showcasing those festive Easter colors beautifully.
Ingredients
We’ve carefully selected each ingredient to create the perfect balance of textures and flavors in our Easter Egg Rocky Road. Our ingredient list combines traditional rocky road elements with festive Easter egg additions for maximum impact.
For the Chocolate Base
- 400g dark chocolate (70% cocoa), roughly chopped
- 200g milk chocolate, roughly chopped
- 100g unsalted butter, cubed
- 3 tablespoons golden syrup
- 1 teaspoon vanilla extract
For the Rocky Road Mix-ins
- 200g mini marshmallows
- 150g digestive biscuits, broken into chunky pieces
- 100g toasted almonds, roughly chopped
- 75g dried cranberries
- 50g mini pretzels, broken into bite-sized pieces
For the Easter Egg Topping
- 300g assorted mini Easter eggs, unwrapped
- 100g chocolate Easter eggs, quartered
- 50g white chocolate chips
- 2 tablespoons colorful sprinkles
- 25g freeze-dried strawberries, crushed (optional)
Equipment Needed
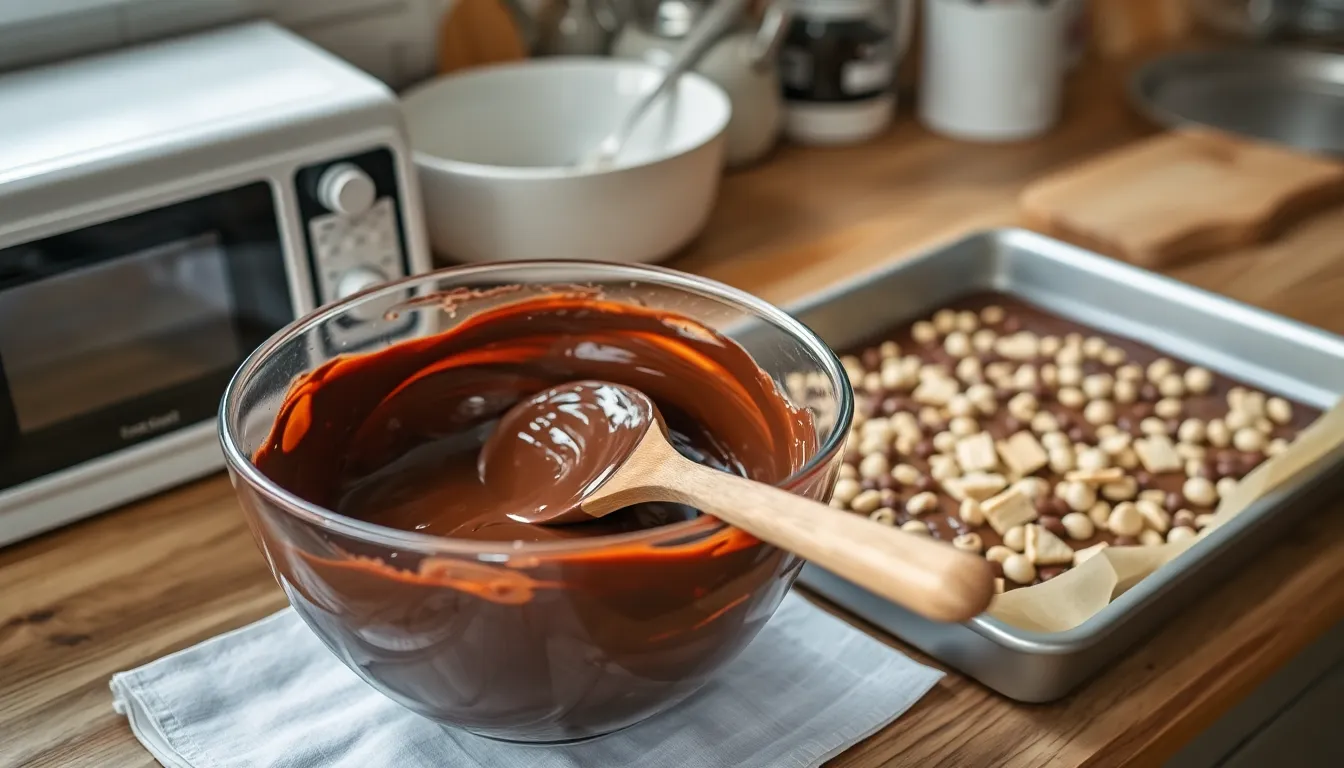
We recommend gathering these essential tools before starting our Easter Egg Rocky Road recipe to ensure smooth preparation and professional results.
A large mixing bowl serves as our primary workspace for combining all ingredients. We prefer using a bowl with at least 3-quart capacity to accommodate the generous amount of chocolate and mix-ins without spillage.
Our microwave-safe bowl or double boiler setup handles the chocolate melting process efficiently. We find that a microwave-safe glass bowl works perfectly for quick melting while a double boiler offers more precise temperature control for those who prefer traditional methods.
A wooden spoon or silicone spatula becomes crucial for stirring the melted chocolate and folding in our rocky road ingredients. We recommend silicone tools as they prevent scratching and won’t conduct heat during mixing.
We need a lined baking tray or square pan for setting our rocky road mixture. A 9×9 inch square pan works ideally for our recipe proportions. We always line it with parchment paper for easy removal and clean cutting.
Kitchen scales ensure accurate measurements of our chocolate and ingredients. We find digital scales particularly helpful when working with the 450 grams of chocolate specified in our recipe.
Our refrigerator space must accommodate the tray for the setting process. We clear adequate shelf space beforehand since the rocky road requires several hours to firm up properly.
A sharp knife completes our equipment list for cutting the set rocky road into perfect squares. We recommend using a large chef’s knife warmed slightly under hot water for clean cuts through the chocolate.
Instructions
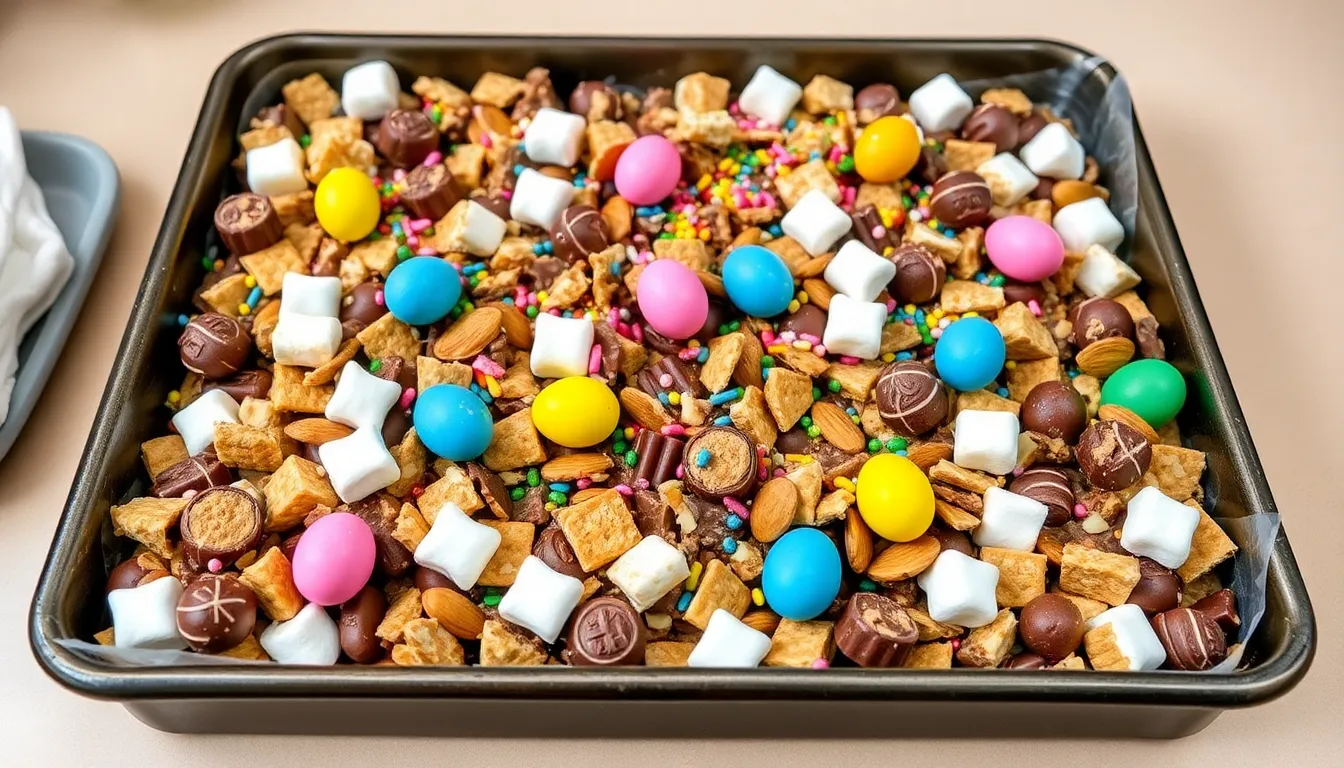
Now that we have all our ingredients and equipment ready, let’s transform these simple components into a spectacular Easter treat that will impress everyone at your holiday gathering.
Prep the Pan and Ingredients
We start by lining our 9×9 inch baking tray with parchment paper, leaving enough overhang on all sides for easy removal later. This step ensures our rocky road won’t stick and creates clean, professional-looking edges.
Next, we arrange all our ingredients within easy reach of our workspace. We break the digestive biscuits into chunky pieces roughly the size of a coin. Our toasted almonds should be roughly chopped if using whole nuts. We quarter the chocolate Easter eggs carefully using a sharp knife, saving the mini Easter eggs for later decoration.
Melt the Chocolate
We combine the dark chocolate, milk chocolate, unsalted butter, and golden syrup in our microwave-safe bowl. Using 30-second intervals, we heat the mixture in the microwave, stirring thoroughly between each heating cycle until completely smooth and glossy.
Alternatively, we can use the double boiler method by placing our chocolate mixture over a pot of gently simmering water. We stir occasionally as the chocolate melts, ensuring no water droplets contact the chocolate. Once melted, we remove from heat and stir in the vanilla extract.
Prepare the Rocky Road Mixture
We add the mini marshmallows to our melted chocolate first, folding them in gently to coat each piece. The broken digestive biscuits go in next, followed by the chopped toasted almonds and dried cranberries.
Our mini pretzels add the final crunch element to the mixture. We fold everything together using our wooden spoon or silicone spatula until each ingredient is evenly distributed throughout the chocolate base. The mixture should look chunky and well combined.
Add the Easter Eggs
We fold in the quartered chocolate Easter eggs carefully to avoid breaking them further. These larger pieces create delightful surprises in each bite. Most of our mini Easter eggs get mixed into the rocky road now, but we reserve about a quarter of them for our final decoration.
The white chocolate chips go in last, adding extra sweetness and visual appeal throughout the mixture. We give everything one final gentle fold to ensure even distribution.
Set and Chill
We pour our rocky road mixture into the prepared baking tray, using our spatula to spread it evenly into all corners. The surface doesn’t need to be perfectly smooth since the rustic appearance adds to its charm.
We press the reserved mini Easter eggs and colorful sprinkles into the top surface, creating an eye-catching pattern. If using freeze-dried strawberries, we scatter these on top now for extra color and fruity flavor.
Our rocky road needs at least 4 hours in the refrigerator to set completely, though overnight chilling produces the best texture. Once firm, we lift it out using the parchment paper overhang and cut into 16 squares using a sharp knife for clean edges.
Directions for Serving
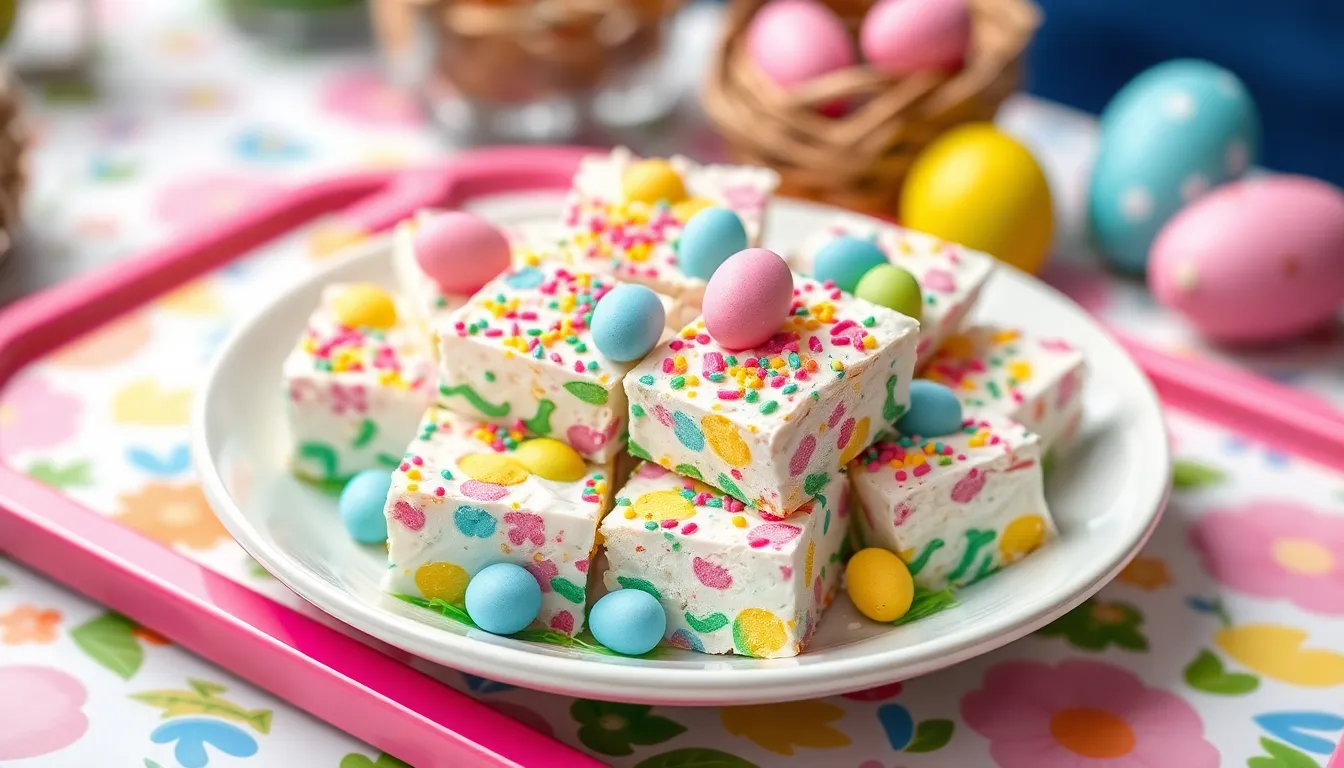
Our Easter Egg Rocky Road requires proper cutting technique to achieve clean professional squares. We recommend using a sharp knife warmed under hot running water and dried completely between cuts. This prevents the chocolate from cracking and ensures smooth edges through each layer.
Portion sizes work best when cut into small squares since this treat packs intense flavor and sweetness. We typically slice our 9×9 inch tray into 16 generous pieces or 25 smaller bite-sized portions depending on the occasion. Each square delivers the perfect balance of crunchy textures and rich chocolate satisfaction.
Storage maintains freshness for extended enjoyment. We store cut pieces in an airtight container at room temperature where they remain perfect for up to one week. Refrigerated storage extends the life slightly but may firm the chocolate texture. Layer pieces between parchment paper to prevent sticking when stacking multiple rows.
Presentation elevates the Easter theme beautifully. We arrange squares on colorful plates or Easter-themed serving trays to showcase the festive mini eggs and sprinkles. The varied textures and bright colors create an eye-catching display perfect for Easter gatherings or spring celebrations.
Serving temperature affects the eating experience significantly. Room temperature pieces offer the ideal texture balance where chocolate remains firm but not hard while marshmallows maintain their soft chewiness. We remove refrigerated rocky road 15-20 minutes before serving to reach optimal consistency.
Individual wrapping transforms pieces into delightful gifts. Clear cellophane bags tied with pastel ribbons turn each square into a thoughtful Easter present. This presentation method also makes portions easily portable for picnics or potluck contributions where guests can grab individual servings without mess.
Make-Ahead Instructions
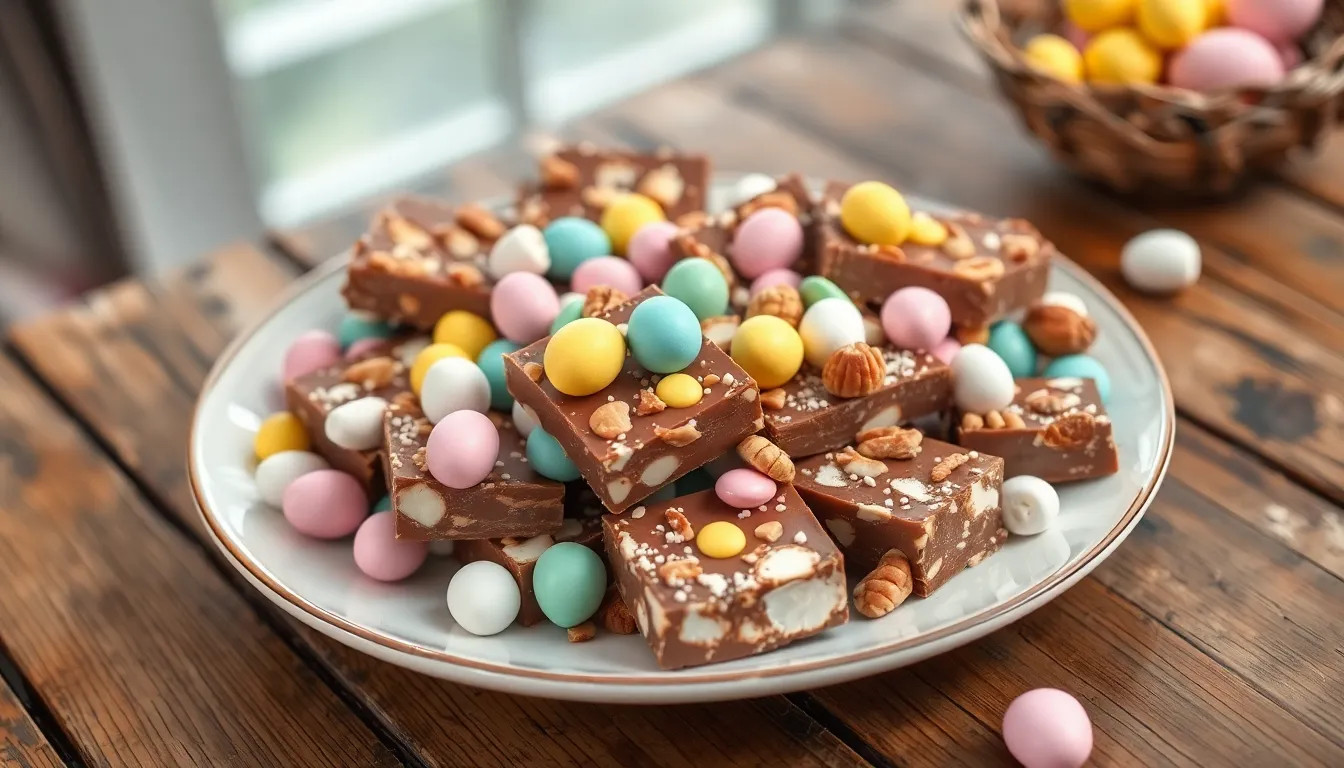
Preparing this Easter Egg Rocky Road ahead of time transforms busy holiday schedules into stress-free celebrations. We recommend making this dessert up to 24 hours before serving to allow the flavors to meld beautifully while maintaining the perfect texture balance.
Advance Preparation Timeline
| Timing | Task | Storage Method |
|---|---|---|
| 1 day ahead | Complete entire recipe | Refrigerate covered |
| 4-6 hours minimum | Initial setting time | Refrigerate uncovered |
| 2 hours before serving | Remove from fridge | Room temperature |
Optimal Make-Ahead Process
We follow a exact sequence to ensure our rocky road maintains its signature texture when prepared in advance. First, we complete the entire recipe as directed and allow the mixture to set in the refrigerator for at least 4 hours or overnight. This extended chilling time actually improves the final product by allowing the chocolate to fully firm and the flavors to develop deeper complexity.
Storage becomes crucial for maintaining quality over time. We wrap the uncut rocky road tightly with plastic wrap or store it in an airtight container to prevent moisture absorption and preserve freshness. The dessert maintains peak quality for up to one week when stored properly in the refrigerator.
Pre-Cutting Considerations
Cutting the rocky road into squares before storage offers convenience but requires careful handling. We recommend placing parchment paper between layers if stacking cut pieces to prevent sticking. Individual wrapping in small cellophane bags creates gift-ready portions while maintaining freshness.
Temperature management affects both texture and flavor when serving make-ahead rocky road. We remove refrigerated pieces approximately 30 minutes before serving to achieve the ideal eating temperature. This brief warming period softens the chocolate slightly while maintaining the structural integrity of the marshmallows and mix-ins.
Storage Tips
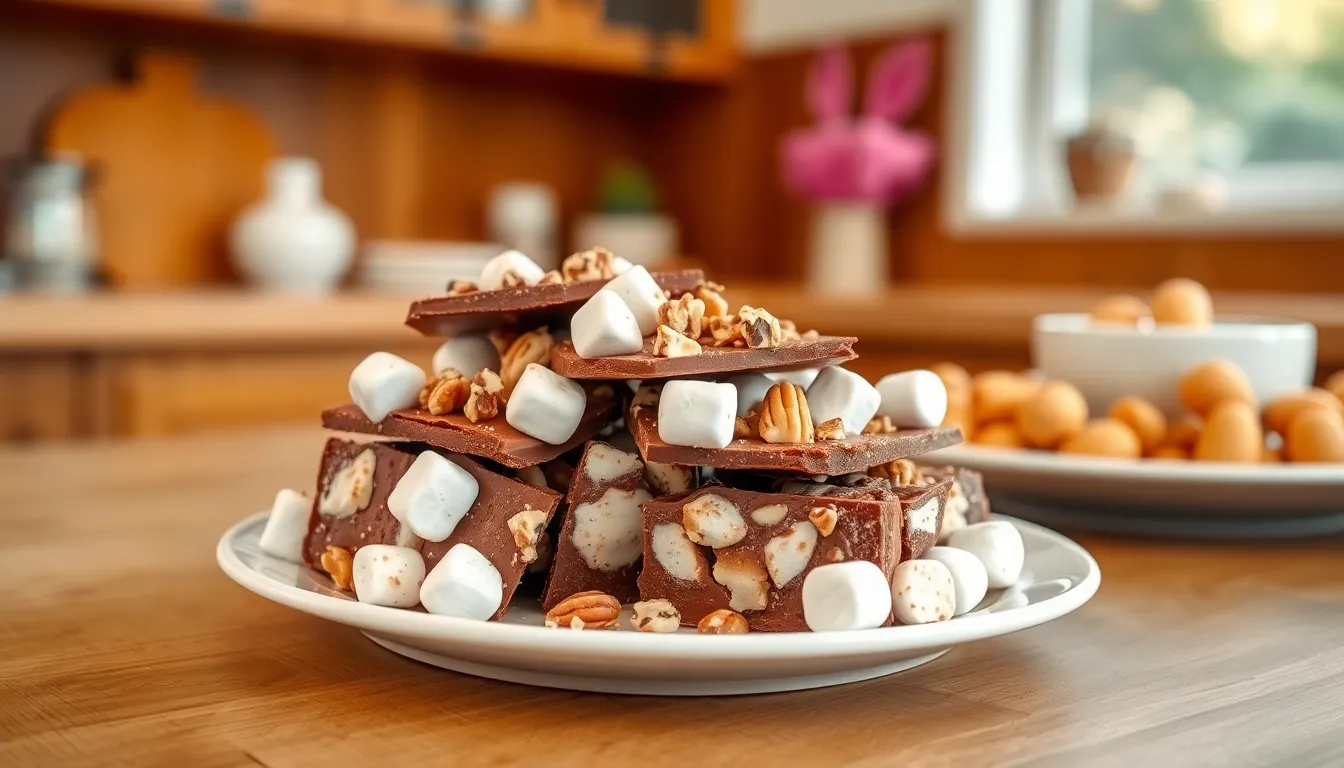
Proper storage keeps our Easter Egg Rocky Road fresh and maintains its perfect texture for maximum enjoyment. We’ve found that different storage methods work best depending on how long you plan to keep this delicious treat.
Room Temperature Storage
We can store Easter Egg Rocky Road in an airtight container at room temperature for a few hours when the weather isn’t too warm. This method works well for immediate consumption but shouldn’t be used for long-term storage since the chocolate may soften and lose its appealing texture.
Refrigerator Storage
Our preferred method for longer storage involves keeping the rocky road in the refrigerator. We place it in an airtight container where it stays fresh for up to two weeks while maintaining its ideal texture and flavor profile. The cool temperature prevents the chocolate from becoming too soft and keeps all ingredients at their peak quality.
Freezer Storage
We can freeze Easter Egg Rocky Road for up to three months when stored properly in an airtight container or ziplock bag. This method works exceptionally well for batch preparation or saving portions for future occasions. When we’re ready to enjoy it we thaw the rocky road in the refrigerator for several hours before serving.
| Storage Method | Duration | Container Type | Best For |
|---|---|---|---|
| Room Temperature | Few hours | Airtight container | Immediate consumption |
| Refrigerator | Up to 2 weeks | Airtight container | Regular storage |
| Freezer | Up to 3 months | Airtight container or ziplock bag | Long-term storage |
Cutting and Handling Tips
We find it much easier to cut the rocky road when it’s at room temperature rather than straight from the fridge. Allowing chilled rocky road to sit out briefly before slicing ensures cleaner cuts and prevents cracking. We always use a large sharp knife for the best results and run it under hot water between cuts for perfectly smooth edges.
Setting Requirements
We recommend allowing the rocky road to set for at least 2 hours in the refrigerator before attempting to cut it. This setting time ensures the chocolate has properly firmed up and will result in clean precise cuts rather than messy crumbling pieces.
Variations and Substitutions
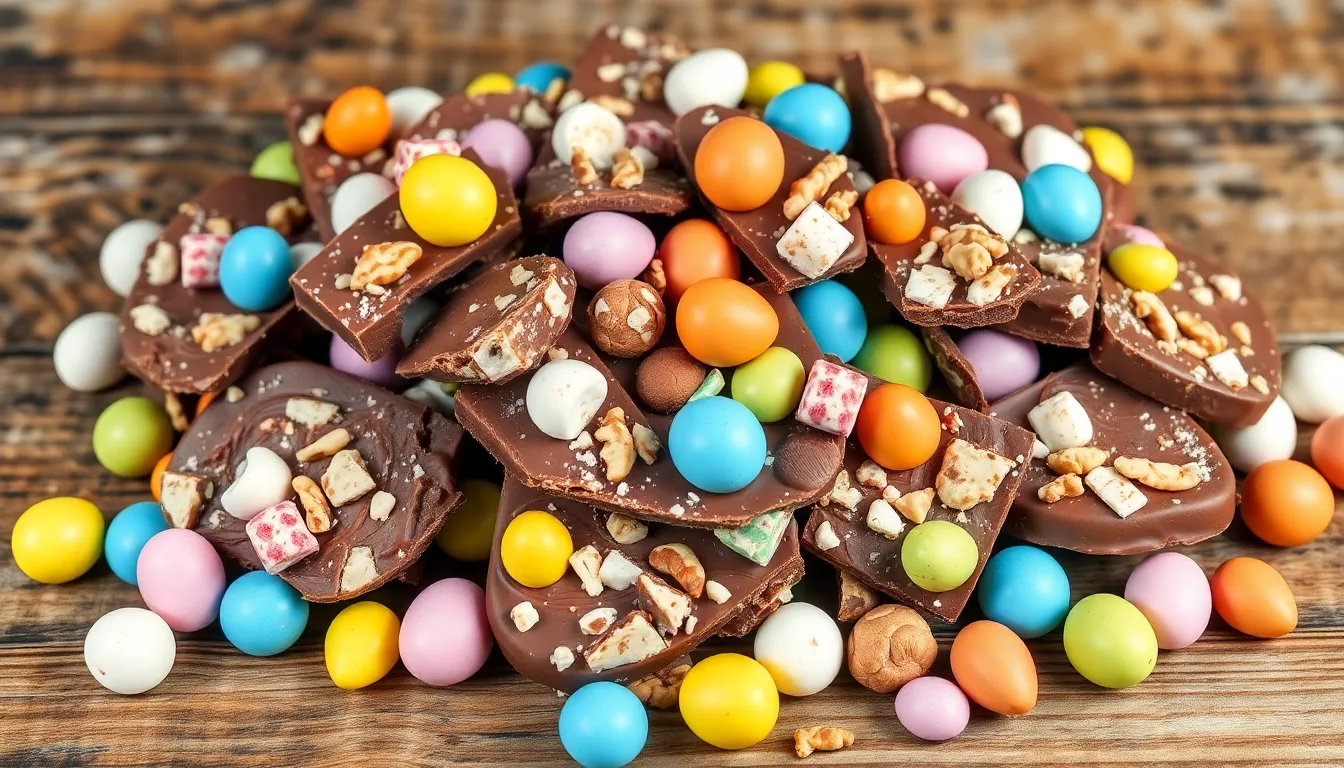
We love how versatile Easter Egg Rocky Road can be with countless ways to customize this festive treat. Each variation offers unique flavors and textures while maintaining the classic rocky road appeal.
Different Chocolate Options
We recommend experimenting with various chocolate types to create your perfect flavor profile. Dark chocolate provides a rich and sophisticated base that balances the sweetness of Easter eggs perfectly. Milk chocolate offers a creamy and mellow taste that appeals to most palates. White chocolate creates a striking visual contrast and adds extra sweetness to complement tart mix-ins.
For adventurous bakers we suggest trying Caramilk chocolate which introduces delicious caramel notes throughout each bite. Mixed chocolate combinations work beautifully too – try pairing dark and milk chocolate or white and milk chocolate for complex flavor layers.
| Chocolate Type | Flavor Profile | Best Paired With |
|---|---|---|
| Dark Chocolate | Rich, sophisticated | Nuts, dried fruit |
| Milk Chocolate | Creamy, mellow | Marshmallows, cookies |
| White Chocolate | Sweet, mild | Colorful sprinkles, berries |
| Caramilk | Caramel notes | Pretzels, sea salt |
Alternative Mix-ins
We encourage creativity with mix-ins to personalize your rocky road experience. Nuts add essential crunch and protein – peanuts provide classic appeal while pistachios offer elegant color and distinctive flavor. Twix bars chopped into chunks introduce caramel and cookie textures that complement the chocolate base beautifully.
Cookie alternatives expand texture possibilities significantly. Digestive biscuits remain our top choice for their sturdy crunch and subtle sweetness. Graham crackers work wonderfully for those preferring a honey-touched flavor. Oreos create dramatic black and white contrast while adding beloved cookie cream taste.
Marshmallow options extend beyond traditional mini marshmallows. Regular-sized marshmallows cut into pieces work perfectly. Marshmallow Easter eggs add thematic consistency while providing extra sweetness bursts throughout each square.
Easter Egg Alternatives
We find mini eggs remain the most popular choice for Easter rocky road due to their perfect size and satisfying crunch. Their colorful candy shells create beautiful visual appeal while their chocolate centers blend seamlessly with the base mixture.
Mini creme eggs offer an indulgent alternative with their signature fondant centers that create surprise pockets of sweetness in each bite. These work particularly well when quartered before mixing to distribute the filling evenly.
Other small Easter candies provide seasonal flexibility – chocolate bunnies broken into pieces work wonderfully as do foil-wrapped chocolate eggs of various sizes. We recommend using candies that maintain their shape during mixing and setting for the best texture contrast in the finished product.
Conclusion
This Easter Egg Rocky Road recipe transforms your leftover holiday chocolates into something truly special. We’ve shown you how simple it can be to create a dessert that’s both impressive and incredibly satisfying.
The beauty of this treat lies in its flexibility – you can customize it with whatever Easter eggs and mix-ins you have on hand. Whether you’re making it for family gatherings or preparing treats for friends this recipe delivers every time.
With minimal effort and maximum flavor you’ll have a show-stopping dessert that captures the joy of Easter in every bite. Your guests won’t believe how easy it was to make something this delicious.
Frequently Asked Questions
What makes Easter Egg Rocky Road different from regular rocky road?
Easter Egg Rocky Road incorporates leftover Easter eggs and seasonal decorations like mini chocolate eggs, colorful sprinkles, and freeze-dried strawberries. This festive twist on the classic recipe combines traditional rocky road ingredients with Easter-themed elements, creating a visually appealing dessert that captures the holiday spirit while maintaining the beloved crunchy texture and rich chocolate flavor.
How long does Easter Egg Rocky Road need to set?
The rocky road needs to chill for at least 4 hours in the refrigerator to set properly. For best results, allow a minimum of 2 hours for the chocolate to firm up completely. This setting time ensures clean cuts and prevents the mixture from being too soft when slicing into squares.
Can I make Easter Egg Rocky Road ahead of time?
Yes, you can prepare Easter Egg Rocky Road up to 24 hours in advance. Store it in an airtight container at room temperature for a few hours, in the refrigerator for up to 2 weeks, or freeze for up to 3 months. Make-ahead preparation actually improves the texture as flavors meld together.
What equipment do I need to make this recipe?
You’ll need a large mixing bowl, microwave-safe bowl or double boiler, wooden spoon or silicone spatula, lined 9×9 inch baking tray, and kitchen scales for accurate measurements. These basic tools ensure proper melting, mixing, and setting of your rocky road without requiring any specialized baking equipment.
How do I get clean cuts when slicing the rocky road?
Use a sharp knife warmed under hot water and wipe it clean between cuts. Allow the rocky road to reach room temperature before cutting for the cleanest slices. This technique prevents the chocolate from cracking and ensures neat, professional-looking squares that showcase all the colorful toppings.
What ingredients can I substitute in this recipe?
You can experiment with different chocolate types (dark, milk, white, or Caramel), various nuts (pecans, hazelnuts, pistachios), different cookies (shortbread, gingersnaps), and alternative mix-ins like different marshmallow varieties. The key is maintaining the balance between chocolate base and crunchy additions while keeping the Easter theme with seasonal decorations.
Is this a no-bake recipe?
Yes, Easter Egg Rocky Road is completely no-bake. The only cooking involved is melting chocolate, which can be done in the microwave or using a double boiler. This makes it perfect for beginners or when you want to avoid using the oven, especially during warm weather.
How should I store leftover Easter Egg Rocky Road?
Store in an airtight container at room temperature for short-term storage or in the refrigerator for up to 2 weeks. For longer storage, wrap individual pieces and freeze for up to 3 months. Keep away from direct sunlight and heat to prevent the chocolate from melting or blooming.

