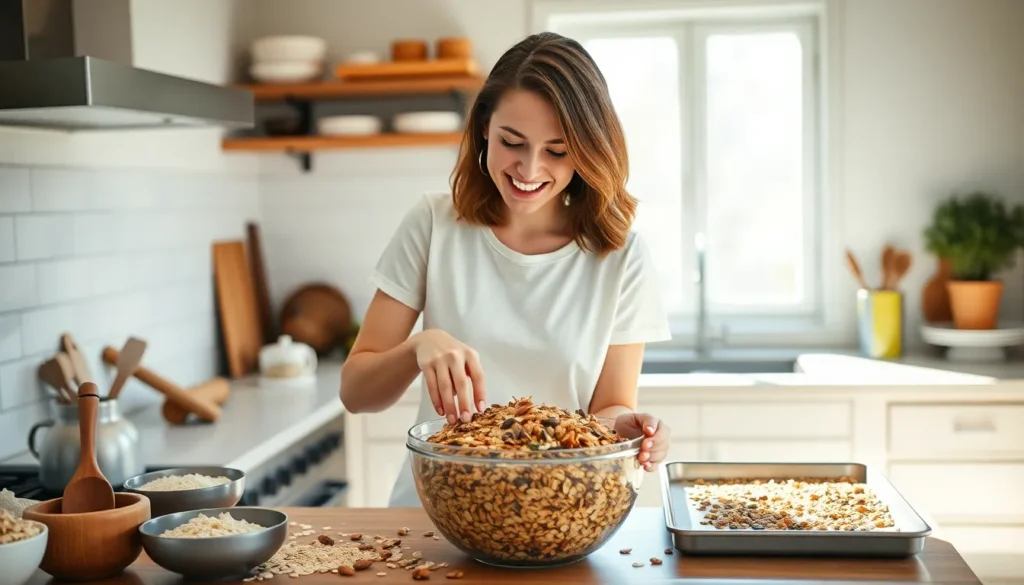
We’ve all been there – standing in the cereal aisle staring at overpriced granola packed with mysterious ingredients we can’t pronounce. What if we told you that making your own granola at home is not only incredibly easy but also way more delicious and customizable than anything you’ll find in stores?
Our foolproof homemade granola recipe transforms simple pantry staples into golden clusters of crunchy goodness in just 30 minutes. You’ll control every ingredient from the sweetness level to the mix-ins ensuring it’s perfectly customized to your taste buds and dietary needs.
The best part? Your kitchen will smell absolutely amazing while it bakes and you’ll have enough granola to last weeks at a fraction of the store-bought cost. Once you try this recipe you’ll never go back to buying expensive packaged granola again.
Ingredients
We designed this recipe to use common pantry staples that you likely already have at home. Our ingredient list is flexible and forgiving, allowing you to customize based on your preferences and what’s available in your kitchen.
Dry Ingredients
- 3 cups old-fashioned rolled oats
- 1 cup raw almonds, roughly chopped
- 1/2 cup pumpkin seeds (pepitas)
- 1/2 cup sunflower seeds
- 1/3 cup unsweetened coconut flakes
- 1 teaspoon ground cinnamon
- 1/2 teaspoon salt
- 1/4 teaspoon ground ginger
- 1/4 teaspoon ground nutmeg
Wet Ingredients
- 1/3 cup pure maple syrup
- 1/4 cup melted coconut oil (or vegetable oil)
- 2 tablespoons honey
- 1 teaspoon pure vanilla extract
- 1/2 teaspoon almond extract (optional)
Optional Add-ins
- 1/2 cup dried cranberries
- 1/2 cup raisins
- 1/3 cup mini dark chocolate chips
- 1/4 cup chia seeds
- 1/4 cup hemp hearts
- 1/2 cup dried blueberries
- 1/3 cup chopped dried apricots
- 1/4 cup freeze-dried strawberries
Equipment Needed
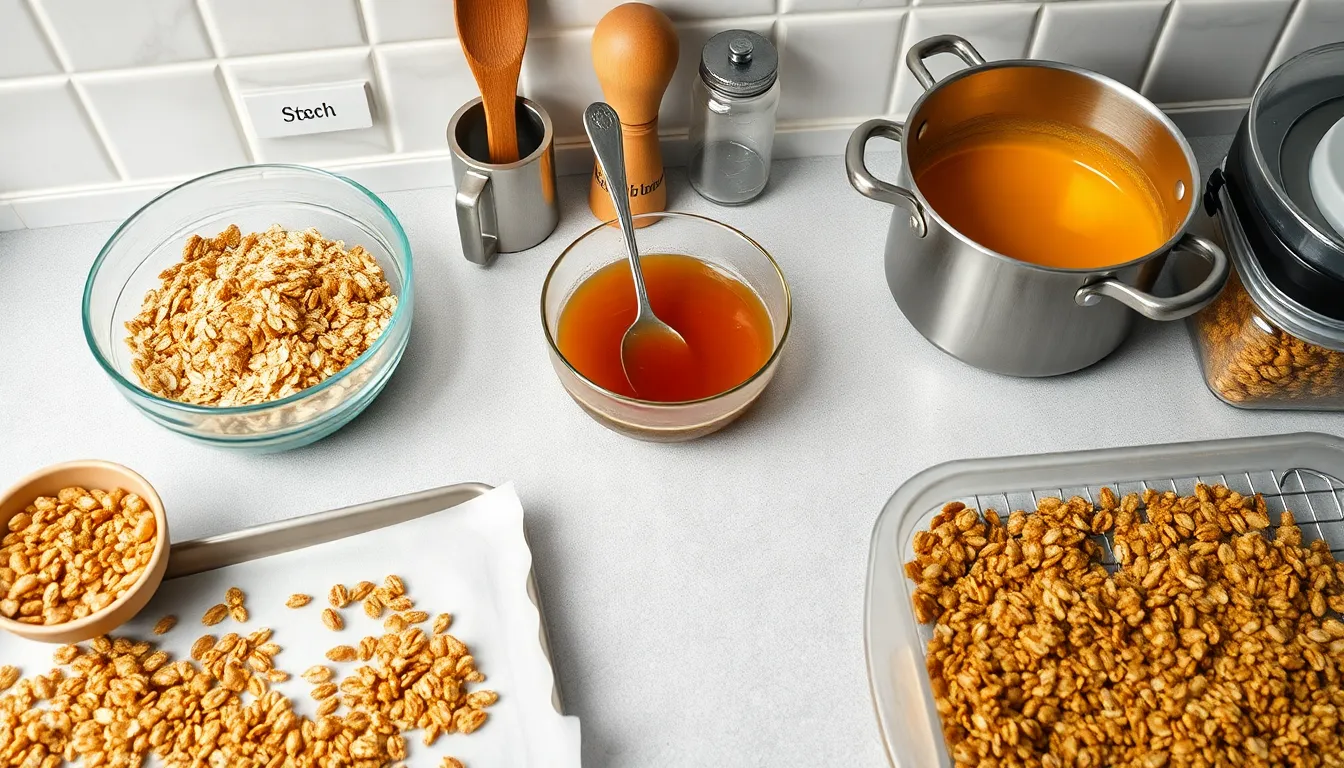
Making our foolproof granola recipe requires just a few basic kitchen tools that you likely already have in your home. We designed this recipe to work with standard equipment so you can start baking right away.
Our large mixing bowl serves as the foundation for combining all the dry ingredients together. This spacious vessel allows us to thoroughly mix the oats, nuts, seeds, and spices without making a mess on the counter.
The saucepan plays a crucial role in creating the perfect binding mixture for our granola. We use this tool to gently heat and blend the maple syrup, coconut oil, and honey until they form a smooth liquid that will coat every ingredient evenly.
Our baking sheet becomes the stage where the magic happens during the oven time. This flat surface allows us to spread the granola mixture in an even layer so it bakes uniformly and develops that golden brown color we love.
The wire cooling rack ensures our freshly baked granola maintains its perfect crunch. We transfer the hot granola to this elevated surface where air can circulate freely around it, preventing any soggy spots from forming.
Finally, our airtight storage container keeps the finished granola fresh and crispy for weeks. This sealed environment protects our homemade creation from moisture and maintains that satisfying crunch in every bite.
Each piece of equipment serves a exact purpose in creating granola that rivals any expensive store bought version while giving us complete control over the process.
Instructions
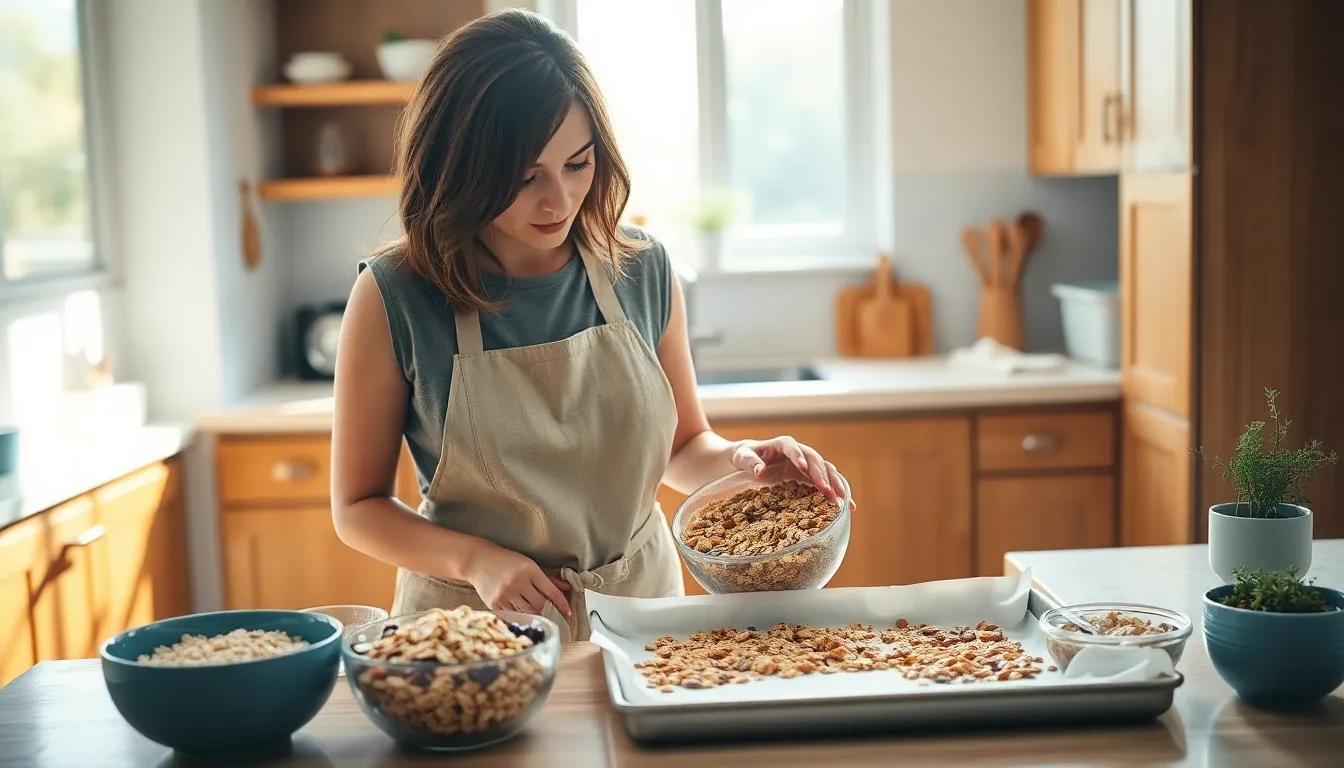
Let’s transform our simple ingredients into irresistible homemade granola that will make your kitchen smell absolutely amazing. These straightforward steps will guide you through creating perfectly golden and crunchy granola every time.
Prep
Preheat your oven to 325°F for optimal results. Position a rack in the center of your oven for even heat distribution. Line a large baking sheet with parchment paper to prevent sticking and ensure easy cleanup.
Mix the Dry Ingredients
Pour 3 cups old-fashioned oats into your large mixing bowl as the foundation of our granola. Add 1/2 cup to 1 cup chopped nuts such as almonds, pecans, or walnuts based on your preference. Sprinkle in 1/2 cup seeds including sunflower, pumpkin, or chia seeds for extra nutrition and crunch.
Season the mixture with 1/2 teaspoon cinnamon and 1/2 teaspoon salt to enhance all the flavors. Toss in any optional dry ingredients like coconut flakes at this stage. Stir everything together until evenly distributed throughout the bowl.
Combine Wet Ingredients
Measure 1/2 cup maple syrup or honey into a separate bowl for our binding mixture. Pour in 2 tablespoons oil such as canola, coconut, or olive oil to help achieve that perfect golden color. Add 1 teaspoon vanilla extract for aromatic depth.
Whisk these wet ingredients until they form a smooth and well combined mixture. The consistency should be pourable but not too thin. Drizzle this mixture over your dry ingredients and stir thoroughly until every oat and nut is evenly coated.
Bake the Granola
Spread the coated mixture onto your prepared baking sheet in an even layer. Avoid overcrowding to ensure uniform browning. Bake for 45 to 60 minutes, stirring every 15 minutes to promote even cooking and prevent burning.
Watch for a beautiful golden brown color as your indicator of doneness. The granola should look toasted and smell wonderfully nutty. Remove from the oven when it reaches your desired level of crispness.
Cool and Store
Transfer the baking sheet to a wire cooling rack and allow the granola to cool completely without stirring. This cooling process helps the granola achieve maximum crunchiness as it sets. Break any large clumps into bite sized pieces once fully cooled.
Store your finished granola in an airtight container where it will maintain its crunch for up to 4 weeks. Add any heat sensitive ingredients like dried fruit or chocolate chips after the granola has completely cooled to prevent melting or becoming chewy.
Storage Tips
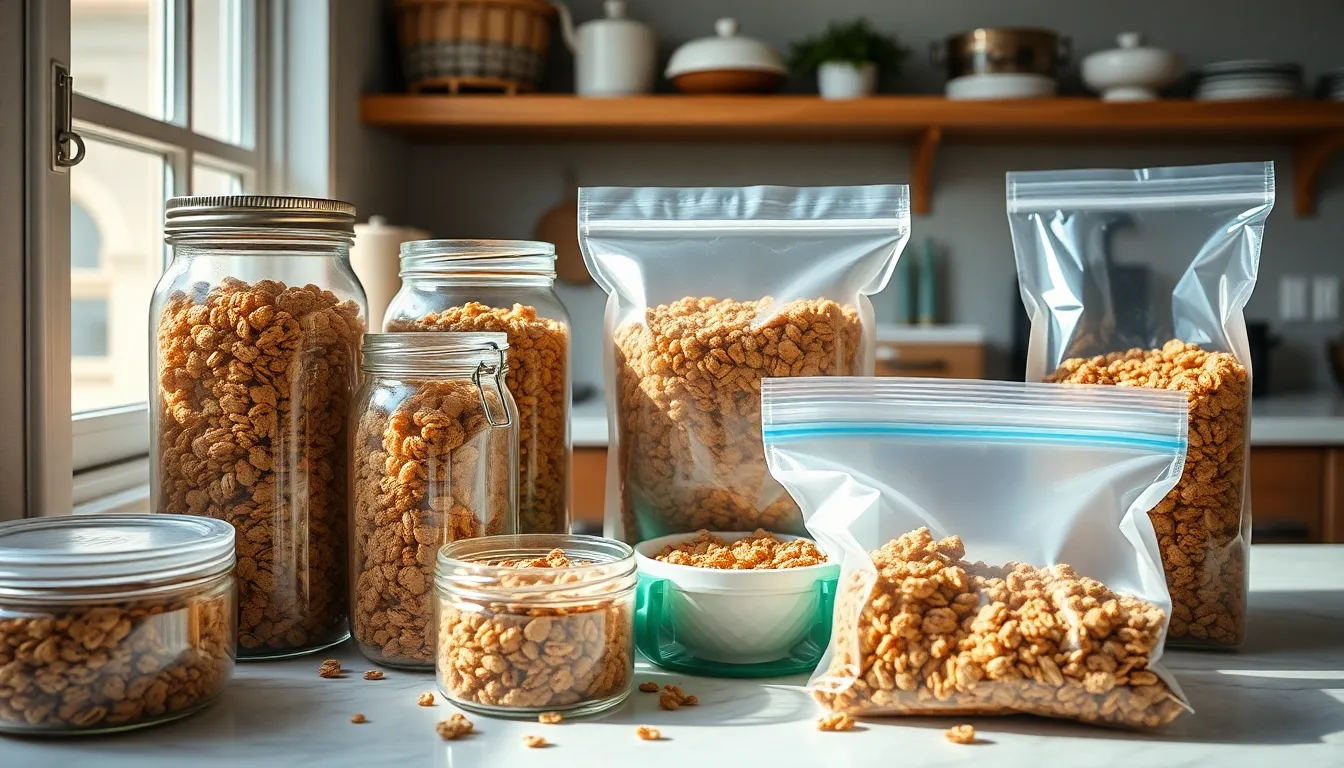
Proper storage ensures our homemade granola maintains its delightful crunch and fresh flavor for weeks. We need to cool the granola completely before transferring it to storage containers to prevent condensation and moisture buildup that could make it soggy.
Room Temperature Storage
Our granola stays fresh for 2 to 4 weeks when stored at room temperature in the right conditions. We should keep it in a cool dark and dry place away from heat sources and humidity.
| Storage Method | Duration | Temperature |
|---|---|---|
| Room Temperature | 2-4 weeks | Cool, dry place |
| Refrigerator | 4-6 weeks | 35-40°F |
| Freezer | 3-6 months | 0°F or below |
Best Storage Containers
Glass jars and mason jars work exceptionally well for storing our granola because they create an airtight seal that keeps moisture out. BPA-free vacuum-seal containers also provide excellent protection against air and humidity. Ziplock bags offer a convenient alternative especially when we want to portion the granola or freeze it for longer storage.
Freezer Storage for Extended Freshness
Freezing extends our granola’s shelf life to 3 to 6 months while preserving its texture and preventing the oils from nuts and seeds from becoming rancid. We simply portion the cooled granola into freezer-safe bags or containers and thaw portions as needed.
Special Considerations
Hot or humid climates require extra attention to storage methods. We recommend refrigerating granola in these conditions to maintain its crunchiness. Granola with chocolate chips or other meltable add-ins benefits from refrigerated storage to prevent melting and clumping.
Food-grade desiccant packs placed in storage containers help absorb any remaining moisture and maintain that satisfying crunch we love. We should also store our granola away from strong-smelling ingredients like coffee spices and onions that could affect its flavor.
Serving Suggestions
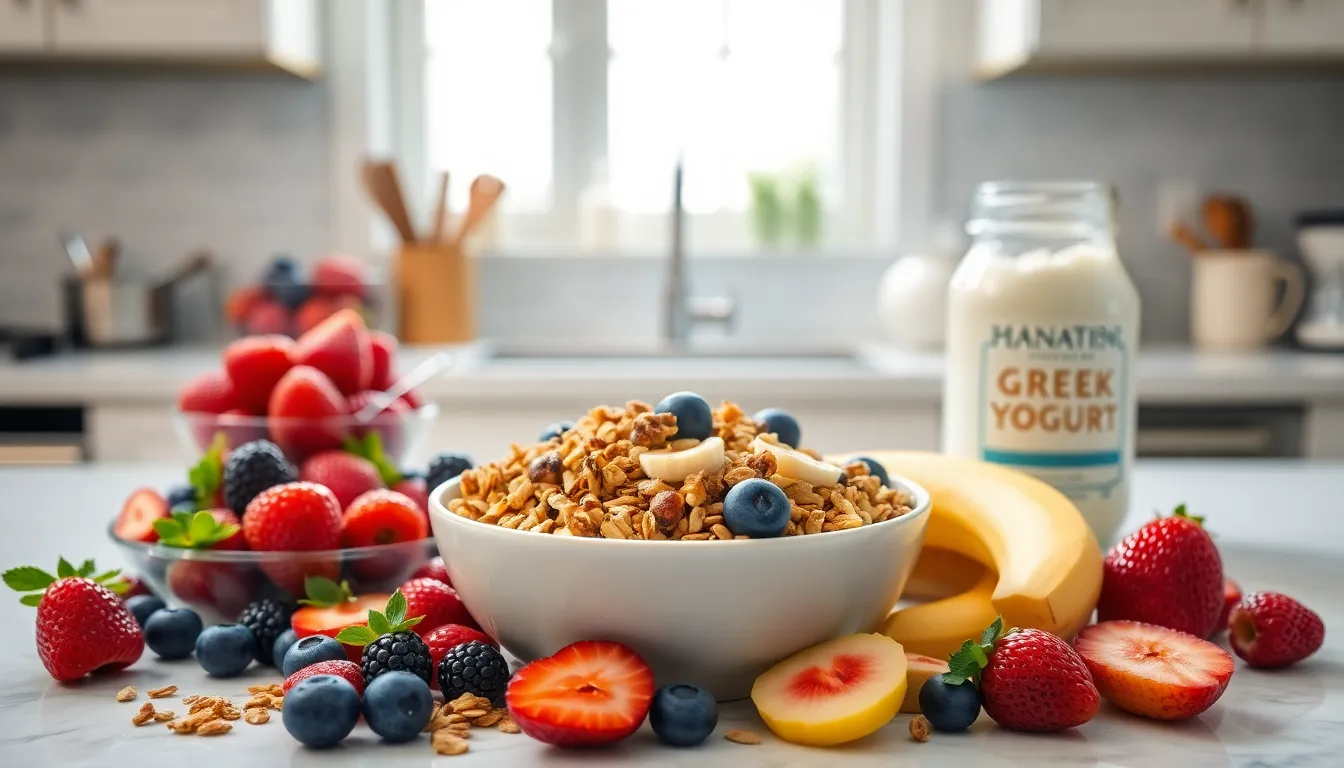
Our homemade granola transforms into countless delicious breakfast and snack options that satisfy every craving. We love spooning this crunchy mixture over creamy Greek yogurt for a protein-packed morning meal that keeps us energized throughout the day. Fresh berries, sliced bananas, or diced apples create a colorful and nutritious parfait when layered with our granola and yogurt.
Traditional cereal lovers can pour cold milk over a bowl of our granola for an instant breakfast upgrade. The combination creates a satisfying crunch that beats any store-bought cereal. We recommend using almond milk, oat milk, or regular dairy milk depending on your dietary preferences.
Snacking becomes more exciting when we enjoy our granola straight from the container during afternoon energy dips. The natural sweetness from maple syrup and the satisfying crunch from nuts and seeds make it a perfect grab-and-go option. Trail mix enthusiasts can combine our granola with additional dried fruits and dark chocolate chips for an enhanced hiking snack.
Dessert applications showcase the versatility of our homemade creation. We sprinkle granola over vanilla ice cream or frozen yogurt for added texture and flavor depth. Smoothie bowls benefit from a generous granola topping that provides essential fiber and healthy fats.
Creative breakfast ideas emerge when we use our granola as a base for overnight oats or chia pudding. The granola adds crunchiness that contrasts beautifully with the creamy texture of these make-ahead breakfast options. We also incorporate it into homemade energy balls or breakfast bars for portable nutrition.
Warm applications work wonderfully during cooler months when we bake our granola into muffins or quick breads. The clusters maintain their texture while adding bursts of flavor throughout each bite. Pancake and waffle batters welcome granola additions that create restaurant-quality breakfast experiences at home.
Recipe Variations
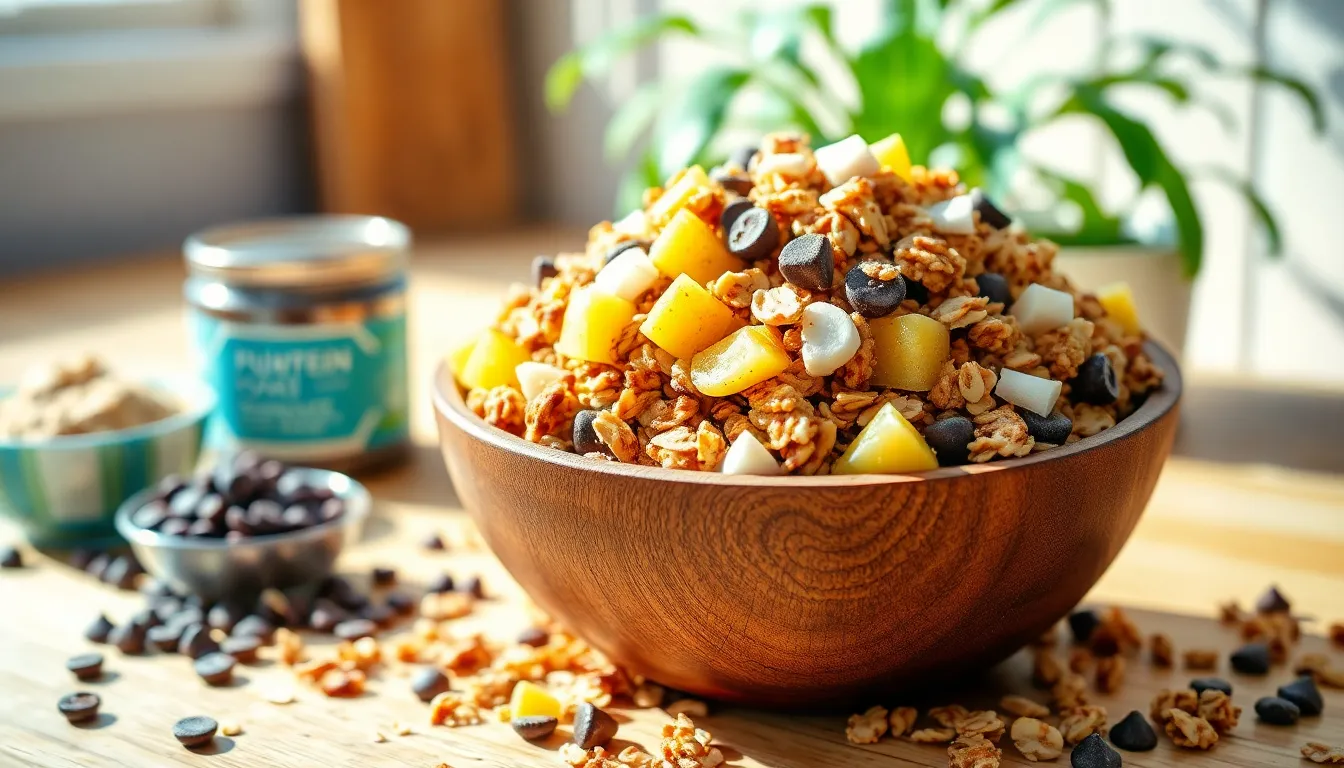
Transform our basic granola recipe into exciting flavor profiles that cater to different tastes and nutritional goals. These variations follow the same foundational technique while incorporating unique ingredients for distinct experiences.
Chocolate Chip Granola
We create this indulgent variation by starting with our base recipe of rolled oats and nuts combined with oil and sweetener. After baking and cooling the granola completely, we stir in dark or milk chocolate chips to prevent melting. For an elevated approach, we melt chocolate and drizzle it over the cooled granola, allowing it to harden for chocolate-coated clusters. The key lies in timing—adding chocolate only after the granola reaches room temperature ensures the chips maintain their shape and texture.
Tropical Granola
Coconut oil serves as our base fat for this island-inspired variation that transports taste buds to paradise. We incorporate shredded coconut, macadamia nuts, and cashews into the dry mixture before baking. Once cooled, we fold in dried tropical fruits such as mango, pineapple, and banana chips. This combination delivers rich coconut flavor enhanced by the natural sweetness of tropical fruits. The result offers a distinctly exotic taste profile that pairs beautifully with vanilla yogurt or coconut milk.
Protein-Packed Granola
Our protein-enhanced version incorporates additional nuts, sunflower seeds, and pumpkin seeds to boost nutritional value. We add protein powder to the dry ingredients, mixing thoroughly to ensure even distribution. Some recipes benefit from egg whites whisked into the wet mixture, creating satisfying clusters while increasing protein content. For plant-based preferences, we substitute with vegan protein powder that maintains the same binding properties. This variation delivers sustained energy, making it ideal for post-workout snacks or active lifestyles.
Make-Ahead Instructions
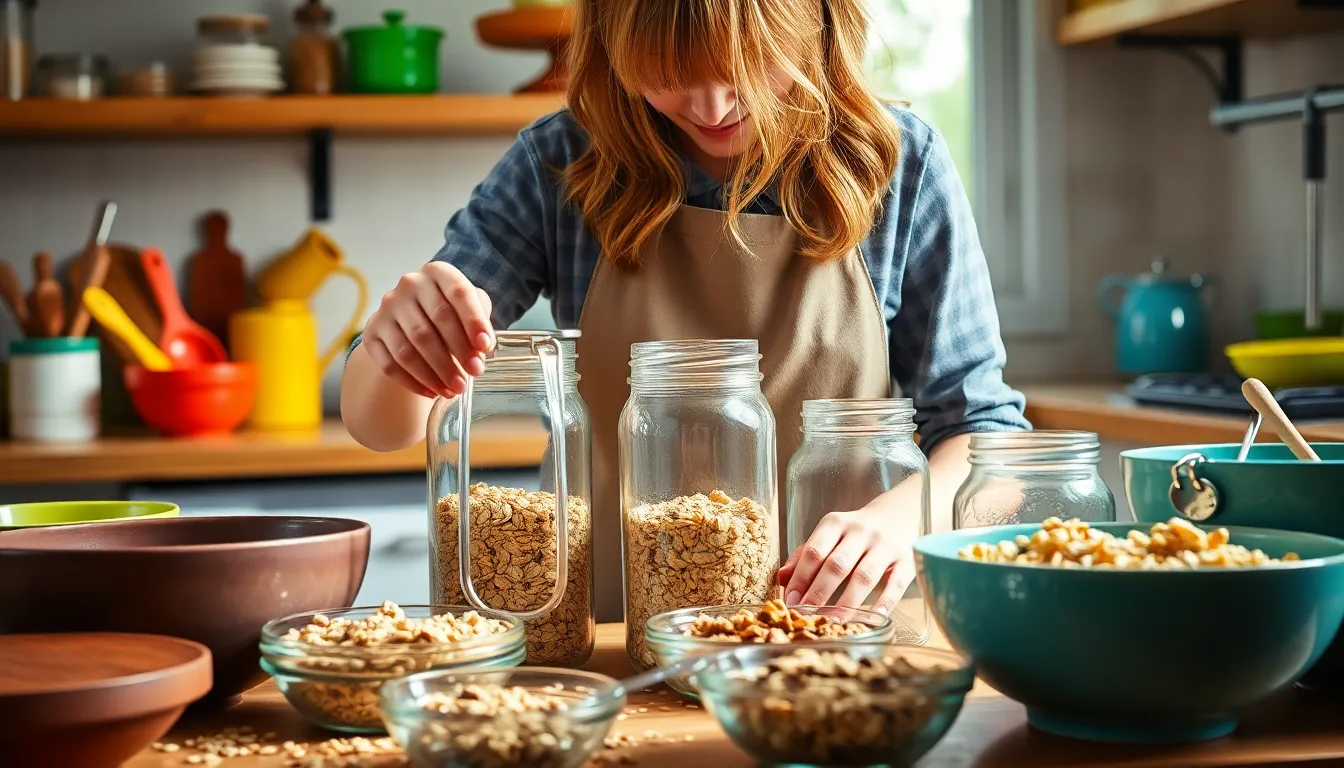
We love preparing our homemade granola in advance to save time during busy weekdays. This recipe works perfectly for meal prep since we can make large batches and store them for weeks.
Prepare the Full Recipe in Advance
Our granola stays fresh for up to 4 weeks when stored properly at room temperature. We recommend making a double batch on Sunday to have enough for the entire month. The complete cooling process takes about 2 hours after baking so we factor this time into our meal prep schedule.
Freeze Unbaked Granola Mixture
We can prepare the wet and dry ingredient mixture up to 3 months in advance. After combining all ingredients we spread the mixture on parchment-lined baking sheets and freeze for 2 hours. Once frozen solid we transfer the granola to freezer-safe bags or containers. When ready to bake we spread the frozen mixture directly onto baking sheets and add 5 to 10 minutes to the original baking time.
Pre-Mix Dry Ingredients
Our dry ingredient blend stores beautifully for up to 6 months in airtight containers. We combine oats, nuts, seeds, coconut flakes, and spices in large batches. When we want fresh granola we simply add the wet ingredients and bake according to our standard instructions.
Portion Control Strategy
We divide our finished granola into weekly portions using small mason jars or containers. This method prevents us from opening the main storage container repeatedly which helps maintain maximum freshness. Each portion typically provides 7 to 10 servings depending on our preferred serving size.
Make-Ahead Add-Ins
Heat-sensitive ingredients like dried fruits and chocolate chips should be prepared separately. We store these add-ins in individual containers and mix them into cooled granola just before serving or final storage. This approach prevents delicate ingredients from becoming chewy or melted during the baking process.
Troubleshooting Tips
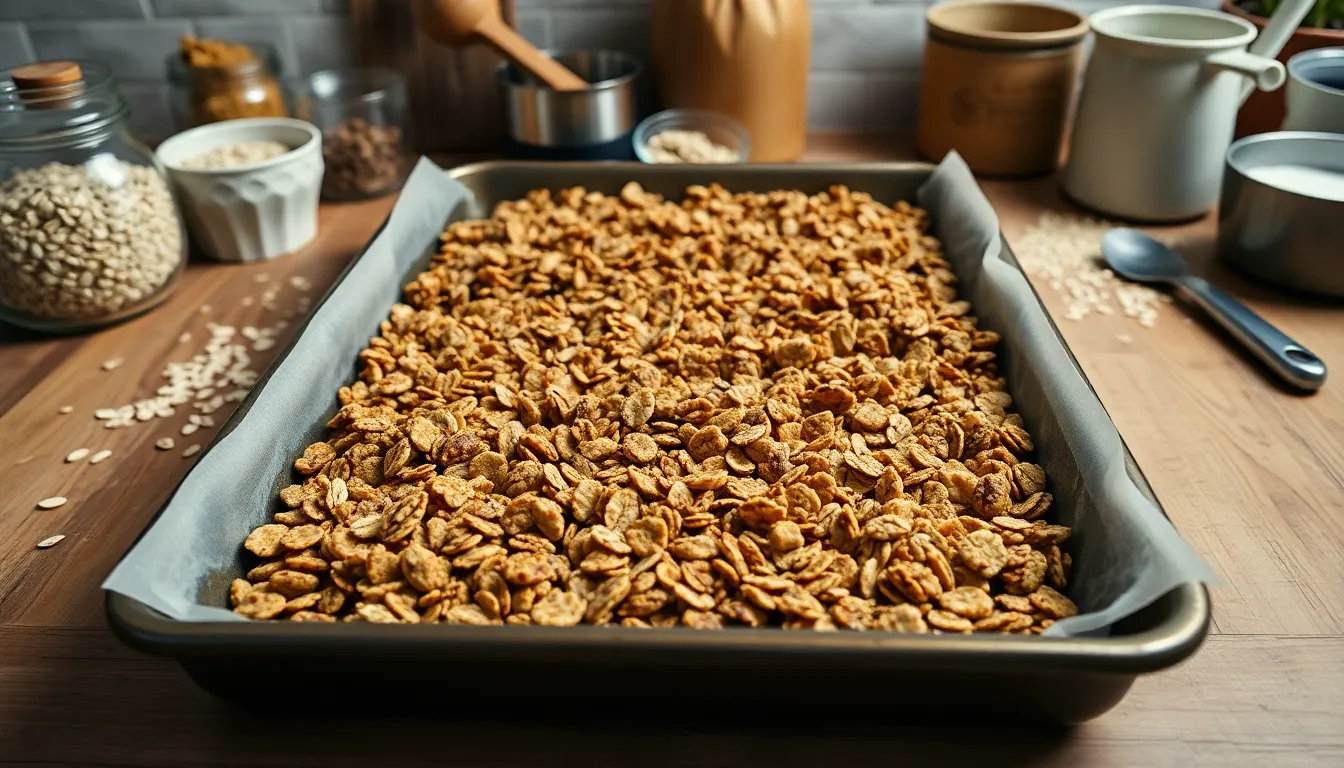
Even with our foolproof recipe, we understand that granola baking can sometimes present challenges. Let us walk you through the most common issues and their answers to ensure your homemade granola turns out perfectly every time.
Granola Won’t Get Crispy
We’ve all been there – pulling granola from the oven only to find it’s still soft and chewy. After turning off your oven, leave the granola inside with the door slightly ajar. This technique allows residual heat to continue working while moisture escapes, creating the crispy texture we’re after as the granola cools.
Granola Browns Too Quickly
When your granola darkens faster than expected, temperature adjustment becomes crucial. Reduce your oven temperature by 25°F and extend the baking time accordingly. Slow and steady baking prevents burning while ensuring every oat gets evenly toasted to golden perfection.
Areas of Raw Oats Remain
Uncooked oats scattered throughout your batch indicate insufficient mixing before baking. We recommend stirring your dry and wet ingredients thoroughly until every oat glistens with the maple syrup and oil mixture. This ensures even coating and uniform cooking throughout.
Uneven Cooking Occurs
Proper distribution on your baking sheet makes all the difference. Spread the granola mixture in a single, even layer without overcrowding. Dense areas cook differently than sparse ones, so we always take time to level our mixture with a spatula before baking.
Granola Turns Out Too Oily or Soggy
Oil ratios require careful attention for optimal texture. Your oats should appear lightly coated rather than swimming in liquid. We typically use equal parts oil and sweetener, but reducing the oil slightly creates a lighter, less greasy final product.
No Clumps Form
Chunky granola requires strategic pressing during the baking process. Use your spatula to gently compress the mixture both during baking and immediately after removing it from the oven. Allow the granola to cool completely before breaking it apart to maintain those desirable clusters.
Ingredient Timing Issues
Heat-sensitive ingredients need special consideration. Add dried fruits during the final 10-15 minutes of baking if you prefer them soft, or incorporate them after cooling for chewier texture. Chocolate chips should always be added after the granola cools unless you want them melted throughout the mixture.
| Issue | Temperature Adjustment | Time Modification | Additional Steps |
|---|---|---|---|
| Too Dark | Reduce by 25°F | Increase time | Check every 10 minutes |
| Not Crispy | Same temperature | Same time | Leave in oven after baking |
| Uneven Cooking | Same temperature | Same time | Spread evenly, stir thoroughly |
Following these troubleshooting guidelines ensures your homemade granola achieves the perfect balance of crispiness, flavor, and texture every single time.
Conclusion
We’ve shown you how simple it can be to create your own perfect batch of granola right in your kitchen. With just basic pantry ingredients and minimal equipment you can create a breakfast staple that’s fresher crunchier and more affordable than anything you’ll find in stores.
The beauty of homemade granola lies in its endless possibilities. Whether you prefer chocolate chips tropical flavors or protein-packed varieties you now have the foundation to experiment and discover your ideal blend. Remember to store it properly and don’t hesitate to make double batches – your future self will thank you.
We’re confident that once you experience the satisfaction of pulling golden fragrant granola from your oven you’ll never want to go back to store-bought versions. Your breakfast routine just got a whole lot more delicious.
Frequently Asked Questions
How long does homemade granola last?
When stored properly in an airtight container at room temperature, homemade granola stays fresh for 2 to 4 weeks. For extended storage, refrigerate for 4 to 6 weeks or freeze for 3 to 6 months. Always ensure the granola is completely cooled before storing to prevent moisture buildup that can affect crunchiness.
What ingredients do I need to make homemade granola?
The basic recipe requires old-fashioned rolled oats, raw almonds, pumpkin seeds, sunflower seeds, coconut flakes, maple syrup, melted coconut oil, honey, and vanilla extract. You can customize with spices like cinnamon and add optional ingredients such as dried fruits, chocolate chips, chia seeds, or hemp hearts after baking.
How do I prevent my granola from burning?
Bake granola at 325°F and stir every 15 minutes to ensure even cooking. If it browns too quickly, reduce the oven temperature by 25°F and extend the baking time. Spread the mixture evenly on the baking sheet and avoid overcrowding to prevent uneven cooking and burning.
Can I make granola ahead of time?
Yes! You can make a double batch to last an entire month. The unbaked granola mixture can be frozen for up to three months, or you can pre-mix dry ingredients for easy access later. Store completed granola in airtight containers and add heat-sensitive ingredients like chocolate chips after cooling.
Why isn’t my granola getting crispy?
Ensure your granola bakes for the full 45-60 minutes and reaches a golden brown color. After baking, cool it completely on a wire rack rather than leaving it on the hot baking sheet. Insufficient baking time or not cooling properly are the main reasons granola stays soft instead of achieving that desired crunch.
What’s the best way to store homemade granola?
Use airtight containers like glass jars, mason jars, or BPA-free vacuum-seal containers. Store in a cool, dark, dry place away from strong-smelling ingredients. In hot or humid climates, refrigeration may be necessary to maintain crunchiness. Consider using food-grade desiccant packs to absorb excess moisture.
How can I customize my granola recipe?
The basic recipe is highly flexible. Try variations like Chocolate Chip Granola (add chips after baking), Tropical Granola (with coconut and dried tropical fruits), or Protein-Packed Granola (with extra nuts, seeds, and protein powder). Adjust sweetness levels and swap ingredients based on your preferences and dietary needs.
What equipment do I need to make granola?
You’ll need a large mixing bowl, saucepan for wet ingredients, baking sheet, wire cooling rack, and airtight storage containers. These basic kitchen tools ensure proper mixing, even baking, optimal cooling for crunchiness, and proper storage to maintain freshness for weeks.

