There’s something magical about the sweet aroma of honey cookies baking in the oven that instantly transforms any kitchen into a cozy haven. These golden treasures have been delighting families for generations with their perfectly balanced sweetness and tender crumb that melts in your mouth.
We’ve perfected this timeless recipe to deliver cookies that are crispy on the edges yet wonderfully soft in the center. The natural sweetness of honey creates a complex flavor profile that’s far more interesting than ordinary sugar cookies while keeping them moist for days.
Whether you’re looking for the perfect afternoon treat with tea or a delightful dessert to impress guests these honey cookies deliver every time. They’re surprisingly simple to make with pantry staples you likely already have on hand making them an ideal go-to recipe for any occasion.
Ingredients
We’ve carefully selected each ingredient to create the perfect balance of sweetness and texture in our honey cookies. These simple pantry staples work together harmoniously to deliver those irresistible crispy edges and tender centers.
Dry Ingredients
- 2 cups all-purpose flour
- 1 teaspoon baking soda
- 1/2 teaspoon salt
- 1 teaspoon ground cinnamon
- 1/4 teaspoon ground nutmeg
- 1/4 teaspoon ground ginger
Wet Ingredients
- 3/4 cup honey (preferably clover or wildflower)
- 1/2 cup unsalted butter, melted and cooled slightly
- 1/4 cup brown sugar, packed
- 1 large egg, room temperature
- 2 tablespoons whole milk
- 1 teaspoon pure vanilla extract
Equipment Needed
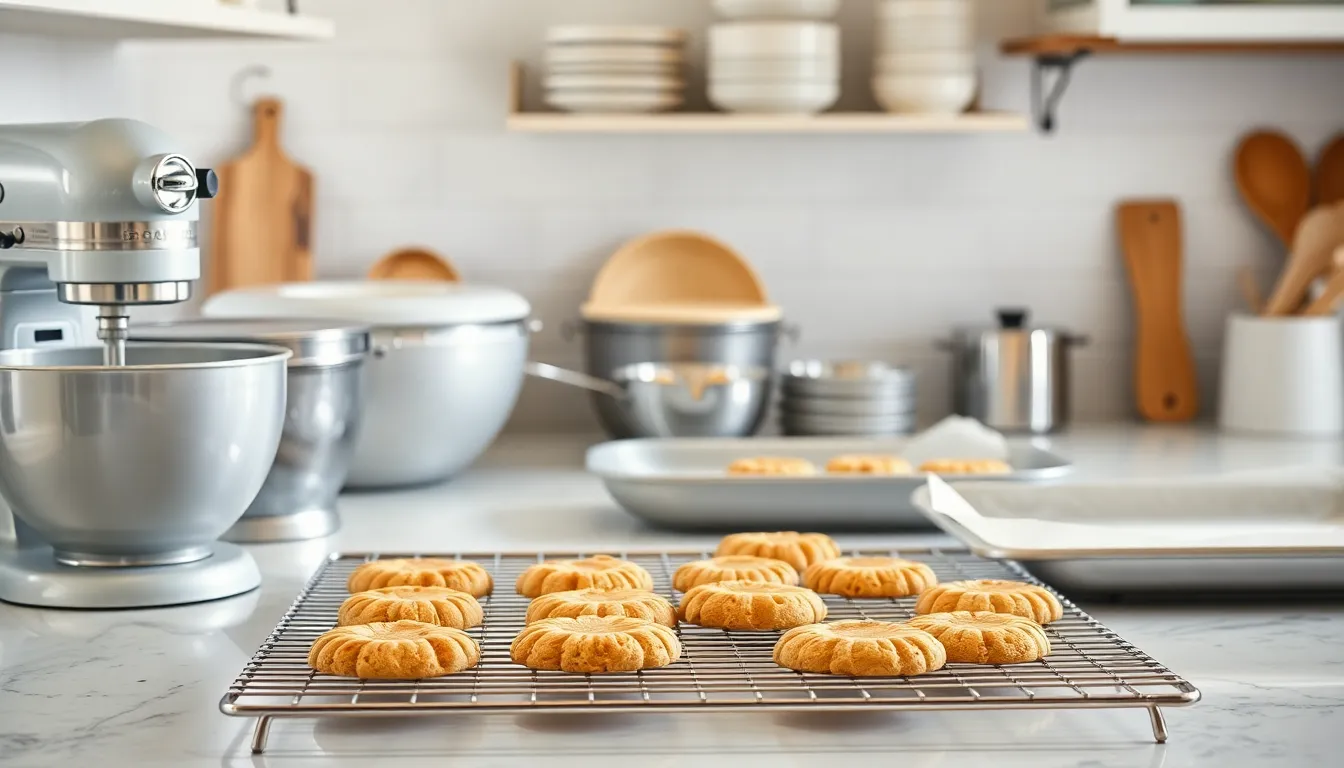
Having the right tools makes our honey cookie baking process smooth and enjoyable. We need basic kitchen equipment that most home bakers already have in their arsenal.
Mixing bowls serve as our foundation for combining ingredients effectively. We recommend having at least two bowls on hand for separating wet and dry ingredients before combining them. A large bowl works best for mixing the final dough without spillage.
Electric hand or stand mixer becomes essential for creaming butter and sugar to the perfect consistency. This tool ensures our cookies develop the ideal texture by properly incorporating air into the mixture. Stand mixers offer more power and consistency but hand mixers work perfectly for this recipe.
Baking sheets provide the surface where our cookies transform from dough to golden treats. We suggest using heavy duty aluminum sheets that distribute heat evenly. Light colored pans prevent over browning on the bottom of our cookies.
Parchment paper prevents sticking and makes cleanup effortless. This non stick surface ensures our honey cookies release cleanly from the baking sheet. We can reuse parchment paper for multiple batches if it remains in good condition.
Wire cooling rack allows proper air circulation around our freshly baked cookies. Cooling racks prevent soggy bottoms by lifting cookies off solid surfaces. Proper cooling maintains the crispy edges and soft centers we worked to achieve.
Cookie cutters become useful for creating uniform shapes and sizes. While optional for drop cookies we can use them for rolled honey cookie variations. Consistent sizing ensures even baking across all cookies on our sheets.
Instructions
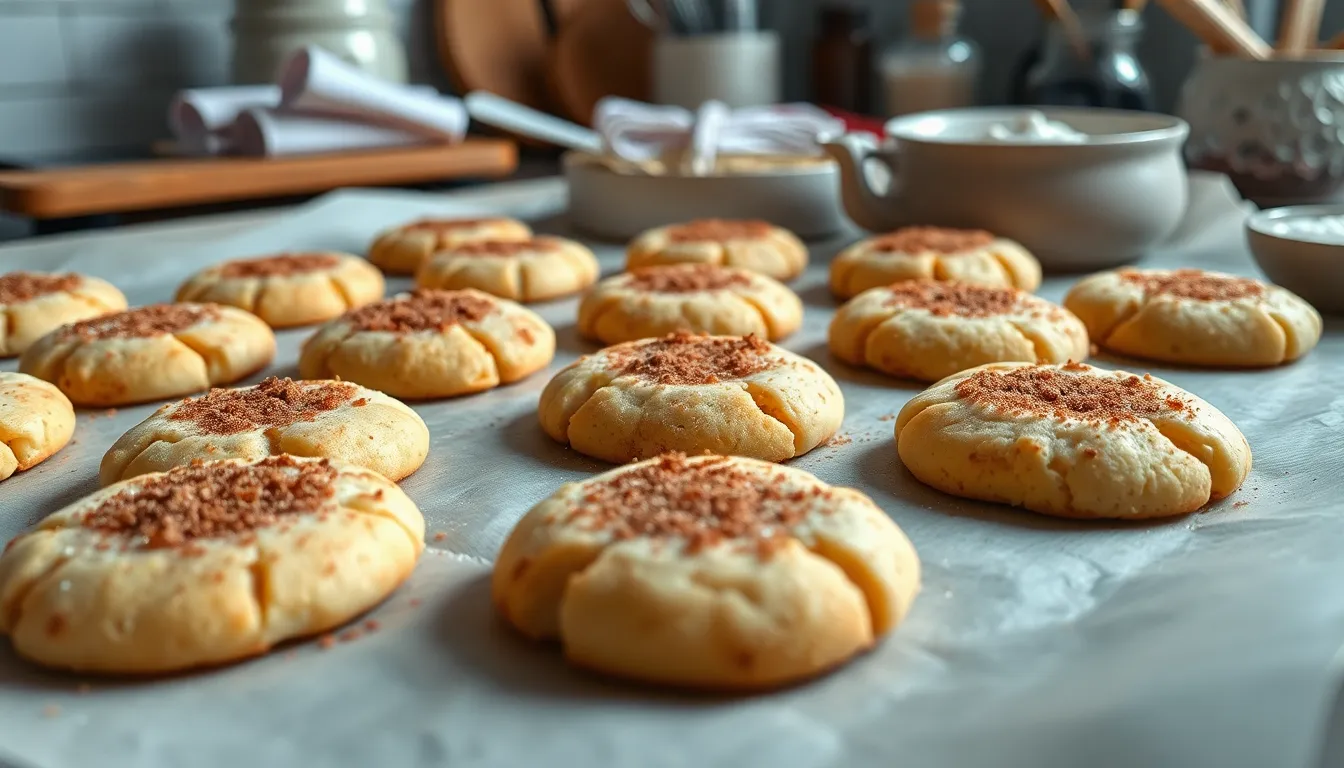
Following our ingredient preparation and equipment setup, we’ll guide you through the systematic process of creating these delectable honey cookies. This straightforward method ensures perfectly balanced sweetness with those coveted crispy edges and tender centers.
Prep the Dough
We begin by whisking together our dry ingredients in a medium bowl. Combine the flour, baking powder, and baking soda until evenly distributed. Next, we’ll work with our wet ingredients in a large bowl by beating the butter, sugar, honey, and salt until the mixture becomes well combined and creamy. Add the eggs and vanilla to this mixture, continuing to mix until the consistency turns smooth and uniform.
Gradually incorporate the dry ingredient mixture into our wet ingredients, mixing only until just combined. Overmixing at this stage can result in tough cookies, so we stop as soon as no flour streaks remain visible.
Chill the Dough
Cover our prepared dough completely and refrigerate for at least 1 to 2 hours. This crucial chilling period allows the flavors to meld together while the dough firms up significantly. We can also refrigerate the dough overnight for even better flavor development and easier handling during the shaping process.
Roll and Cut the Cookies
Scoop the chilled dough into uniform balls using approximately 1 to 1.5 tablespoons of dough for each cookie. For enhanced flavor and texture, we recommend rolling each ball in a mixture of sugar and cinnamon before placing them on our prepared baking sheets. This coating creates a delightful crust that complements the honey’s natural sweetness.
Bake the Cookies
Preheat the oven to 350°F (175°C) while we arrange our cookie balls on parchment-lined baking sheets. Space each cookie approximately 2 inches apart to allow for proper spreading during baking. Bake for 10 to 15 minutes, watching carefully until the edges become lightly browned while the centers remain soft.
Allow the cookies to cool briefly on the baking sheet before transferring them to a wire rack. This brief cooling period prevents breaking while ensuring our cookies maintain their perfect texture as they cool completely.
Directions for Honey Glaze
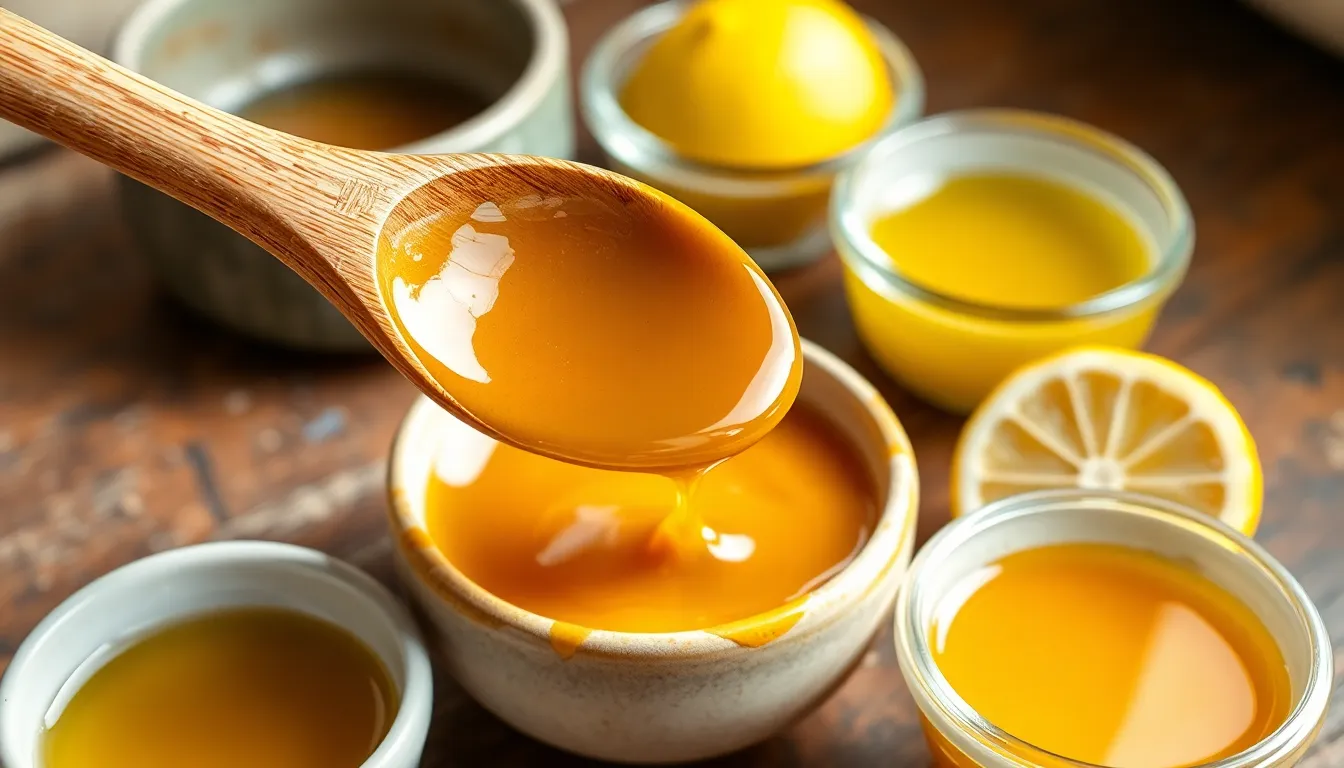
We love adding a glossy honey glaze to our cookies for extra sweetness and visual appeal. This simple enhancement takes your honey cookies from delicious to absolutely irresistible with just a few pantry ingredients.
Prepare the Base Ingredients
We start by gathering 3 tablespoons of honey and 1 tablespoon of water or fresh lemon juice. The water creates a smoother consistency while lemon juice adds a subtle brightness that complements the honey’s natural sweetness.
Heat the Mixture
Pour the honey into a small saucepan and add your chosen liquid. We heat the mixture over low heat for 2 to 3 minutes while stirring gently with a wooden spoon. The goal is to create a fluid consistency that flows easily without becoming too thin.
Test the Consistency
Lift your spoon from the mixture and watch how the glaze drips back into the pan. We want a smooth ribbon that holds together momentarily before blending back into the mixture. Add more liquid one teaspoon at a time if the glaze appears too thick.
Apply to Cooled Cookies
Remove the saucepan from heat and let the glaze cool for 2 minutes. We then brush the warm glaze over completely cooled cookies using a pastry brush or drizzle it directly from a spoon. The glaze should coat evenly without pooling around the edges.
Set and Serve
Allow the glazed cookies to rest for 10 to 15 minutes before serving. We find this setting time creates the perfect balance between a glossy finish and the right level of stickiness that makes these treats absolutely perfect for any occasion.
Storage Instructions
We recommend storing our freshly baked honey cookies properly to maintain their delicious texture and flavor. These sweet treats require exact storage methods depending on how long we plan to keep them.
Room Temperature Storage
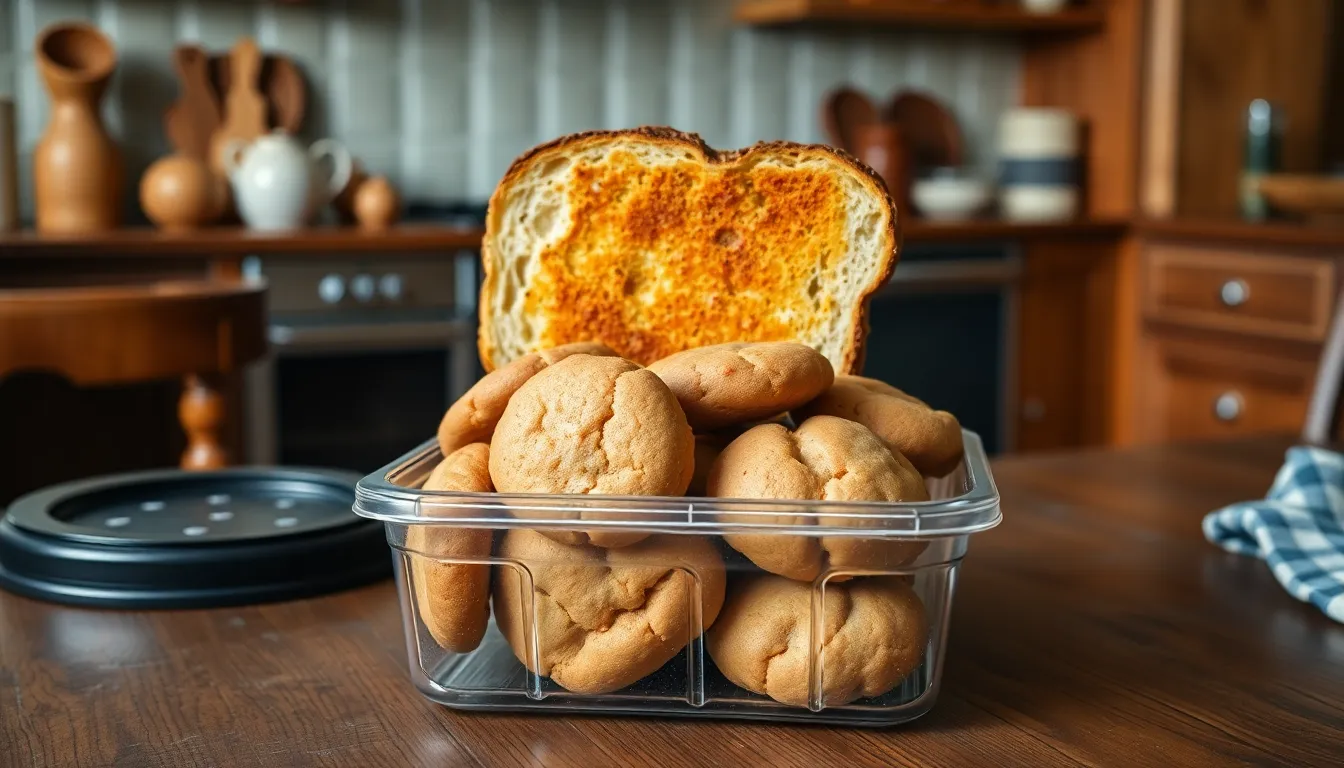
Our honey cookies stay fresh when stored in an airtight container at room temperature for about one week. We place the completely cooled cookies in a sealed container to prevent them from becoming stale or losing their tender centers.
To maintain the perfect crispy edges we worked so hard to achieve, we add a piece of toasted bread to the airtight container. The bread absorbs excess moisture and keeps our cookies fresh while preserving their ideal texture.
Refrigerating Cookie Dough
We can prepare our honey cookie dough ahead of time and store it in the refrigerator for up to five days. This advance preparation saves us time when we want fresh cookies quickly.
If our refrigerated dough becomes too firm to work with, we let it sit at room temperature for a few minutes to soften before shaping and baking.
Freezing Options
| Storage Method | Duration | Instructions |
|---|---|---|
| Baked cookies (frozen) | Several months to 6 months | Store in airtight container |
| Unbaked dough balls | Up to 1 month | Flash freeze on lined sheet pan first |
For long-term storage, we freeze our baked honey cookies in an airtight container where they maintain their quality for several months. In optimal conditions, frozen cookies can last up to six months without losing their delightful honey flavor.
We also freeze unbaked cookie dough balls for convenient future baking. First, we place the shaped dough balls on a lined sheet pan to flash freeze them individually. Once frozen solid, we transfer the dough balls to a freezer-safe bag or container for up to one month.
Best Practices for Frozen Storage
We freeze our cookies in a single layer before transferring them to freezer-safe bags for the best results. This method prevents the cookies from sticking together and maintains their shape during storage.
When we’re ready to enjoy our frozen baked cookies, we simply thaw them at room temperature. For frozen dough balls, we can bake them directly from frozen by adding an extra minute or two to the original baking time.
Tips for Perfect Honey Cookies
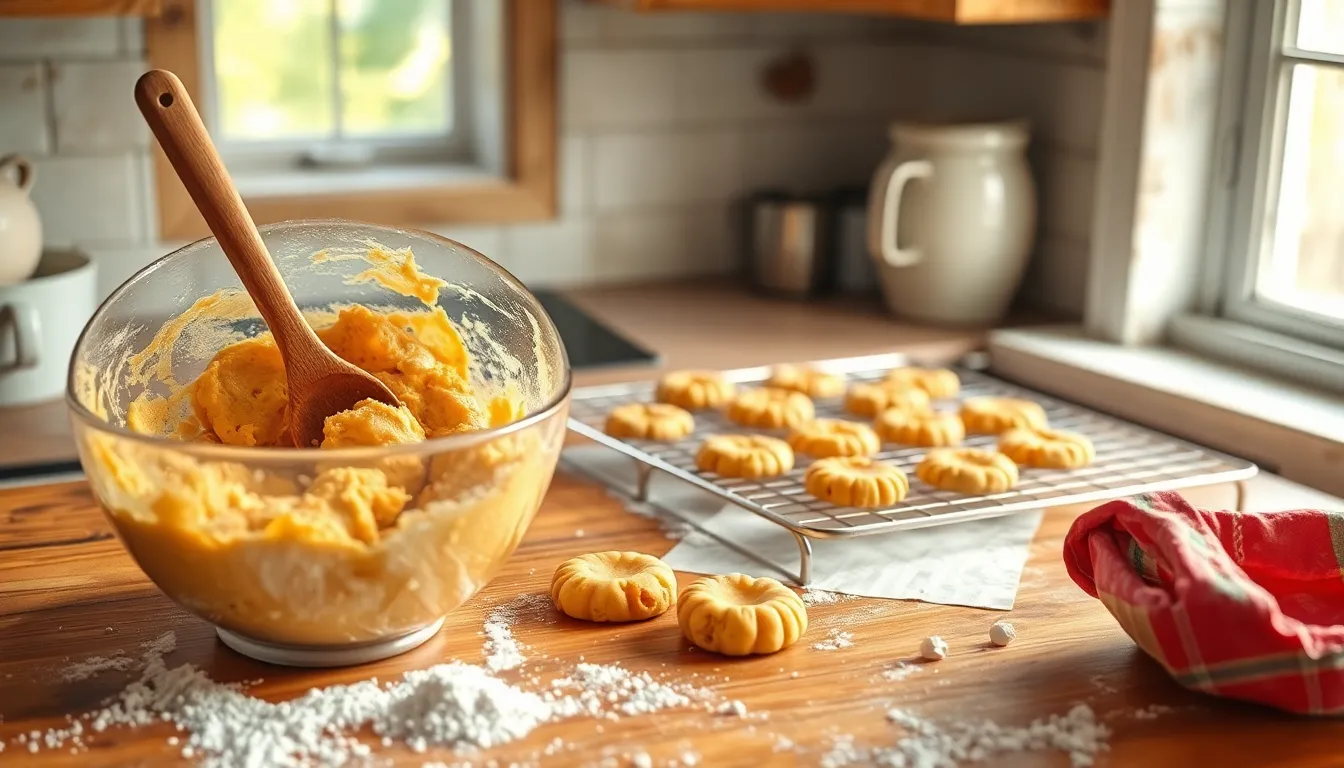
Creating exceptional honey cookies requires attention to exact techniques that make the difference between good and outstanding results. We’ve compiled essential tips based on proven methods to help you achieve perfectly soft and chewy cookies every time.
Start with Properly Softened Butter
Butter temperature plays a crucial role in achieving the ideal texture. We recommend using softened butter that yields slightly when pressed but isn’t melted or oily. This consistency ensures your dough maintains proper structure while remaining easy to work with during mixing.
Master the Creaming Process
Cream your butter, brown sugar, and honey until the mixture becomes smooth and creamy. This process typically takes 3 to 4 minutes with an electric mixer. Room temperature eggs blend more easily into the mixture and create a smoother dough texture.
Chill Your Dough for Superior Results
Chilling transforms your cookie dough in multiple ways. We suggest refrigerating the dough for at least 30 minutes, though overnight chilling produces even better results. Cold dough prevents excessive spreading during baking and creates cookies with better shape retention and improved texture.
| Chilling Time | Benefits |
|---|---|
| 30 minutes | Easier handling, reduced spreading |
| 2 hours | Enhanced flavor development, better texture |
| Overnight | Maximum flavor integration, optimal consistency |
Perfect Your Portioning Technique
Use a cookie scoop or tablespoon to create uniform dough balls. Consistent sizing ensures even baking across all cookies. Roll dough balls in coarse sugar before baking to add extra texture and visual appeal to the finished cookies.
Optimize Baking Temperature and Timing
Bake cookies at 350°F to 375°F depending on your desired texture preference. Watch for golden brown edges while keeping centers slightly soft. Most honey cookies require 10 to 12 minutes in the oven for the perfect balance of crispy edges and tender centers.
Allow Proper Cooling Time
Let cookies rest on the baking sheet for 5 to 10 minutes after removing them from the oven. This cooling period helps set their structure before transferring to a wire rack. Moving cookies too quickly can cause them to break or lose their shape.
Enhance Flavor with Simple Additions
Sprinkle a pinch of flaky salt on top of cookies immediately after baking to enhance the honey’s sweetness. This technique creates a sophisticated flavor profile that elevates the overall taste experience.
Consider Oil for Extended Softness
Adding a small amount of oil alongside butter helps maintain cookie softness for extended periods. This technique proves particularly useful when preparing cookies in advance or for gift giving.
Variations and Add-Ins
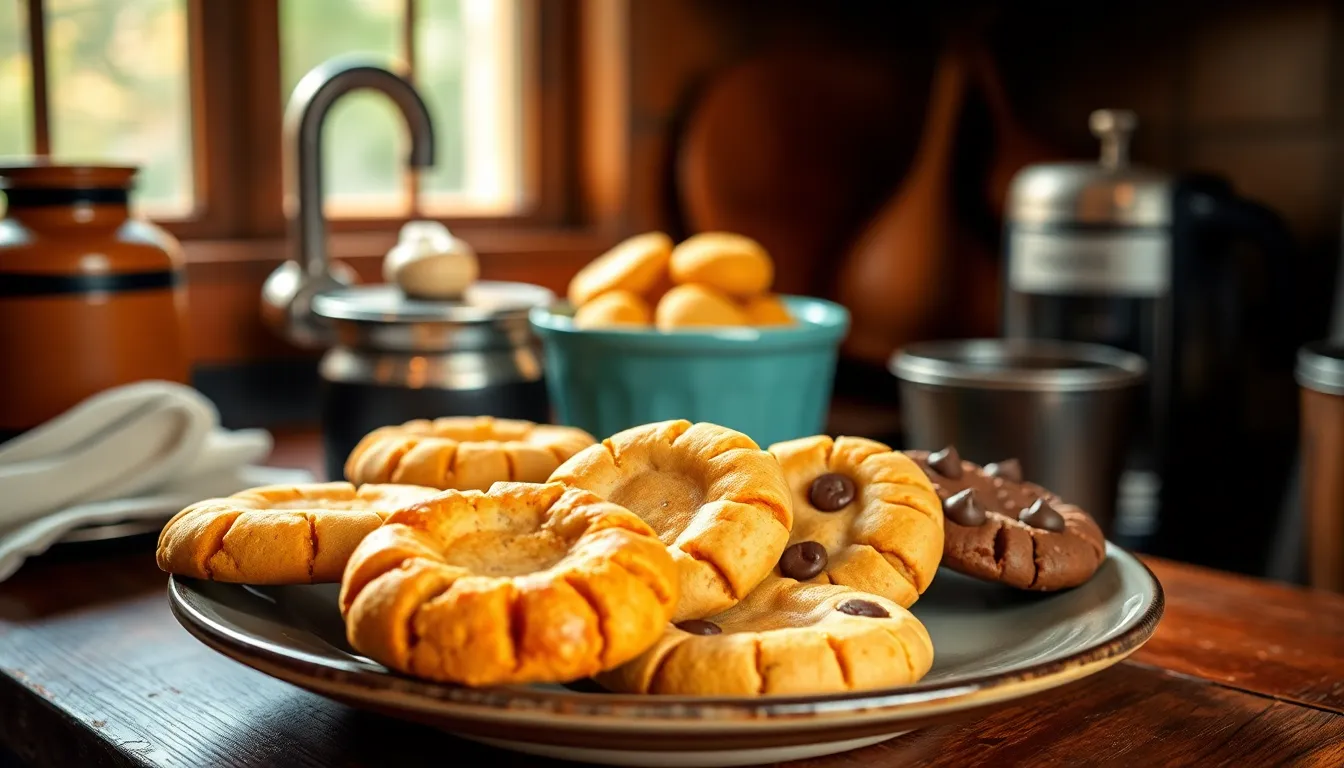
Transform your basic honey cookie recipe into exciting new flavors with these popular variations. Each option builds on our foundation recipe while introducing unique ingredients that create distinctly different taste experiences.
Spiced Honey Cookies
We enhance our honey cookies with warm spices that complement the natural sweetness of honey beautifully. Ground cinnamon works particularly well in this variation, adding aromatic warmth to every bite. Add 1 teaspoon of ground cinnamon to your dry ingredients along with 1/2 teaspoon of ground ginger and 1/4 teaspoon of freshly grated nutmeg. These spices create honey cinnamon cookies that fill your kitchen with irresistible aromas while baking. The combination of honey and warming spices produces cookies that taste like autumn in every bite.
Honey Lemon Cookies
Bright citrus flavors create a delightful contrast to honey’s rich sweetness in this refreshing variation. We incorporate the zest of one large lemon directly into our cookie dough along with 1 tablespoon of fresh lemon juice. The lemon zest provides aromatic oils that intensify the citrus flavor throughout each cookie. Replace the vanilla extract with an additional tablespoon of fresh lemon juice for even more pronounced citrus notes. These cookies offer a perfect balance of sweet honey and tart lemon that makes them ideal for spring gatherings or afternoon tea.
Chocolate Chip Honey Cookies
Rich chocolate chips create an indulgent twist on our classic honey cookie recipe. We fold 1 cup of semi-sweet chocolate chips into the prepared dough just before chilling. Chopped walnuts or pecans make excellent additions to this variation, with 1/2 cup providing delightful texture contrast. The combination of honey’s floral sweetness with chocolate’s richness produces cookies that satisfy both chocolate lovers and honey enthusiasts. These substantial cookies work beautifully as dessert treats or special occasion gifts due to their impressive flavor profile and appealing appearance.
Make-Ahead Instructions
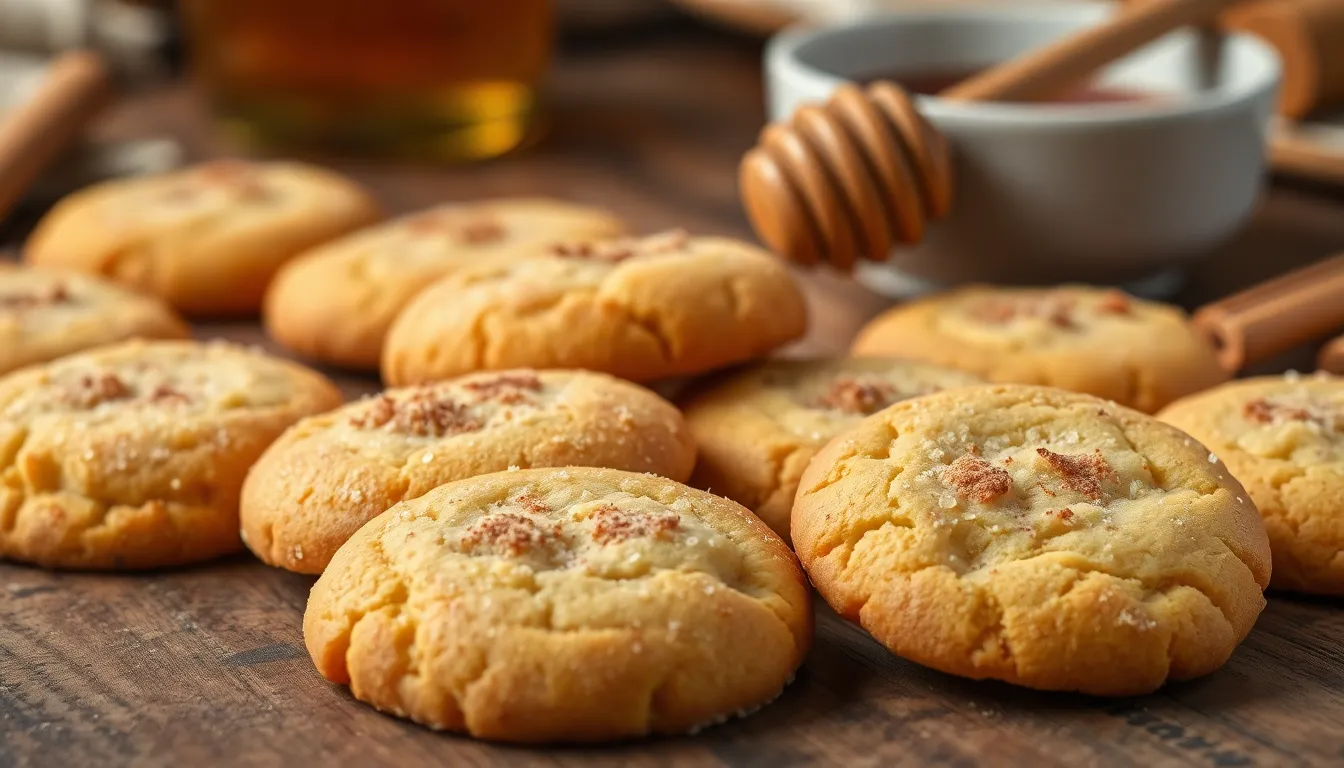
Our honey cookies are perfect for advance preparation, allowing you to enjoy fresh-baked treats whenever the craving strikes. The flexibility of honey cookie dough makes it an ideal choice for busy schedules and special occasions.
Refrigerator Storage Options
We recommend preparing the dough ahead and storing it in the refrigerator for optimal convenience. Cookie dough maintains excellent quality when refrigerated for 3 to 5 days in an airtight container or tightly wrapped in plastic wrap. This storage method prevents the dough from drying out while protecting it from absorbing flavors from other refrigerated foods.
For individual portions, we suggest scooping the dough into cookie-sized balls before refrigerating. This approach reduces prep time when you’re ready to bake, as the dough can go directly from refrigerator to oven with minimal handling.
Freezer Storage Methods
Honey cookie dough freezes beautifully for extended storage periods. We can freeze portioned dough balls or the entire batch for up to one month when properly sealed. Tightly wrapped dough prevents freezer burn and maintains the cookies’ signature texture and flavor.
| Storage Method | Duration | Container Type | Thawing Required |
|---|---|---|---|
| Refrigerated dough | 3-5 days | Airtight container | No |
| Frozen dough balls | 1+ months | Freezer bags | Slight thaw recommended |
| Frozen bulk dough | 1+ months | Wrapped in plastic | Yes |
When baking frozen dough, we allow it to thaw slightly in the refrigerator before shaping. Some recipes permit baking directly from frozen with a minor increase in baking time for perfectly baked results.
Baked Cookie Storage
Completely cooled honey cookies store well at room temperature in an airtight container. Fresh-baked cookies maintain optimal texture and flavor for several days to one week, though they taste best within the first few days after baking.
We also freeze baked cookies for longer storage when wrapped properly. This method works exceptionally well for gift giving or meal planning, as the cookies retain their delicious honey flavor and soft texture after thawing.
Preparation for Baking
Ready-to-bake dough requires minimal preparation from storage. We shape refrigerated or thawed dough as directed in the original recipe, optionally rolling each piece in our cinnamon sugar mixture. The cookies then bake at the specified temperature until golden, delivering the same exceptional results as fresh dough.
Troubleshooting Common Issues
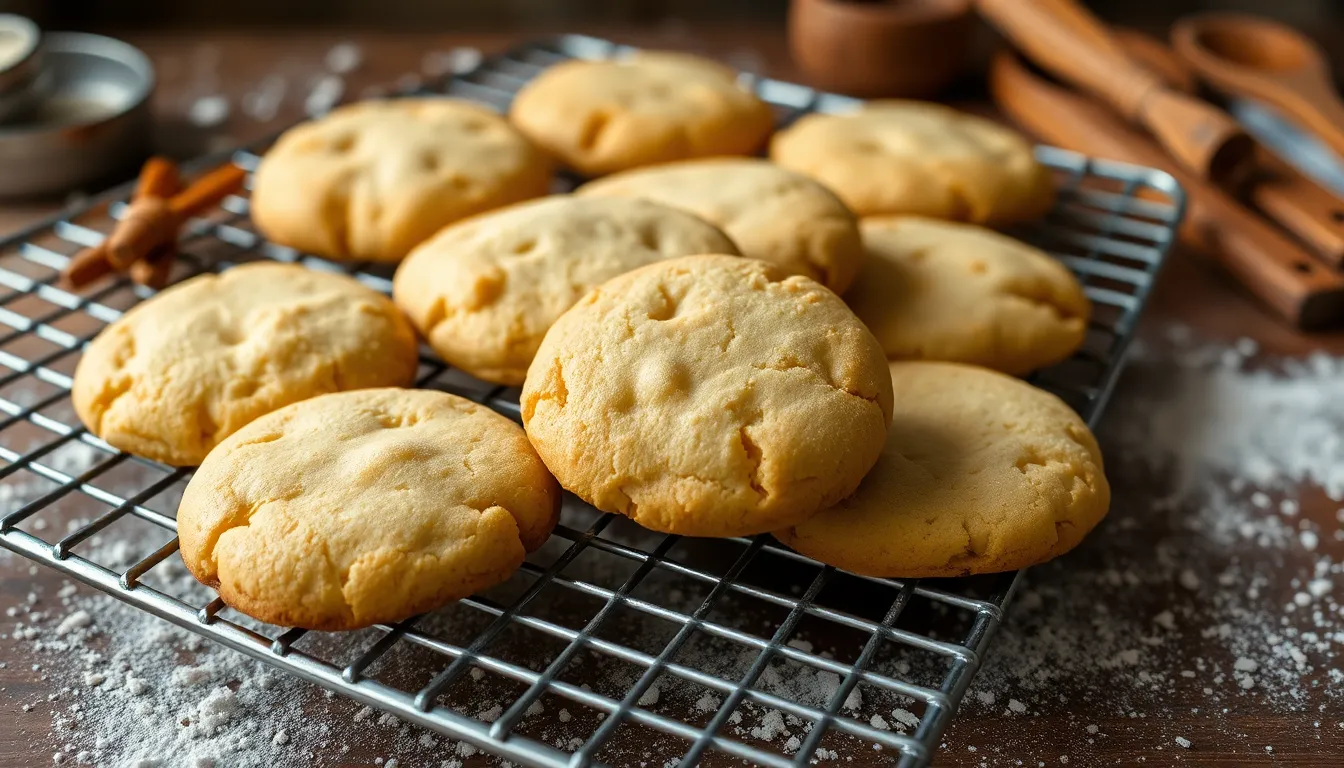
Even experienced bakers encounter challenges when making honey cookies. We’ve compiled answers to the most common problems that can arise during the baking process.
Cookies Spread Too Much
Excessive spreading often results from butter that’s too warm or soft. We recommend using cool room-temperature butter and chilling your dough balls for 30 minutes before baking. Overbeating the butter and sugar mixture beyond 1-2 minutes on medium-high speed can also cause this issue.
Adding an extra tablespoon or two of flour helps absorb excess moisture if your dough appears too wet. This simple adjustment prevents cookies from losing their shape during baking.
Cookies Turn Out Too Flat
Improper leavening ratios frequently cause flat cookies that lack the desired texture. We suggest double-checking your measurements for baking powder or baking soda and ensuring your baking sheet isn’t preheated when you place the dough.
Substituting half of your all-purpose flour with bread flour provides additional structure due to its higher protein content. This substitution helps cookies maintain their shape and achieve better height.
Cookies Become Overly Browned
Temperature control plays a crucial role in achieving perfectly golden cookies. We recommend verifying your oven temperature with a separate thermometer since many ovens run hot or cold.
Frequent checking prevents overbaking as honey cookies can go from golden to overdone quickly. Remove cookies when edges appear lightly golden even if centers look slightly underdone.
Cookies Turn Out Tough
Overmixing the dough creates tough cookies with a dense texture. We advise mixing ingredients just until they come together rather than achieving a perfectly smooth consistency.
| Common Issue | Primary Cause | Quick Solution |
|---|---|---|
| Excessive spreading | Warm butter or overmixing | Chill dough 30 minutes |
| Flat cookies | Incorrect leavening ratios | Use bread flour substitute |
| Overbrowning | High oven temperature | Check temperature accuracy |
| Tough texture | Overmixed dough | Mix until just combined |
Understanding these troubleshooting techniques ensures consistent results every time you bake our honey cookie recipe. Most issues stem from temperature control and mixing technique rather than ingredient problems.
Conclusion
These honey cookies have earned their place as our go-to treat for any occasion. They’re proof that simple ingredients can create something truly special when combined with the right techniques and a little patience.
We’ve covered everything you need to master these delightful cookies – from the basic recipe to creative variations and troubleshooting tips. Whether you’re a beginner baker or seasoned pro you now have all the tools to create consistently perfect results.
The beauty of honey cookies lies in their versatility. Make them ahead for busy weeks store them for unexpected guests or customize them with your favorite add-ins. They’re forgiving enough to experiment with yet reliable enough to become a family tradition.
So preheat that oven and get ready to fill your kitchen with the irresistible aroma of freshly baked honey cookies. Your taste buds will thank you.
Frequently Asked Questions
What makes honey cookies different from regular sugar cookies?
Honey cookies have a distinct sweet, floral flavor that’s more complex than regular sugar cookies. The honey creates a unique taste profile while helping achieve the perfect balance of crispy edges and soft, tender centers. The natural sugars in honey also contribute to better browning and moisture retention.
How long should I chill the honey cookie dough?
Chill the honey cookie dough for 1 to 2 hours in the refrigerator. This chilling time enhances the flavor development, improves texture, and helps the cookies maintain their shape during baking by preventing excessive spreading.
What temperature should I bake honey cookies at?
Bake honey cookies at 350°F (175°C) for 10 to 15 minutes. The cookies are done when the edges are lightly browned and the centers still appear soft. This temperature ensures even baking without over-browning the honey.
How do I make honey glaze for the cookies?
Mix 3 tablespoons of honey with 1 tablespoon of water or fresh lemon juice. Heat the mixture over low heat, stirring until smooth. Apply to cooled cookies using a pastry brush or spoon, then let rest for 10-15 minutes.
How should I store honey cookies to keep them fresh?
Store honey cookies in an airtight container at room temperature for up to one week. Add a piece of toasted bread to maintain freshness. For longer storage, freeze baked cookies for several months in freezer-safe containers.
Can I make honey cookie dough ahead of time?
Yes, cookie dough can be refrigerated for 3-5 days in an airtight container. You can also freeze dough balls or bulk dough for up to one month. Thaw frozen dough before baking, adding 1-2 extra minutes to baking time if needed.
Why are my honey cookies spreading too much during baking?
Excessive spreading usually occurs when butter is too warm or the dough isn’t chilled enough. Ensure butter is properly softened (not melted), chill the dough adequately, and check that your oven temperature is accurate. Cool baking sheets between batches.
What spices work well in honey cookies?
Classic spices for honey cookies include ground cinnamon, nutmeg, and ginger. These warm spices complement honey’s natural sweetness. Start with small amounts and adjust to taste, as honey already provides complex flavor notes.


