We’ve all been there – staring at a beautiful cake that’s missing that perfect finishing touch. Buttercream frosting transforms ordinary baked goods into show-stopping desserts that’ll have everyone asking for your secret recipe. This silky smooth frosting isn’t just delicious; it’s incredibly versatile and surprisingly simple to master.
The beauty of homemade buttercream lies in its endless possibilities. Whether you’re decorating birthday cakes or piping delicate rosettes on cupcakes, this classic American buttercream delivers rich flavor and smooth texture every single time. Unlike store-bought alternatives loaded with preservatives, our version uses just five basic ingredients you probably already have in your kitchen.
We’ll walk you through the foolproof technique that ensures your buttercream comes together perfectly – no lumps, no separation, just creamy perfection. Once you discover how easy it is to whip up this bakery-quality frosting at home, you’ll never reach for the plastic tub again.
Ingredients
We need just five simple ingredients to create this perfect buttercream frosting. These pantry staples combine to produce a smooth and creamy texture that pipes beautifully and tastes incredible.
For Basic Buttercream Frosting:
- 1 cup (2 sticks) unsalted butter, softened to room temperature
- 4 cups powdered sugar, sifted
- 1/4 cup heavy cream or whole milk
- 2 teaspoons pure vanilla extract
- 1/4 teaspoon salt
The butter serves as our foundation and must reach the proper temperature for optimal mixing. Room temperature butter should give slightly when pressed but not feel greasy or melted. We recommend removing it from the refrigerator 1-2 hours before starting.
Sifting the powdered sugar eliminates lumps that could create a grainy texture in our finished frosting. This extra step ensures the silky smooth consistency we want to achieve.
Heavy cream adds richness while milk creates a lighter texture. Both work equally well depending on your preference for the final result.
Pure vanilla extract provides the classic flavor profile that complements most baked goods. We avoid imitation vanilla as it can taste artificial and harsh.
Salt enhances all the other flavors and balances the sweetness of the powdered sugar. Even this small amount makes a noticeable difference in the overall taste.
Equipment Needed
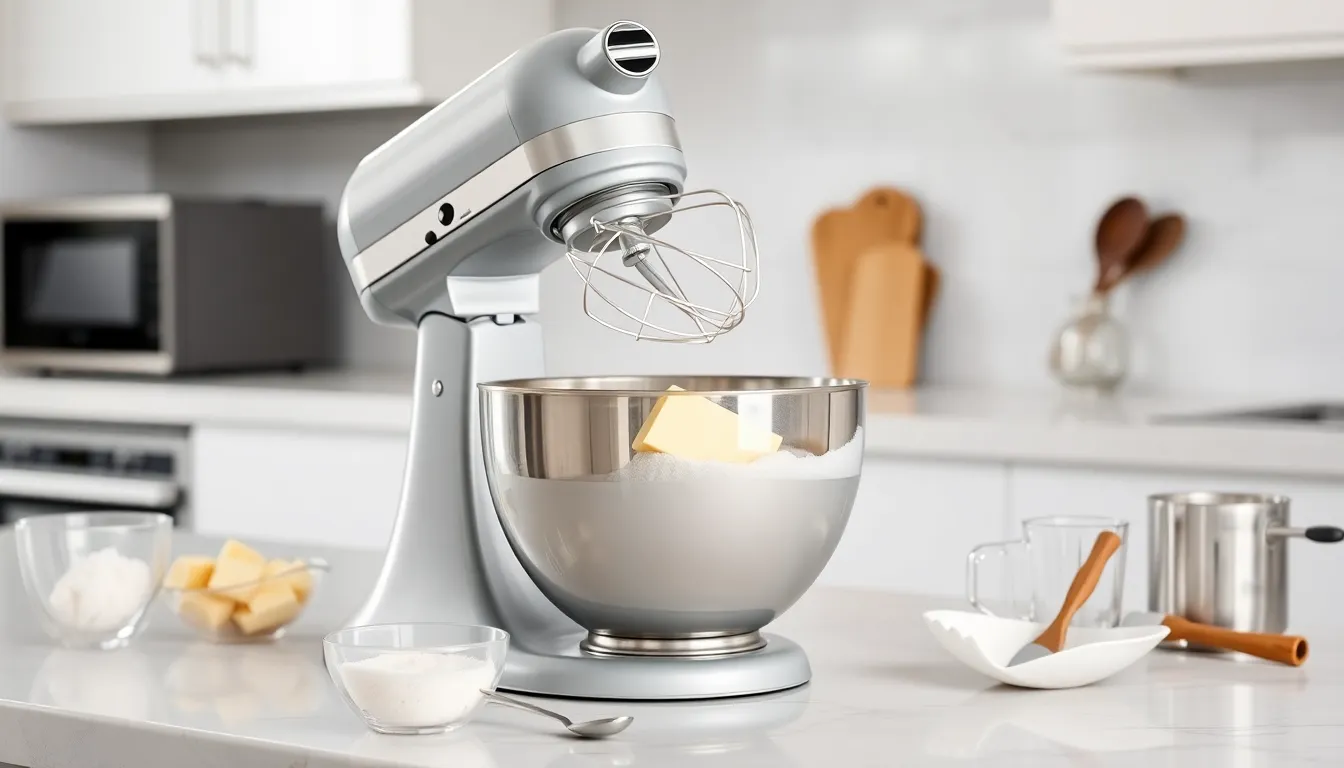
Creating perfect buttercream frosting requires the right tools to achieve that silky smooth texture we all crave. We recommend gathering these essential pieces of equipment before starting your buttercream journey.
A stand mixer or hand mixer serves as your primary tool for whipping butter into the light and airy base that makes buttercream so irresistible. Stand mixers offer hands-free operation and consistent results, while hand mixers provide flexibility for smaller batches.
The paddle or whisk attachment determines the final texture of your frosting. We prefer the paddle attachment for its ability to incorporate ingredients without overbeating, which creates the smooth and creamy consistency that spreads beautifully on cakes.
Your large mixing bowl becomes the workspace where magic happens. Choose a bowl with high sides to prevent powdered sugar from escaping during the initial mixing stages.
Measuring cups and spoons ensure accuracy in your ingredient ratios. Precise measurements make the difference between perfect buttercream and frosting that’s too thick or too thin.
A sturdy spatula proves invaluable for scraping down the sides and bottom of your mixing bowl. This simple tool ensures every bit of butter gets incorporated and prevents lumps from hiding in corners where the mixer can’t reach.
Instructions
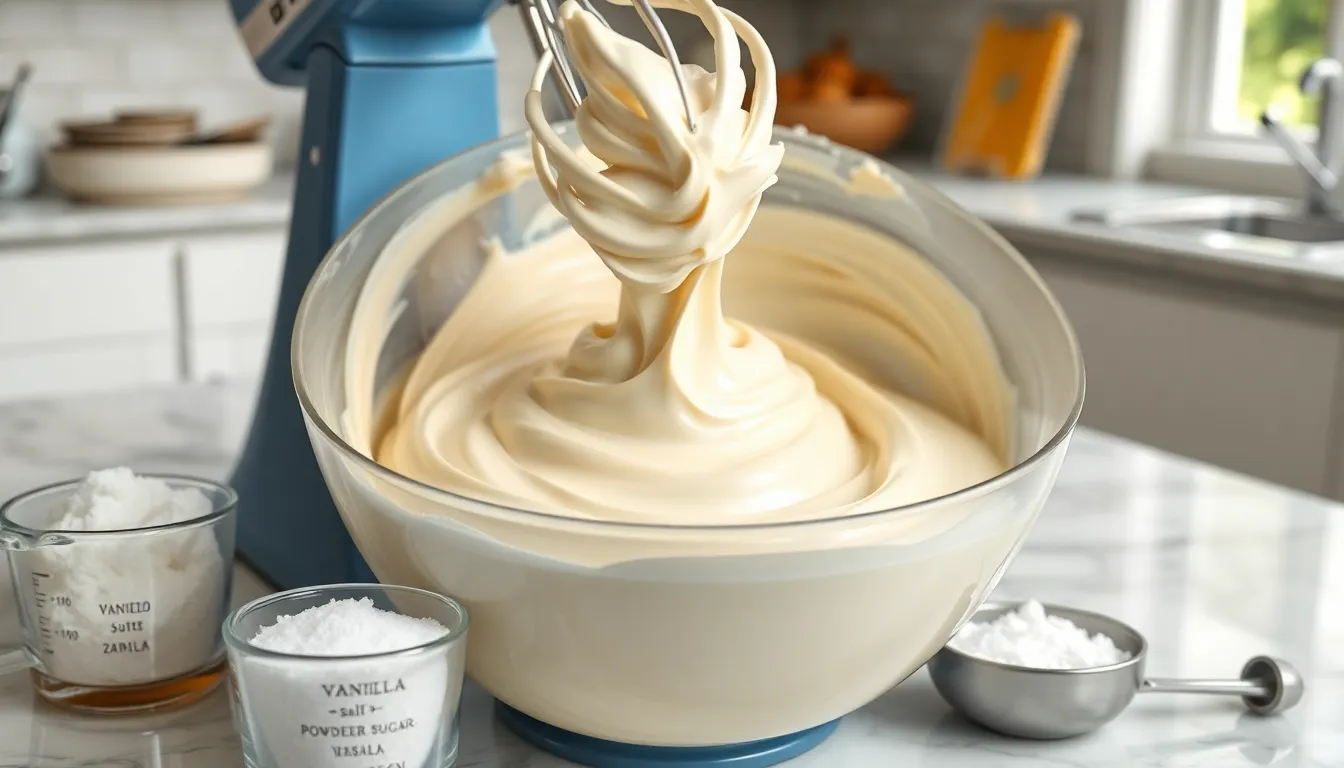
We’ll walk you through each step to create silky smooth buttercream frosting that spreads beautifully and tastes amazing. Follow our method carefully for professional results every time.
Prep the Butter
Start by placing 1 cup (2 sticks) of unsalted butter on your counter to soften to room temperature. The butter should feel pliable but still maintain its firm structure when properly softened.
Place the softened butter in your large mixing bowl and beat it using a stand mixer or hand mixer on medium speed. Continue beating for about 1 minute until the butter becomes smooth and creamy with no lumps remaining.
Add Powdered Sugar
Gradually incorporate 3 to 4 cups of sifted powdered sugar into the creamy butter. Add the sugar slowly, about 1 cup at a time, mixing on low speed to prevent sugar clouds from escaping your bowl.
Allow each cup of sugar to fully incorporate before adding the next portion. Once all sugar has been added, increase the mixer speed to medium and continue beating until the mixture becomes well combined and fluffy.
Mix in Vanilla and Salt
Add 1 teaspoon of pure vanilla extract and a pinch of salt to the butter mixture. Beat these flavorings into the frosting until they’re completely incorporated and evenly distributed.
Pour in 2 to 3 tablespoons of heavy cream or heavy whipping cream, starting with 2 tablespoons first. Mix the cream thoroughly into the frosting to create the desired consistency and richness.
Adjust Consistency
Evaluate your frosting’s texture by lifting some with your spatula or beaters. Add more cream 1 tablespoon at a time if the frosting appears too thick for spreading or piping.
Sprinkle in additional powdered sugar gradually if your frosting seems too thin or runny. Beat the frosting on medium speed for an additional 3 to 4 minutes until it reaches a smooth and fluffy consistency that holds its shape perfectly.
Directions for Different Buttercream Variations
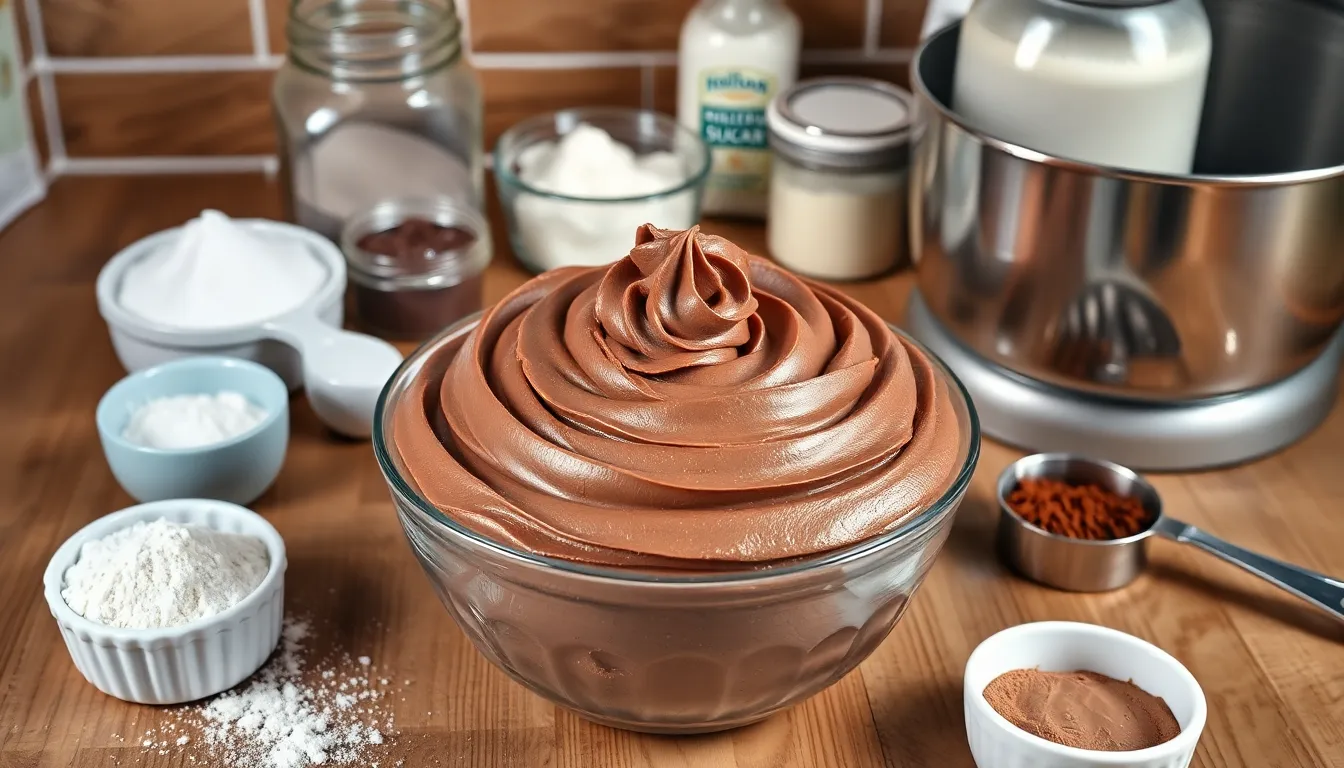
Building on our classic buttercream foundation, we can create delicious flavor variations that transform any dessert. Each variation follows similar techniques while incorporating exact ingredients for unique taste profiles.
Chocolate Buttercream
We start by beating 1 cup of softened butter until light and creamy in our mixing bowl. Next, we add ½ cup of unsweetened cocoa powder and mix until the ingredients are fully combined and the mixture appears uniform.
Gradually, we alternate adding 3 to 3¾ cups of confectioners’ sugar with 4 tablespoons of milk, beginning and ending with the sugar. We beat the mixture on low speed initially to prevent sugar clouds, then increase to medium speed for smoothness.
After achieving a creamy consistency, we incorporate 1 teaspoon of vanilla extract and a pinch of salt if desired. The finished chocolate buttercream should hold its shape while remaining smooth and pipeable.
Strawberry Buttercream
Following our basic butter preparation, we beat 1 cup of softened butter until fluffy and pale. We then alternate between adding 2 to 3 cups of confectioners’ sugar and 2 to 3 tablespoons of strawberry puree or jam.
The key to perfect strawberry flavor lies in using quality strawberry puree or a high fruit content jam. We add 2 to 4 tablespoons of milk to achieve the desired consistency, adjusting as needed.
Finally, we mix in 1 teaspoon of vanilla extract and beat until the frosting appears smooth and evenly colored. The natural sugars in the strawberries may require slight adjustments to the powdered sugar ratio.
Cream Cheese Buttercream
We begin this variation by beating 8 ounces of softened cream cheese until completely smooth and free of lumps. Adding ½ cup of softened butter, we continue beating until the mixture becomes light and fluffy.
Gradually, we incorporate 1 to 2 cups of confectioners’ sugar, starting with less and adding more based on desired sweetness and consistency. The cream cheese provides natural tang that balances the sweetness perfectly.
We beat the mixture until all ingredients are fully combined and the frosting reaches a smooth, spreadable texture. This variation requires less sugar than traditional buttercream due to the cream cheese’s natural body and flavor.
Storage Instructions
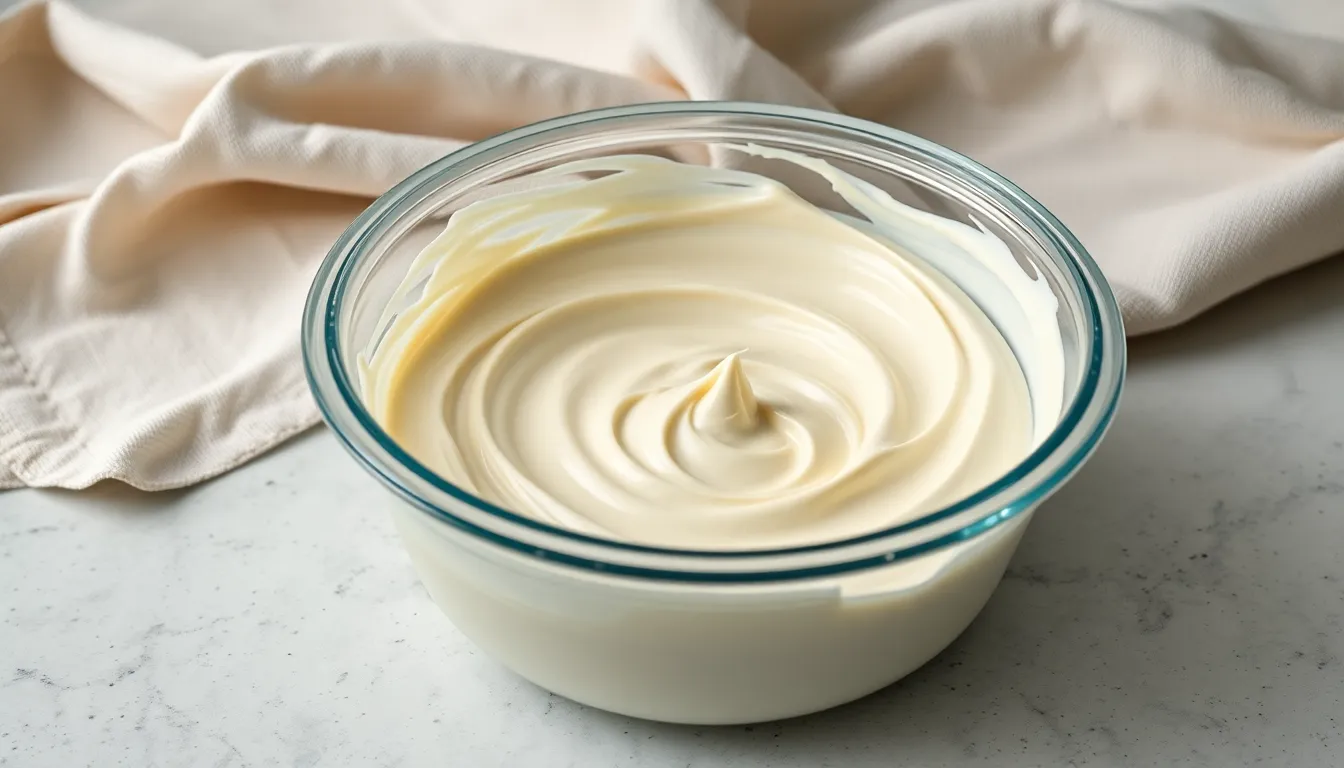
We’ve created the perfect buttercream frosting, and now it’s time to store it properly to maintain its creamy texture and delicious flavor. Proper storage ensures our buttercream stays fresh and ready to use whenever we need it.
Room Temperature Storage
Store our buttercream frosting in an airtight container at room temperature for up to three days. We recommend keeping it in a cool, dark place away from direct sunlight and heat sources. Always use clean utensils when scooping out portions to prevent contamination. This storage method works best when we plan to use the frosting within a few days of making it.
Refrigerator Storage
For longer storage periods, we can refrigerate our buttercream in an airtight container for up to one week. The frosting will harden when chilled, so we need to bring it back to room temperature before using. Once it reaches room temperature, we should rewhip the frosting to restore its fluffy, smooth texture. Beat the chilled frosting with our mixer until it returns to its original consistency for optimal spreading or piping results.
Freezer Storage
We can extend our buttercream’s life by storing it in the freezer for up to three months. Place the frosting in an airtight container or plastic freezer bag, removing as much air as possible to prevent freezer burn. When ready to use, thaw the frozen buttercream in the refrigerator overnight. Allow it to come to room temperature completely, then rewhip with our mixer to restore the proper texture before decorating our baked goods.
Make-Ahead Tips
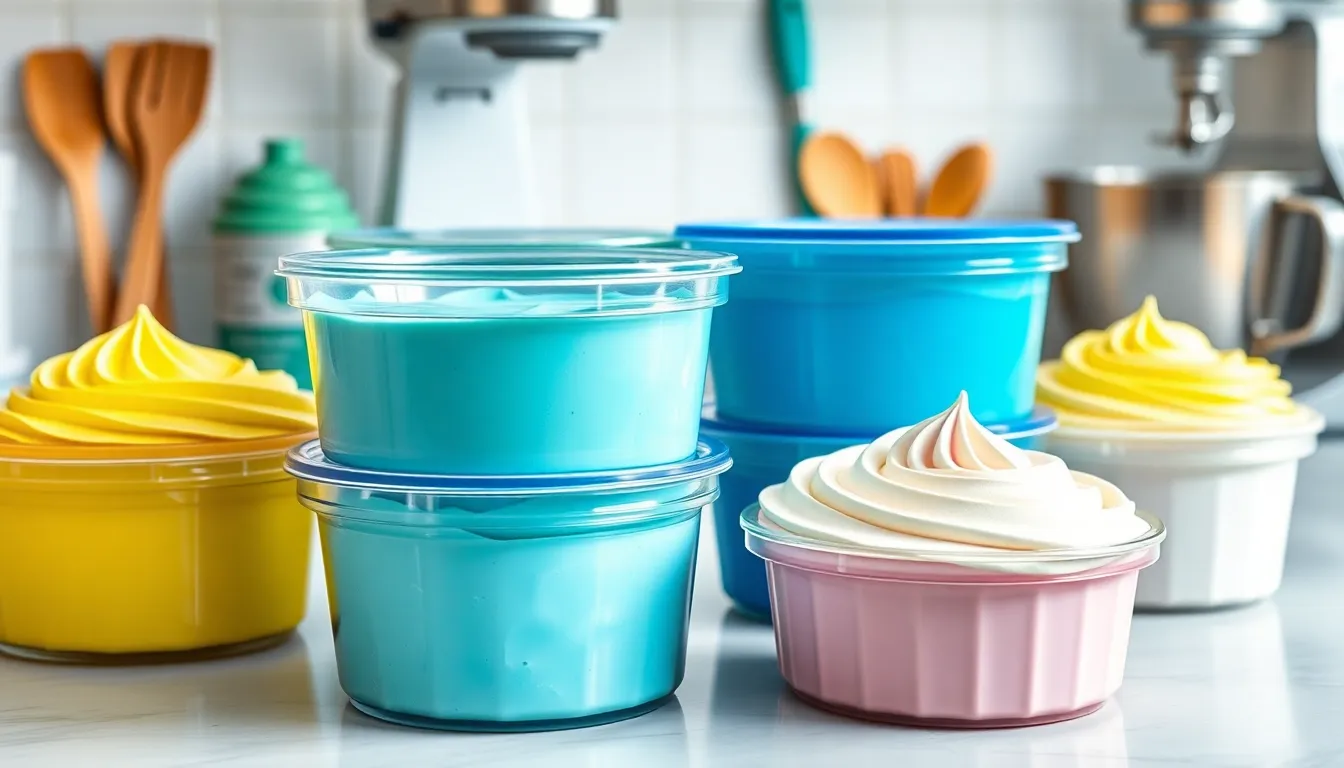
Preparing buttercream frosting ahead of time saves us valuable minutes during busy baking sessions. We can store our freshly made buttercream in an airtight container for up to one week in the refrigerator or freeze it for up to three months for extended storage.
Refrigerated buttercream requires special attention before use. We need to allow the frosting to come to room temperature completely before attempting to rewhip it. This process typically takes 2 to 3 hours depending on room temperature. Once the frosting reaches room temperature we should re-beat it using our stand mixer or hand mixer until it returns to its original smooth and fluffy texture.
Frozen buttercream demands a slightly different approach for optimal results. We must thaw the frozen frosting in the refrigerator overnight rather than at room temperature to prevent separation. After the overnight thawing process we bring the buttercream to room temperature following the same guidelines as refrigerated frosting. Re-beating the thawed buttercream restores its perfect consistency and ensures smooth application.
| Storage Method | Duration | Thawing Requirements |
|---|---|---|
| Room Temperature | Up to 3 days | None required |
| Refrigerated | Up to 1 week | 2-3 hours at room temperature |
| Frozen | Up to 3 months | Overnight in refrigerator plus 2-3 hours at room temperature |
Temperature control plays a crucial role in successful make-ahead buttercream preparation. We recommend portioning the frosting into smaller containers before storage to reduce thawing time and minimize waste. Each portion should contain enough frosting for one exact project to avoid repeated temperature changes that can affect texture quality.
Troubleshooting Common Issues
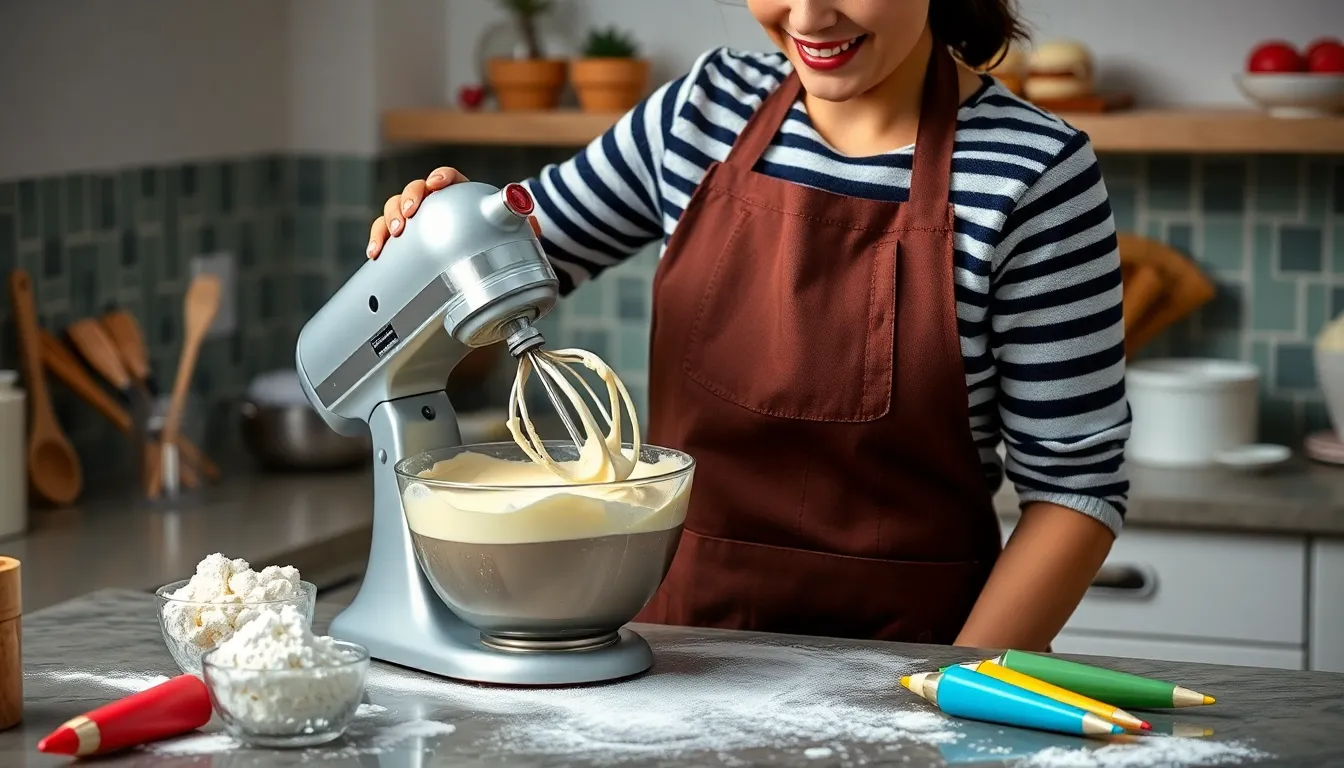
Even with our foolproof technique, buttercream frosting can sometimes present challenges that require quick fixes. These common issues have simple answers that will restore your frosting to perfect consistency.
Buttercream Too Thin
When your buttercream appears runny or too soft to hold its shape, we need to thicken the mixture by adding more dry ingredients. Gradually incorporate powdered sugar into the frosting, adding just a tablespoon at a time while mixing on low speed. Continue this process until the buttercream reaches the desired consistency that holds peaks when you lift the beaters.
Beat the mixture well after each addition to ensure the sugar fully dissolves and doesn’t create a gritty texture. The frosting should maintain its smooth appearance while gaining enough body to spread evenly or pipe decorative designs.
Buttercream Too Thick
Stiff buttercream that resists spreading or piping requires additional liquid to achieve the proper consistency. Add milk, heavy cream, or even a small amount of water to loosen the mixture, incorporating just one teaspoon at a time. Mix thoroughly after each addition to prevent the frosting from becoming too thin too quickly.
We recommend using the same liquid you used in your original recipe to maintain flavor consistency. Continue adding liquid until the buttercream spreads smoothly and feels light and fluffy under your spatula.
Buttercream Curdled or Separated
Curdled or separated buttercream typically results from temperature issues or adding liquid too rapidly to the mixture. When butter is too cold, ingredients aren’t at room temperature, or liquid gets added too quickly, the emulsion breaks and creates a lumpy, separated appearance.
To fix this issue, gently warm the mixing bowl by holding it with warm hands or wrapping it with a warm towel while continuing to mix. Alternatively, add a small amount of softened butter to the mixture and beat until the frosting becomes smooth again. The key is patience and gentle warming rather than aggressive mixing, which can worsen the separation.
Decorating Tips and Techniques
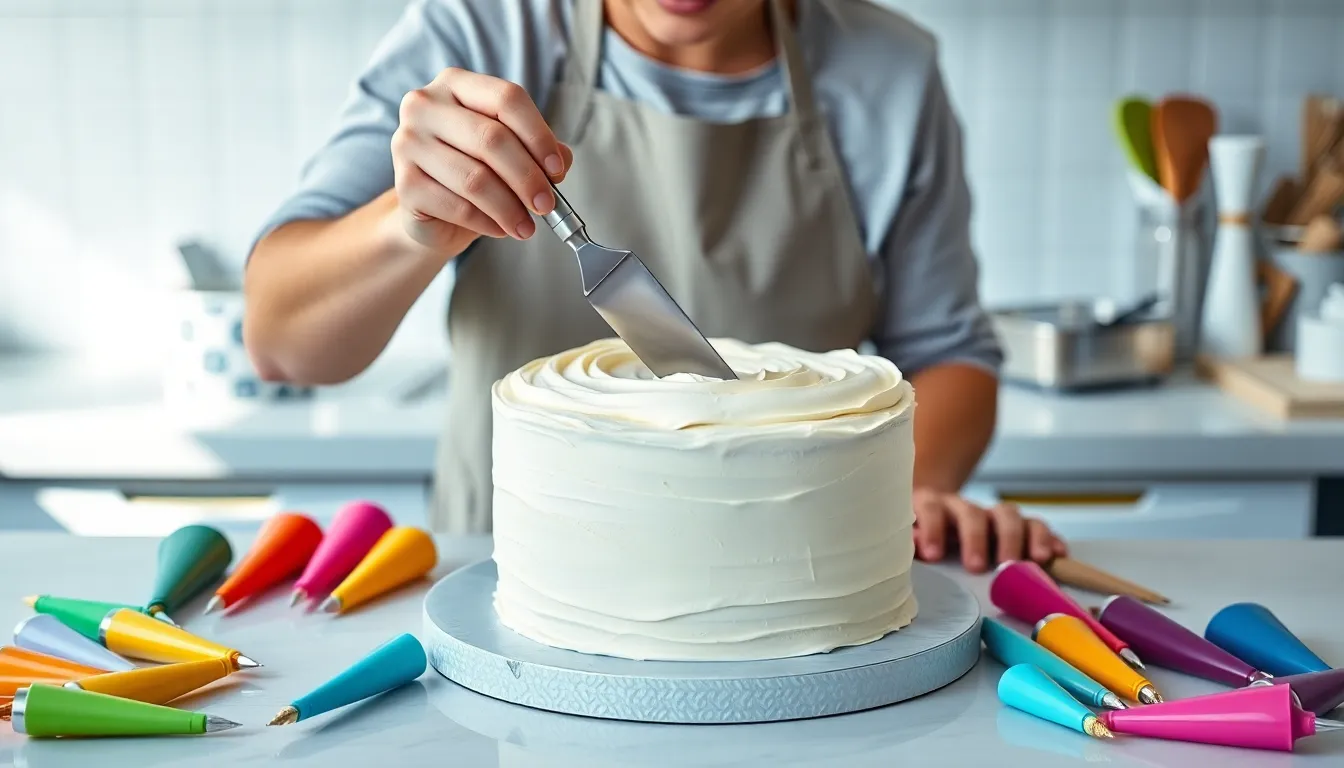
Now that we have our perfect buttercream ready, let’s explore the various ways to transform it into stunning decorative elements for our baked goods. The key to professional-looking results lies in understanding the proper techniques and having the right consistency for each application.
Creating Smooth Finishes
We recommend using an offset spatula or bench scraper to achieve that coveted smooth layer on cakes. Start by applying a generous amount of buttercream to the top of your layer cake, then work the spatula in smooth, even strokes from the center outward. Hold the bench scraper at a 45-degree angle against the side of the cake while slowly rotating the turntable for seamless sides.
For the smoothest possible finish, we suggest chilling the frosted cake for 15 minutes before making final passes with a clean, warm spatula. This technique helps eliminate any remaining texture marks and creates that bakery-perfect appearance.
Piping Techniques and Tips
Transform your buttercream into elegant decorative elements by fitting a piping bag with your desired tip. We find that star tips create beautiful swirls and rosettes on cupcakes, while round tips work perfectly for borders and writing. For best results, fill the piping bag with buttercream at room temperature and twist the top securely to prevent leaks.
Practice consistent pressure when piping to maintain uniform shapes across your decorations. Start with simple techniques like basic swirls before advancing to more complex designs like buttercream flowers or intricate borders.
Color Customization
Adding food coloring opens up endless decorative possibilities for our buttercream creations. We always add gel or paste food coloring after the frosting reaches its final consistency to ensure uniform color distribution. Start with just a tiny amount, as gel colors are highly concentrated and a little goes a long way.
Mix the coloring thoroughly on medium speed until no streaks remain. For multiple colors, divide the buttercream into separate bowls before adding different colorings to create beautiful ombre effects or multicolored decorations.
Consistency Adjustments for Different Techniques
Different decorating methods require exact buttercream consistencies for optimal results. We adjust the texture by adding more powdered sugar to create stiffer buttercream for structured piping work, or incorporate additional cream to soften the mixture for smooth spreading applications.
For detailed piping work like flowers or intricate borders, we prefer slightly stiffer buttercream that holds its shape well. Conversely, when creating smooth cake surfaces or filling between layers, a softer consistency spreads more easily and creates fewer air bubbles.
Professional Storage Between Uses
Store unused buttercream in an airtight container in the refrigerator for up to 2 weeks, or freeze for longer storage periods. Before reusing stored buttercream, we always bring it to room temperature and beat it again to restore the original smooth, pipeable texture.
This rewhipping process is crucial for maintaining the buttercream’s workability and ensuring consistent decorating results across multiple baking sessions.
Conclusion
Making buttercream frosting at home isn’t just achievable—it’s incredibly rewarding. With these simple techniques and troubleshooting tips we’ve shared you’ll create consistently smooth creamy frosting that rivals any bakery.
Remember that practice makes perfect. Don’t be discouraged if your first batch isn’t flawless. Each time you make buttercream you’ll develop a better feel for the right consistency and timing.
We encourage you to experiment with the flavor variations and decorating techniques once you’ve mastered the basic recipe. Your homemade desserts will never taste the same again and your friends and family will definitely notice the difference.
Frequently Asked Questions
What are the 5 essential ingredients for basic buttercream frosting?
The five essential ingredients for basic buttercream frosting are unsalted butter (softened to room temperature), powdered sugar (sifted), heavy cream or whole milk, pure vanilla extract, and salt. These simple ingredients create a rich, smooth frosting that’s perfect for cakes and desserts.
How long can homemade buttercream frosting be stored?
Homemade buttercream can be stored at room temperature for up to 3 days in an airtight container. For longer storage, refrigerate for up to 1 week or freeze for up to 3 months. Always rewhip chilled or thawed buttercream to restore its smooth texture before using.
What equipment do I need to make perfect buttercream frosting?
You’ll need a stand mixer or hand mixer (preferably with paddle attachment), a large mixing bowl with high sides, measuring cups and spoons, and a sturdy spatula for scraping. The mixer whips the butter to create smooth consistency, while the spatula ensures all ingredients are well incorporated.
How do I fix buttercream that’s too thin or too thick?
If your buttercream is too thin, gradually add more powdered sugar until it thickens. If it’s too thick, add small amounts of milk or heavy cream until you reach the desired consistency. For curdled buttercream, gently warm the bowl or add softened butter to restore smoothness.
Can I make different flavored buttercream variations?
Yes! You can create chocolate buttercream by adding cocoa powder, strawberry buttercream with strawberry puree or jam, or cream cheese buttercream by combining cream cheese with butter. Each variation follows the same basic technique while adjusting specific ingredients for unique flavors.
What’s the best way to achieve smooth buttercream for decorating?
For smooth finishes, use an offset spatula or bench scraper and chill the frosted cake before final touches. Ensure your buttercream has the right consistency – not too thick or thin. Use gel or paste food coloring for vibrant colors without affecting texture.

