Nothing transforms desserts quite like a dollop of fresh homemade whipped cream. We’ve all been there – reaching for store-bought containers only to find artificial flavors and unnecessary additives. Making your own whipped cream isn’t just healthier; it’s surprisingly simple and delivers that perfect cloud-like texture we all crave.
With just three ingredients and five minutes, we can create silky, luxurious whipped cream that puts any store-bought version to shame. Whether you’re topping pies, garnishing hot chocolate, or filling pastries, fresh whipped cream elevates every dessert from ordinary to extraordinary.
The best part? We’ll show you foolproof techniques that work every single time, plus insider tips to prevent over-whipping and achieve that ideal consistency. Once you master this basic skill, you’ll never want to buy pre-made whipped cream again.
What You’ll Need
Creating perfect homemade whipped cream requires minimal equipment and just a few simple ingredients. We’ll walk you through everything necessary to achieve that cloud-like texture every time.
Equipment
Electric Hand Mixer or Stand Mixer
We recommend using an electric mixer for the best results. Hand mixers work perfectly for small batches while stand mixers excel at larger quantities. Both create the necessary air incorporation for proper whipping.
Mixing Bowl
Choose a large mixing bowl that provides ample space for the cream to expand. We prefer glass or stainless steel bowls as they maintain temperature better than plastic options.
Measuring Cups and Spoons
Accurate measurements ensure consistent results every time. We use standard measuring tools to maintain the proper ratios between ingredients.
Chilled Bowl and Beaters (Optional)
Placing your mixing bowl and beaters in the refrigerator for 15 minutes before whipping helps cream hold its structure better. This step becomes especially important in warm weather conditions.
Ingredients
Heavy Cream (1 cup)
We use heavy cream with 35-40% fat content for the richest texture and best stability. Heavy whipping cream creates the perfect base that holds its shape without deflating.
Granulated Sugar (2 tablespoons)
Sugar adds sweetness while helping stabilize the whipped cream structure. We measure sugar carefully to avoid overpowering the natural cream flavor.
Pure Vanilla Extract (1 teaspoon)
Vanilla enhances the overall flavor profile with its warm aromatic notes. We prefer pure vanilla extract over artificial versions for superior taste quality.
Instructions
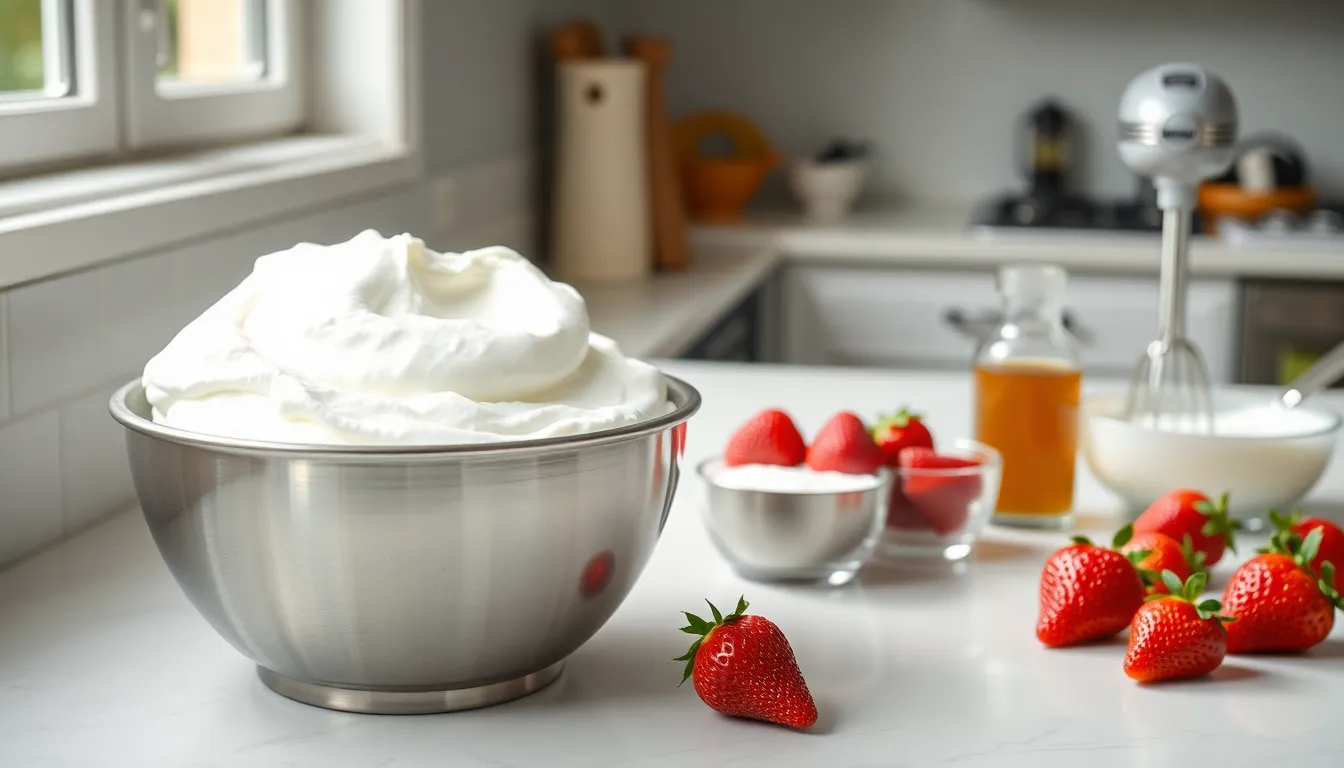
Now that we have our equipment and ingredients ready, let’s walk through the simple process of creating perfect whipped cream. These three steps will transform ordinary heavy cream into a luxurious topping that rivals any professional kitchen.
Prep the Cream
We start by chilling our mixing bowl and whisk attachment in the refrigerator or freezer for at least 20 minutes. Cold equipment is essential for achieving the best whipped cream texture and helps the cream whip more efficiently.
Our heavy cream should also be cold straight from the refrigerator. The cold temperature allows the fat molecules to trap air more effectively during the whipping process.
Whip the Cream
We combine the cold heavy cream, sugar, and vanilla extract in our chilled bowl. Starting with our mixer on medium speed, we whip the mixture for about 2 minutes until it becomes frothy and begins to thicken.
Next, we increase the speed to medium-high and continue whipping. The cream will gradually transform from liquid to a thicker consistency as air incorporates into the mixture.
We can use either a handheld mixer or stand mixer with a whisk attachment for the most efficient results. Both tools will give us the power needed to achieve proper peaks.
Check for Perfect Peaks
We stop the mixer periodically to check our cream’s consistency and look for soft peaks. Perfect soft peaks hold their shape but slightly droop when we lift the beaters from the mixture.
Timing is crucial here because we must avoid over-whipping the cream. Once we achieve soft peaks, we immediately stop mixing to prevent the cream from becoming grainy and curdled.
We can customize our whipped cream by adding different flavor extracts like almond, strawberry, or espresso instead of vanilla for delicious variations.
Types of Whipped Cream Peaks
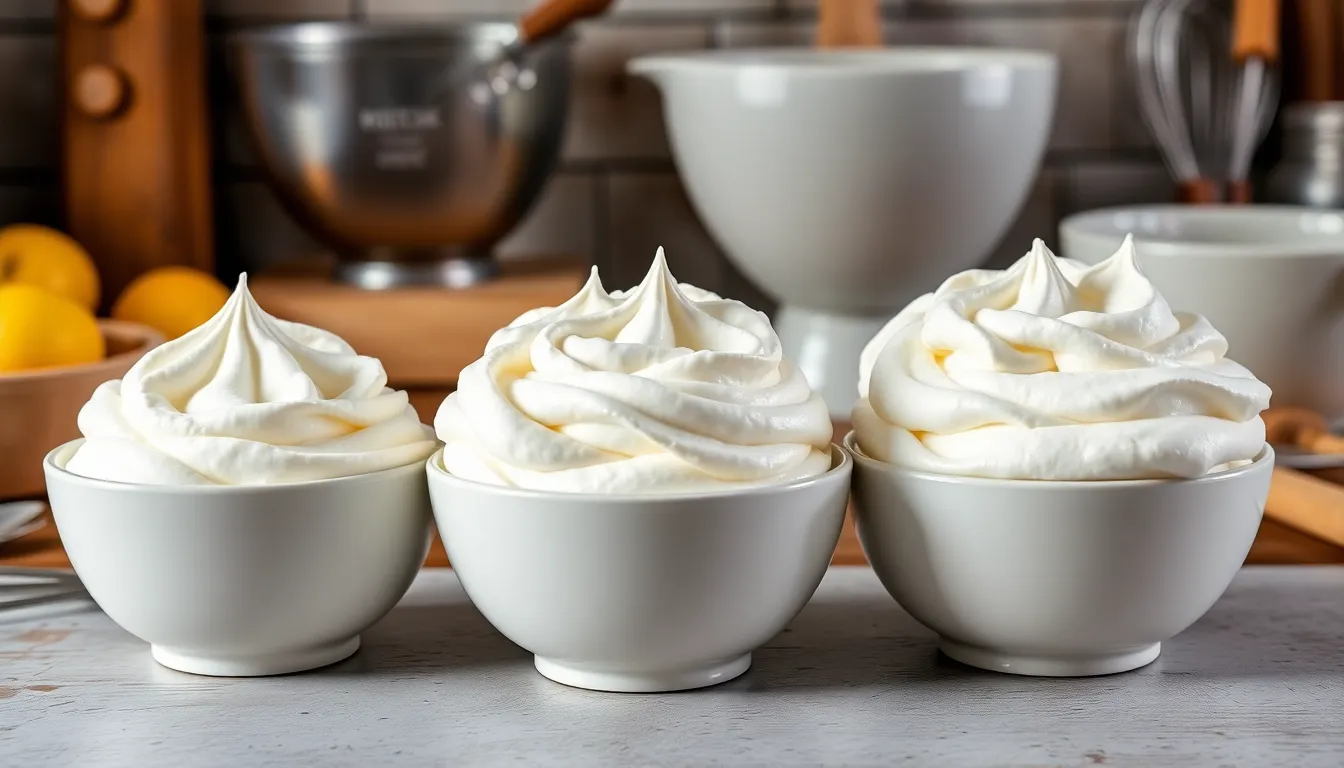
Understanding the different stages of whipped cream peaks ensures we achieve the perfect consistency for our desserts. Each peak type serves exact culinary purposes and offers unique advantages.
Soft Peaks
Soft peaks form when we lift our beaters and the cream creates gentle curves that fold back into themselves within seconds. The mixture appears light and airy while maintaining a flowing quality that makes it perfect for folding into other ingredients. We can identify soft peaks by their delicate texture that barely holds its shape when piped or spooned. This consistency works beautifully for hot chocolate toppings, coffee drinks, and desserts where the cream needs to blend seamlessly with other components.
Medium Peaks
Medium peaks represent the sweet spot between soft and stiff stages, creating curves that hold their shape for several seconds before slowly settling. The texture becomes noticeably thicker while retaining enough flexibility to spread smoothly across cakes and pastries. We achieve medium peaks by continuing to whip past the soft peak stage until the cream develops more body and structure. This consistency provides excellent stability for layered desserts, fruit parfaits, and decorative dollops that need to maintain their appearance for extended periods.
Stiff Peaks
Stiff peaks develop when we whip the cream until it forms sharp, defined points that stand upright without bending or collapsing. The mixture becomes thick and stable enough to hold elaborate piped designs and maintain its shape during transport. We can recognize stiff peaks by their firm texture that creates clean lines when cut with a knife or spatula. This consistency proves essential for cake decorating, stabilizing mousses, and creating impressive dessert presentations that require structural integrity throughout serving.
Flavoring Your Whipped Cream
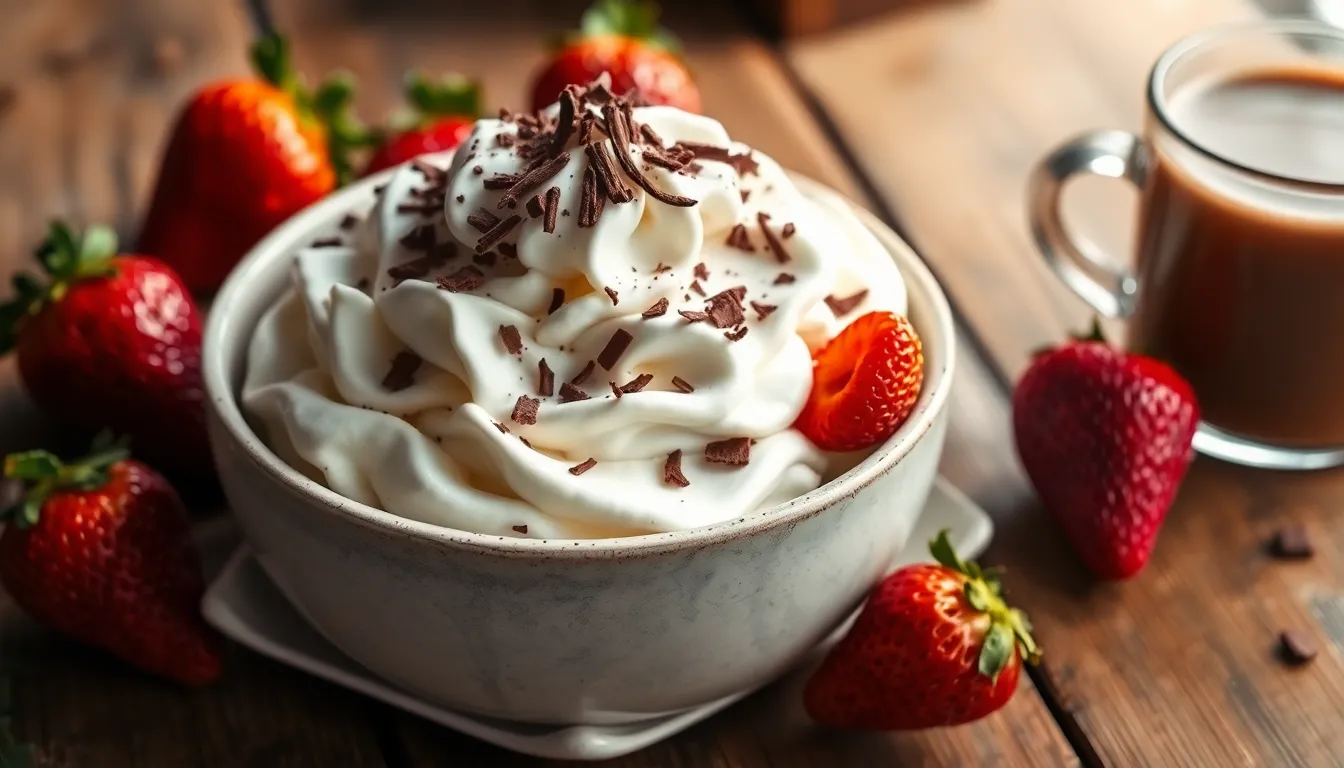
Once you master the basic technique we’ve covered, transforming your whipped cream into exciting flavor variations becomes effortless. Each variation follows our foundation recipe while adding exact ingredients to create unique taste profiles that complement different desserts.
Vanilla Whipped Cream
We create vanilla whipped cream by following our basic recipe exactly as outlined. Start with 1 cup cold heavy cream, 2 tablespoons sugar, and 1/2 teaspoon vanilla extract in your chilled bowl. Beat the mixture on medium-high speed until medium peaks form, which takes approximately 3 to 4 minutes. This classic version serves as the perfect accompaniment to fruit pies, berry desserts, and hot chocolate.
Sweetened Whipped Cream
Our sweetened whipped cream uses the identical process as vanilla whipped cream but allows for sugar adjustments based on your taste preferences. Begin with 2 tablespoons of sugar and taste the mixture after soft peaks form. Add additional sugar gradually if you prefer a sweeter result, remembering that confectioners’ sugar dissolves more easily than granulated sugar. This variation works beautifully with tart desserts like lemon bars or unsweetened chocolate cake.
Chocolate Whipped Cream
We transform our basic recipe into rich chocolate whipped cream by combining 3 tablespoons of cocoa powder with the sugar before adding any liquid ingredients. Mix the cocoa powder and sugar together thoroughly to prevent lumps. Add this mixture to your cold heavy cream along with the vanilla extract, then proceed with our standard beating technique until medium peaks form. The result creates a decadent topping that pairs perfectly with vanilla desserts, fresh strawberries, or coffee-flavored treats.
Storage and Make-Ahead Tips

Fresh whipped cream delivers optimal texture and flavor when used immediately after preparation. The delicate structure we’ve created through careful whipping maintains its peak performance for only a short window before natural settling begins.
Refrigeration offers the best short-term storage solution for leftover whipped cream. We recommend transferring unused portions to an airtight container and placing it in the refrigerator where it remains viable for up to 24 hours. During this time the cream may separate slightly but gentle rewhipping for 30 seconds restores its fluffy consistency.
Freezing presents a more complex storage challenge that affects the final texture. While technically possible we don’t recommend freezing whipped cream for extended periods as ice crystals form and break down the delicate air bubbles we worked to incorporate. The thawed product often becomes grainy and loses the smooth mouthfeel that makes fresh whipped cream so appealing.
For make-ahead dessert preparation we suggest whipping cream to soft peaks then storing it refrigerated. This under-whipped base allows us to finish the process just before serving by giving it a few final beats to reach the desired consistency. This technique prevents over-whipping while maintaining flexibility in our dessert timeline.
Room temperature storage should be avoided entirely as dairy products spoil quickly outside refrigeration. Even brief periods at room temperature cause the cream to lose stability and potentially develop harmful bacteria that compromise both safety and taste.
Troubleshooting Common Issues
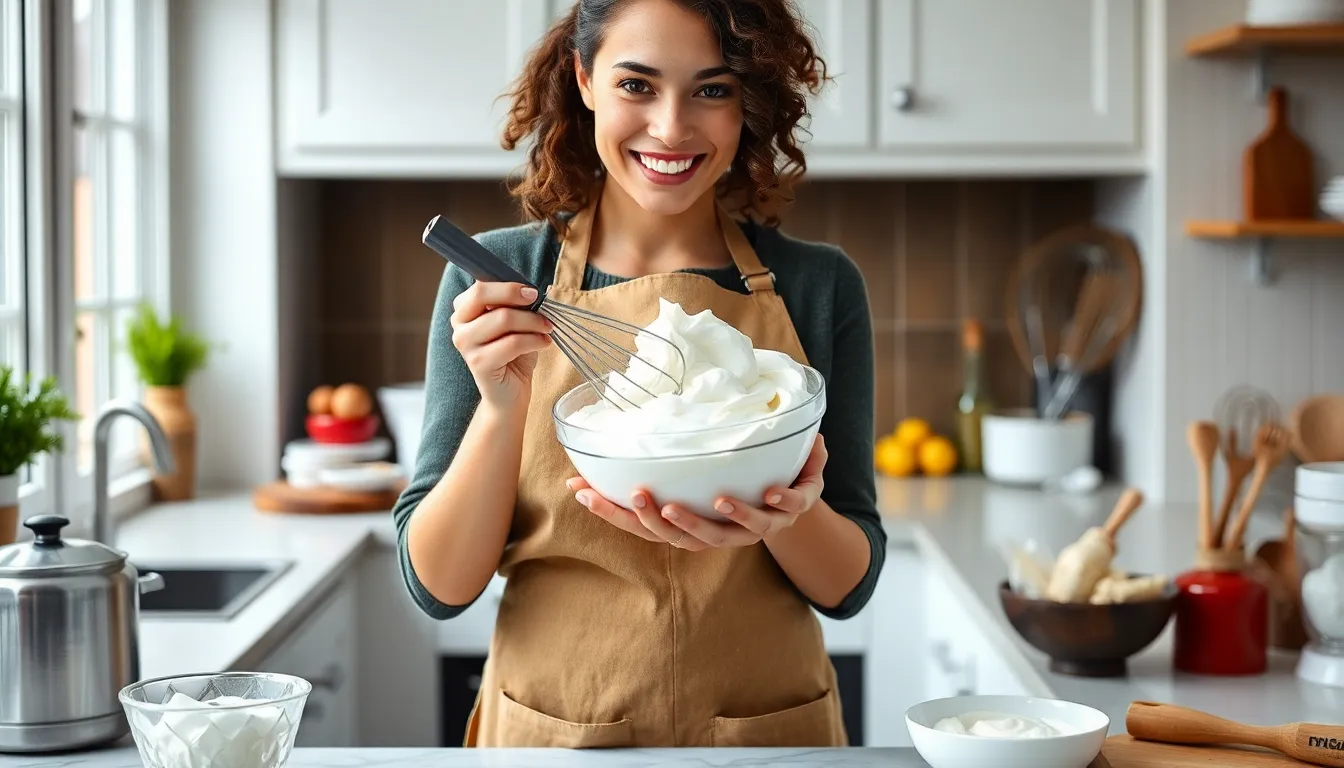
Even experienced bakers encounter challenges when making whipped cream. We’ve compiled answers to the most frequent problems to help you achieve perfect results every time.
Over-Whipped Cream
We’ve all pushed our cream too far and ended up with a grainy texture that looks like it’s heading toward butter. Stop whipping immediately when you notice the cream becoming too stiff or developing a curdled appearance. The cream transforms from smooth peaks to a chunky texture when over-beaten.
Recovery becomes possible if you catch this problem early. Mix in 1-2 tablespoons of unwhipped cold cream to help restore the smooth consistency. Gently fold the fresh cream in by hand rather than using the mixer to prevent further damage.
Prevention works better than correction when dealing with over-whipped cream. Watch carefully as the cream approaches stiff peaks and test frequently by lifting the beaters to check the texture.
Cream Won’t Whip
Temperature plays the most critical role when cream refuses to thicken properly. Ensure your heavy cream stays very cold throughout the process and chill your mixing bowl and beaters in the freezer for 10 minutes before starting.
Fat content determines whether your cream will whip successfully. Heavy cream must contain 35-40% fat to achieve proper volume and stability. Light cream or half-and-half lacks sufficient fat content for whipping.
Equipment issues can prevent proper whipping as well. Clean your bowl and beaters thoroughly to remove any traces of grease or soap residue that might interfere with the whipping process. Even small amounts of fat can prevent cream from reaching its full potential.
Check your cream’s expiration date if problems persist. Old cream loses its ability to hold air and create stable peaks regardless of proper technique.
Runny Whipped Cream
Insufficient whipping time creates the most common cause of runny whipped cream. The cream needs adequate beating to incorporate enough air and reach the desired consistency. Continue whipping for a few more seconds while monitoring closely to avoid over-beating.
Temperature problems also contribute to runny results. Warm cream struggles to hold its structure and will appear thin and unstable. Return the bowl to the refrigerator for 10 minutes and try again with properly chilled ingredients.
Under-sweetened cream sometimes appears runny because sugar helps stabilize the final product. Add an extra tablespoon of powdered sugar and whip briefly to incorporate if your cream seems too loose.
Humidity affects whipped cream stability more than many bakers realize. High moisture in the air can prevent cream from holding its peaks properly during humid weather conditions.
Serving Suggestions

Our homemade whipped cream transforms ordinary desserts into extraordinary treats. We recommend pairing this fluffy topping with classic baked goods to elevate their flavor profiles and visual appeal.
Cakes and Cupcakes
Fresh whipped cream creates the perfect complement to both simple and elaborate cakes. We love dolloping it on vanilla sponge cake where its light texture balances the dense crumb. Chocolate cupcakes benefit from our vanilla whipped cream variation as it provides a sweet contrast to rich cocoa flavors. Birthday cakes become more festive when we pipe decorative rosettes using stiff peak whipped cream around the edges.
Pies and Cheesecakes
Traditional pies reach new heights when topped with our freshly made whipped cream. Pumpkin pie gains extra richness from a generous swirl of sweetened whipped cream that melts slightly from the warm filling. Apple pie transforms into a restaurant quality dessert when we add a dollop alongside each slice. Cheesecakes receive the perfect finishing touch with our vanilla whipped cream piped in elegant patterns across the surface.
Hot Beverages
Our whipped cream elevates simple drinks into luxurious experiences. Hot chocolate becomes cafe worthy when we float a cloud of fresh whipped cream on top that slowly melts into swirls of richness. Coffee drinks gain sophistication from a spoonful of our lightly sweetened version. Irish coffee reaches its full potential with properly whipped cream that sits beautifully on the surface without sinking.
Fresh Fruit Pairings
Seasonal fruits shine brighter when accompanied by our homemade whipped cream. Strawberries and whipped cream create the quintessential summer dessert that requires no additional preparation. Blueberries mixed with our vanilla whipped cream make an elegant parfait when layered in clear glasses. Peaches benefit from the cooling effect of cold whipped cream during warm weather months. Mixed berry bowls become special occasion worthy with generous dollops of our fresh creation.
Conclusion
Making homemade whipped cream transforms any dessert from ordinary to extraordinary. We’ve shown you that with just three simple ingredients and the right technique you can create a luxurious topping that surpasses any store-bought alternative.
The key lies in understanding the process – from chilling your equipment to recognizing the perfect peak consistency. Once you master these fundamentals you’ll never reach for artificial alternatives again.
Whether you’re dolloping it on fresh strawberries or piping elegant rosettes on a birthday cake homemade whipped cream elevates every sweet moment. Start practicing these techniques today and discover how this simple skill can revolutionize your dessert game.
Frequently Asked Questions
What ingredients do I need to make homemade whipped cream?
You only need three simple ingredients: heavy cream with 35-40% fat content, granulated sugar for sweetness and stability, and pure vanilla extract for flavor. These basic ingredients create a luxurious, additive-free whipped cream that’s far superior to store-bought versions.
How long does it take to make whipped cream from scratch?
Making homemade whipped cream takes just 5 minutes using an electric hand mixer or stand mixer. Start at medium speed and gradually increase to medium-high until you achieve the desired peak consistency. The key is monitoring closely to avoid over-whipping.
What’s the difference between soft, medium, and stiff peaks?
Soft peaks are light and airy, perfect for folding into other ingredients. Medium peaks offer balanced stability and flexibility, ideal for cakes and pastries. Stiff peaks are thick and stable, excellent for cake decorating and elaborate dessert presentations.
How should I store leftover whipped cream?
Fresh whipped cream is best used immediately. Store leftovers in an airtight container in the refrigerator for up to 24 hours. Gently rewhip before serving to restore texture. Avoid freezing as it changes the texture, and never store at room temperature.
Why won’t my cream whip properly?
Common causes include using cream with insufficient fat content (needs 35-40%), cream that’s too warm, or dirty equipment. Ensure your cream is cold, use a chilled bowl and whisk, and make sure all equipment is completely clean and grease-free.
Can I make flavored whipped cream variations?
Yes! You can create vanilla whipped cream with extra vanilla extract, sweetened versions by adjusting sugar amounts, or chocolate whipped cream by adding cocoa powder. Follow the basic technique while incorporating your desired flavorings during the whipping process.
What equipment do I need for making whipped cream?
Essential equipment includes an electric hand mixer or stand mixer, a large mixing bowl, and measuring cups. For best results, chill your bowl and whisk attachment beforehand. This helps achieve better texture and prevents over-whipping.
How do I fix over-whipped cream?
If you’ve over-whipped your cream, gently fold in 1-2 tablespoons of cold, unwhipped heavy cream. Mix by hand until the texture smooths out. This technique can rescue over-whipped cream and restore its proper consistency.

