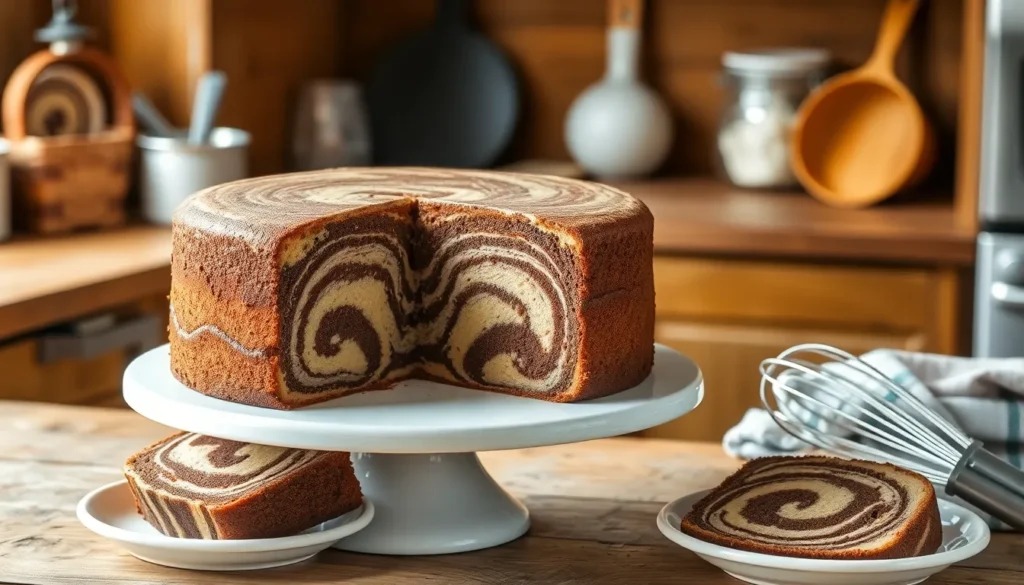
Marble cake transforms ordinary vanilla and chocolate batters into a stunning swirled masterpiece that’s as beautiful as it is delicious. We’ve perfected this classic American dessert that dates back to the 19th century when home bakers discovered they could create artistic patterns by gently folding contrasting batters together.
What makes marble cake truly special isn’t just its eye-catching appearance – it’s the perfect balance of flavors in every slice. The vanilla provides a tender crumb while the chocolate adds rich depth that keeps you coming back for more. We love how each piece reveals a unique marbled pattern that’s impossible to replicate.
Whether you’re hosting a dinner party or simply craving a homemade treat that looks professionally made our foolproof marble cake recipe delivers impressive results every time. The technique is surprisingly simple yet the wow factor is undeniable.
Ingredients
Our marble cake recipe requires two distinct batters that work together to create those beautiful swirled patterns. We’ve organized the ingredients by batter type to make preparation seamless and ensure perfect results every time.
For the Vanilla Batter
- 2¼ cups all-purpose flour, sifted
- 2½ teaspoons baking powder
- ½ teaspoon salt
- ¾ cup unsalted butter, softened to room temperature
- 1½ cups granulated sugar
- 4 large eggs, room temperature
- 2 teaspoons pure vanilla extract
- 1 cup whole milk, room temperature
- 2 tablespoons vegetable oil
For the Chocolate Batter
- ⅓ cup unsweetened cocoa powder, sifted
- 3 tablespoons hot water
- 1 tablespoon instant coffee granules (optional but recommended)
- 2 tablespoons melted unsalted butter
- ¼ cup granulated sugar
- 1 teaspoon vanilla extract
Equipment Needed
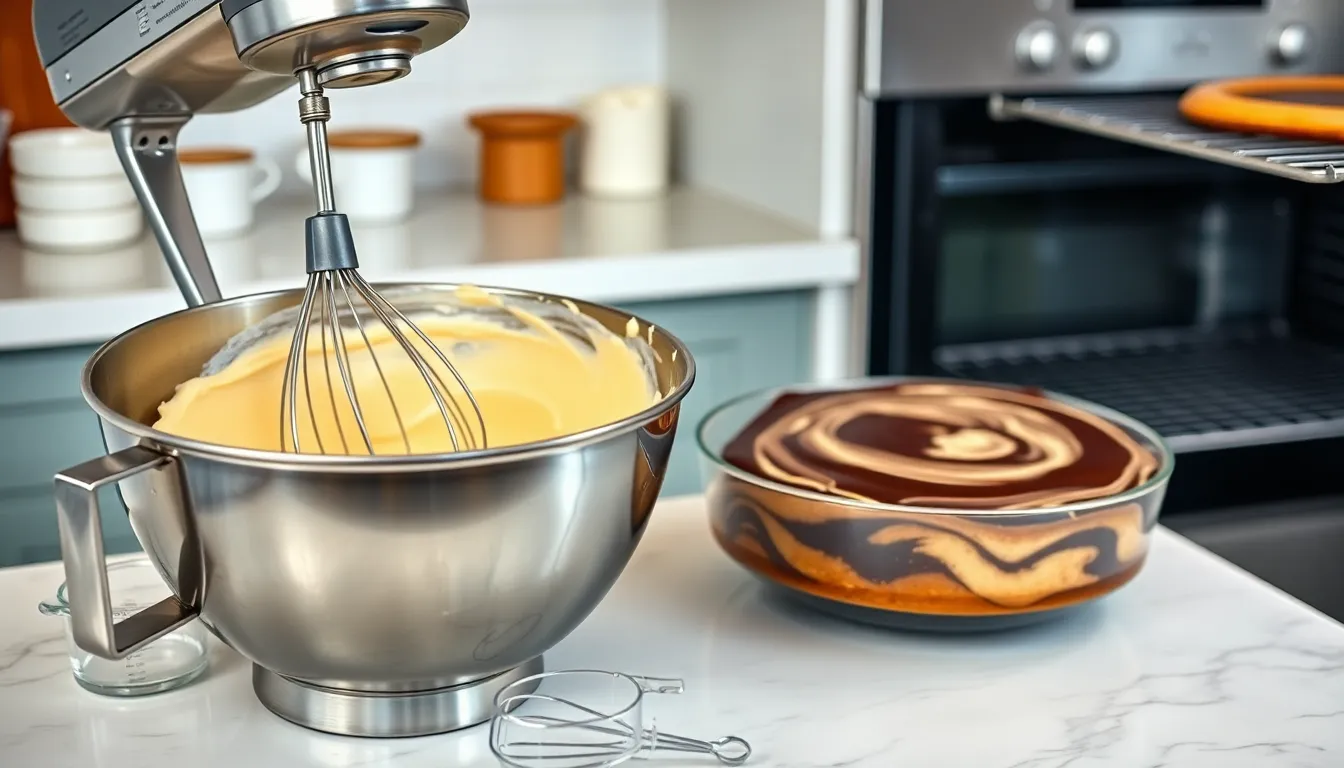
Our marble cake recipe requires exact tools to achieve that perfect marbled swirl and moist texture we love. The right equipment makes the difference between a good cake and an exceptional one that showcases beautiful chocolate and vanilla patterns.
Mixing bowls serve as our foundation for combining ingredients separately before creating the marbled effect. We recommend having at least three medium to large bowls available for organizing our vanilla batter, chocolate mixture, and dry ingredients.
Electric mixer or stand mixer becomes essential for creaming butter and sugar to the proper light and fluffy consistency. This equipment ensures our batter develops the right texture and incorporates air for a tender crumb.
Measuring cups and spoons guarantee accuracy in our ingredient ratios, which directly impacts the final taste and texture. Precise measurements prevent dense or overly sweet results that can ruin the delicate balance between vanilla and chocolate flavors.
Bundt pan, loaf pan, or round cake pans offer different presentation options for our marble cake. Bundt pans create the most dramatic visual impact, while loaf pans provide perfect slicing portions for everyday serving.
Whisk and rubber spatula help us fold batters together without overmixing, preserving the tender texture we want. The spatula also scrapes bowl sides efficiently to incorporate all ingredients evenly.
Baking spray or butter with flour prevents our cake from sticking to the pan surface. This step becomes crucial since marble cakes can be delicate when removing from pans due to their moist texture.
Sifter or fine mesh sieve removes lumps from dry ingredients, ensuring our batter stays smooth and professional looking. This tool particularly helps when working with cocoa powder, which tends to clump.
Wire cooling rack allows proper air circulation around our finished cake, preventing soggy bottoms while maintaining the moist interior we desire.
Preheated oven set to the correct temperature ensures even baking throughout our marble cake, creating consistent texture from edge to center.
Instructions
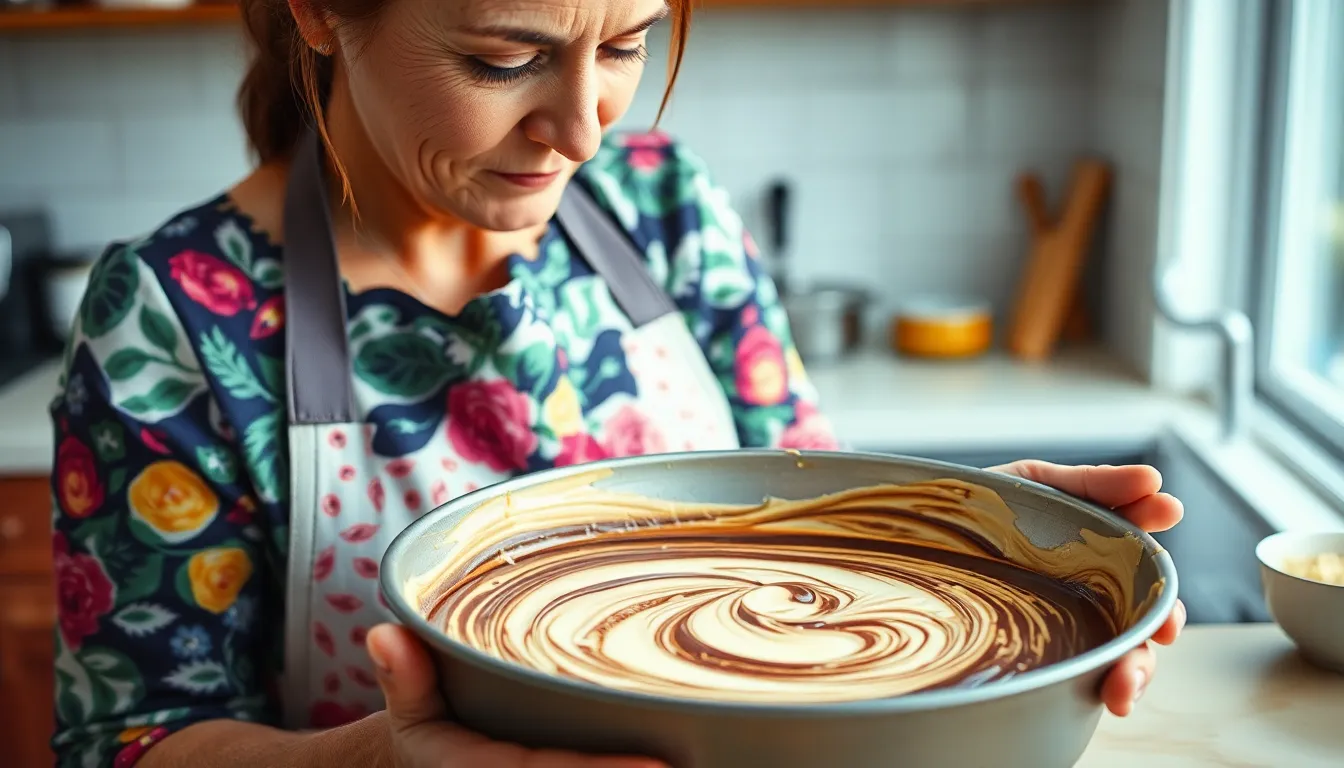
We’ll guide you through each step to create a perfectly marbled cake with distinct vanilla and chocolate swirls. Follow these detailed instructions for bakery-quality results every time.
Prep the Pan and Oven
We start by preheating our oven to 350°F (175°C) for optimal baking temperature. Generously grease a 9-inch round pan or Bundt pan with butter or cooking spray. Dust the greased pan with flour, tapping out any excess to ensure our cake releases cleanly after baking. This preparation step prevents sticking and creates a smooth surface for our marble pattern.
Make the Vanilla Batter
We begin by creaming the butter and sugar together using an electric mixer until the mixture becomes light and fluffy, approximately 3-4 minutes. Beat in eggs one at a time, ensuring each egg is fully incorporated before adding the next. Mix in vanilla extract until evenly distributed throughout the batter.
In a separate bowl, we whisk together cake flour, baking powder, and salt. Gradually add the dry ingredients to our butter mixture, alternating with buttermilk. Start with one-third of the flour mixture, then half the buttermilk, another third of flour, remaining buttermilk, and finish with the remaining flour. Mix just until combined to avoid overmixing, which can create a tough texture.
Prepare the Chocolate Batter
We melt chopped chocolate in the microwave using 30-second intervals, stirring between each interval until completely smooth. Allow the melted chocolate to cool slightly before incorporating it into our batter. Remove approximately one-third to one-half of our vanilla batter and place it in a separate bowl. Gradually fold the melted chocolate into this portion, mixing until the color is uniform and no streaks remain.
Create the Marble Effect
We alternate spoonfuls of vanilla and chocolate batters directly into our prepared pan, creating layers throughout. Use a butter knife or skewer to gently swirl through the batters in a figure-eight pattern. Draw the knife from the bottom to the top in several places, creating our signature marble effect. Avoid overmixing, as this will muddy the distinct marble pattern we’re creating.
Bake the Cake
We place our pan in the preheated oven and bake for 30-50 minutes, depending on pan size and depth. Test for doneness by inserting a toothpick into the center; it should come out with just a few moist crumbs attached. Once baked, we let the cake cool in the pan for 15 minutes before carefully inverting it onto a wire cooling rack. Allow the cake to cool completely before serving to ensure the best texture and easier slicing.
Directions for Perfect Marbling
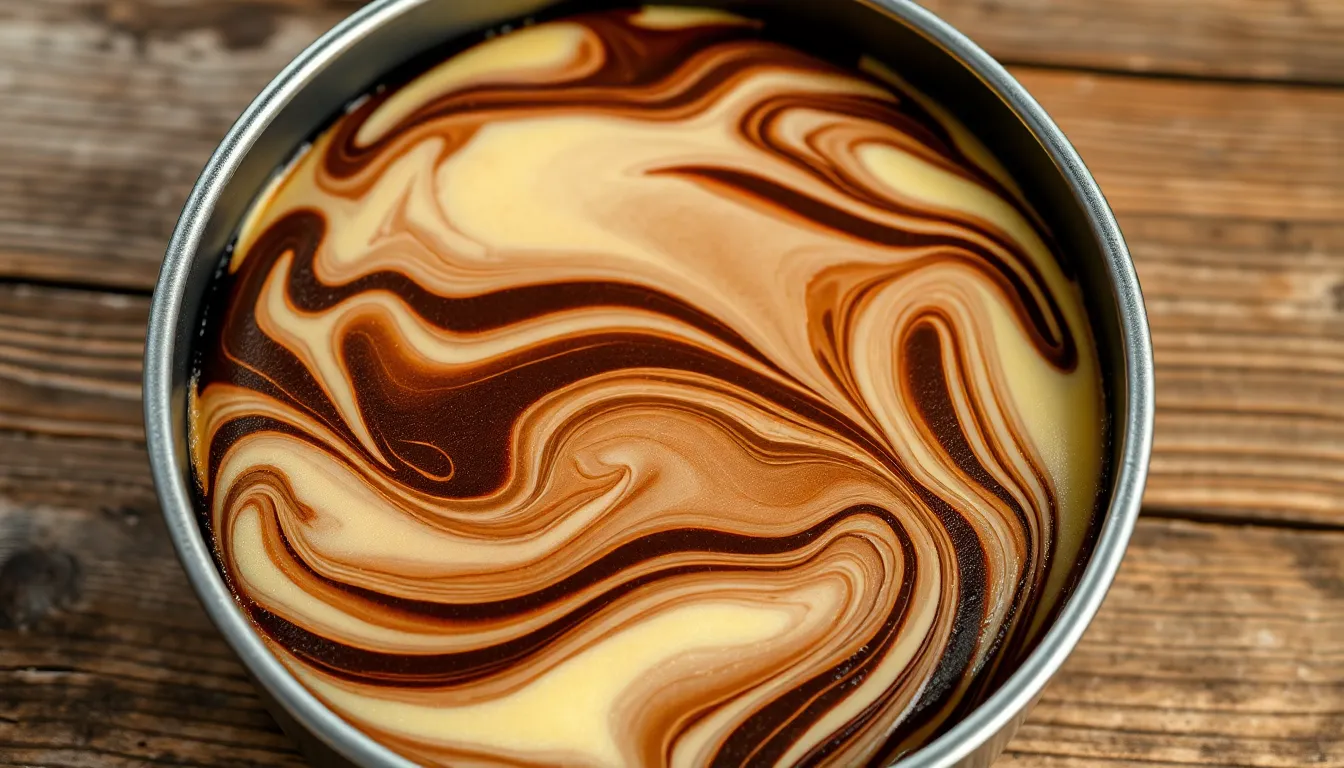
Creating the signature swirled pattern that makes marble cake so visually appealing requires careful technique and restraint. The key lies in achieving distinct color contrast while maintaining clean separation between the batters.
Swirling Technique
We start by filling our prepared cake pan with half of the vanilla batter since this serves as our foundation layer. Next we add the chocolate swirl batter and smooth it gently with a spatula to create an even distribution.
Using a knife or skewer we create the marbling effect through deliberate swirling motions. For loaf pans we recommend long horizontal swirls that follow the length of the pan. Round or bundt pans require opposing zig-zag motions that create ever-changing patterns throughout the cake.
The type of pan determines our swirling approach. Loaf pans benefit from straight horizontal movements while round pans showcase beautiful results with zig-zag patterns that intersect at various points.
Avoiding Overmixing
Restraint becomes crucial when creating our marble pattern since excessive swirling produces muddy colors rather than distinct marbling. We limit our swirling motions to prevent the batters from blending completely together.
Cleaning our knife after each swirl prevents batter buildup that can spoil the pattern. This simple step ensures clean lines and maintains the contrast between our vanilla and chocolate sections.
Contrasting colors create the most visually appealing results. Our vanilla and chocolate combination provides the perfect balance of light and dark that makes each slice unique and beautiful.
Cooling and Storage
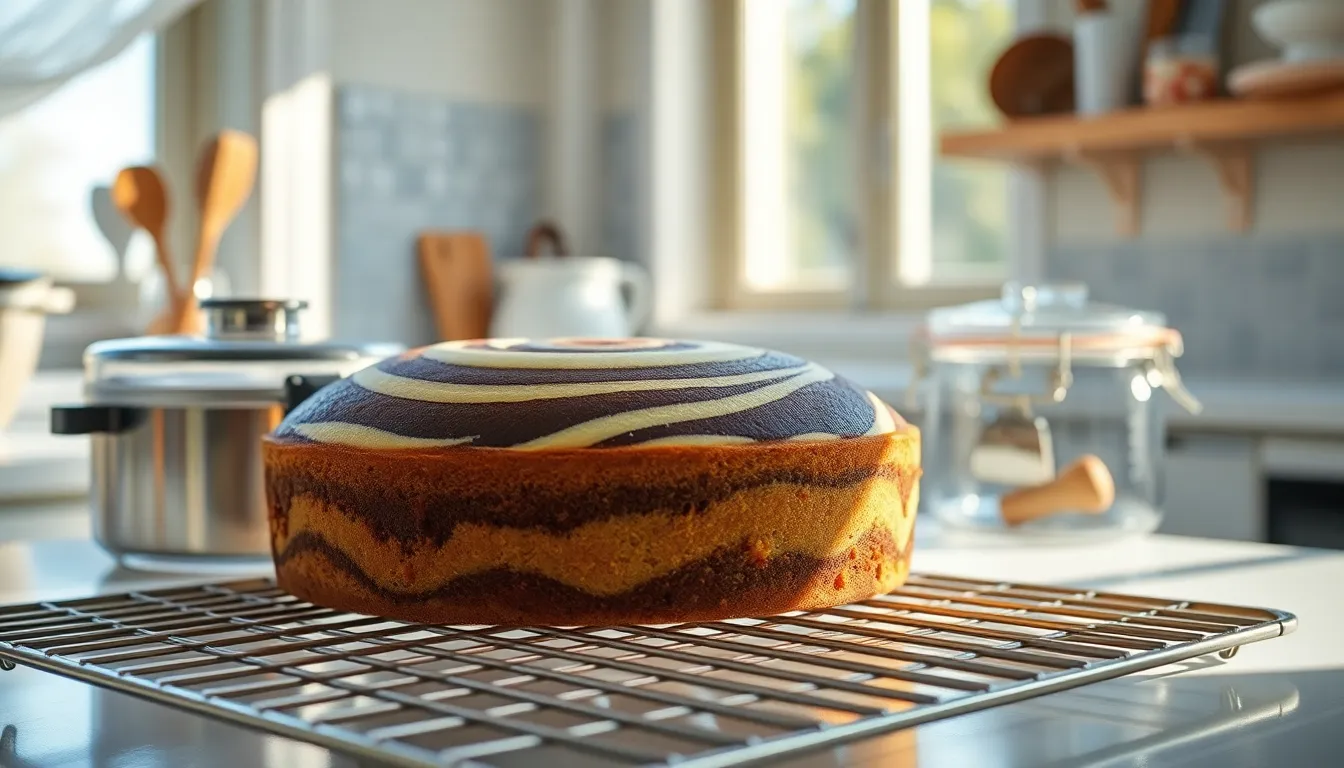
Proper cooling and storage ensure our marble cake maintains its perfect texture and flavor for days. We’ll guide you through the essential steps to preserve your beautiful creation.
Cooling Instructions
We begin the cooling process immediately after removing our marble cake from the oven. Place the hot cake on a wire rack and allow it to cool for approximately 20 minutes before attempting to remove it from the pan. This initial cooling period prevents the cake from breaking apart when we turn it out.
After removing the cake from its pan, we continue cooling it completely on the wire rack. Complete cooling takes about 1-2 hours depending on the cake’s size. Never slice or store the cake while it’s still warm, as this can cause the texture to become gummy and the slices to fall apart.
Storage Tips
We store our marble cake using different methods depending on how long we plan to keep it. Each storage option maintains the cake’s quality for exact timeframes.
| Storage Method | Duration | Container Requirements |
|---|---|---|
| Room Temperature | 2-3 days | Airtight container |
| Refrigeration | 5-7 days | Airtight container |
| Freezing (whole/layers) | 2-3 months | Plastic wrap + foil + airtight container |
| Freezing (slices) | 2-3 months | Individual wrapping + airtight container |
Room Temperature Storage: We keep our marble cake fresh at room temperature by placing it in an airtight container for up to 2-3 days. Avoid humid environments or leaving the cake uncovered, as this causes it to dry out quickly.
Refrigeration: When we need longer storage, refrigeration extends our cake’s life to 5-7 days inside an airtight container. Keep in mind that refrigeration can make the cake slightly dry, so we recommend bringing it to room temperature before serving to restore its tender texture.
Freezing: For long-term storage up to 2-3 months, we wrap the cake first in plastic wrap, then in foil before placing it in an airtight container. This triple protection prevents freezer burn. We can freeze the cake whole, in layers, or as individual slices. For sliced portions, wrap each piece individually before containerizing.
Thawing: We thaw frozen marble cake overnight in the refrigerator or at room temperature for several hours before serving. Store-bought cakes should remain in their original packaging until opened, then transfer to proper airtight wrapping.
Always check for signs of spoilage including mold, off odors, or texture changes before eating. Stale cake may feel hard or crusty but isn’t necessarily unsafe to consume.
Serving Suggestions
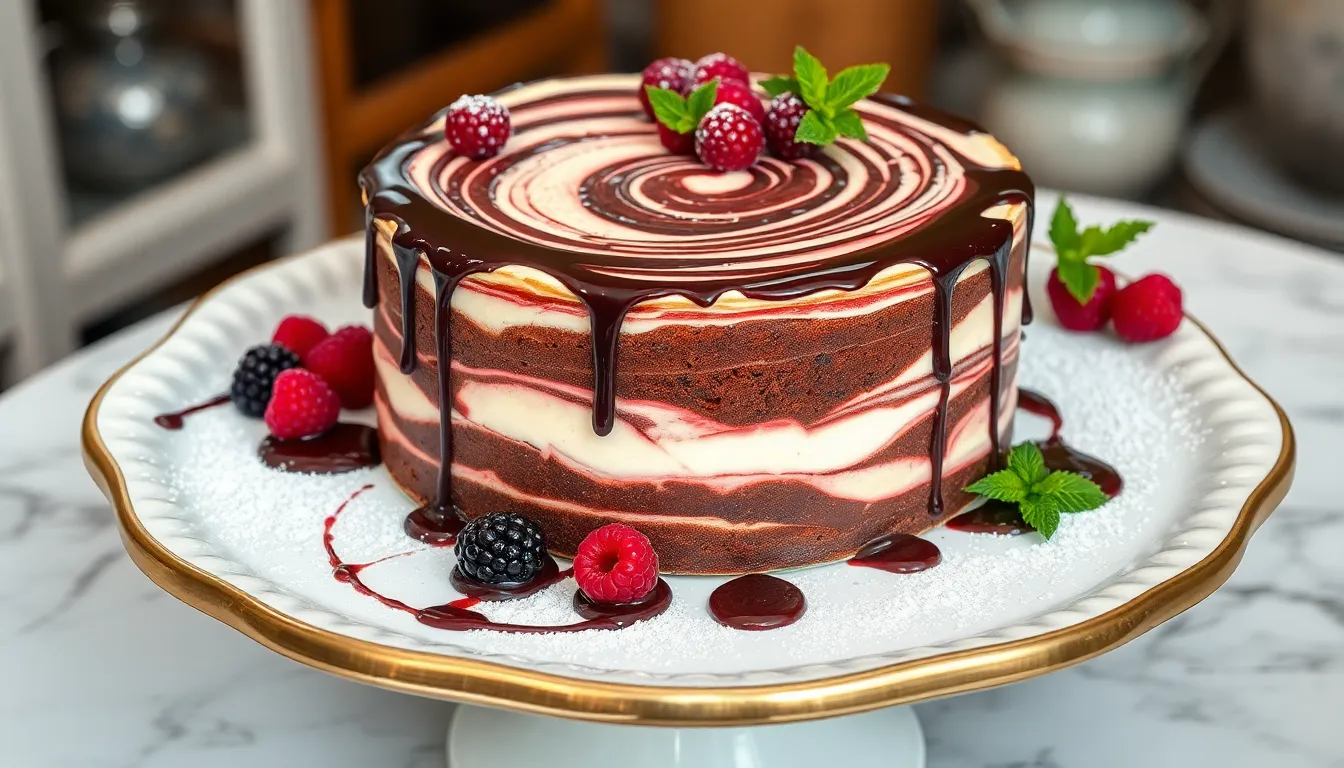
We believe marble cake’s versatility makes it perfect for any occasion from casual afternoon treats to elegant dinner parties. The classic combination of vanilla and chocolate flavors pairs beautifully with various glazes and accompaniments that enhance both taste and presentation.
Classic Glazes and Toppings
Our favorite way to serve marble cake involves drizzling it with a rich fudge or chocolate glaze that complements the chocolate swirls throughout the cake. We recommend warming the glaze slightly before pouring to achieve smooth coverage that pools attractively around the base. Vanilla glaze creates an equally stunning presentation while highlighting the cake’s delicate vanilla notes.
Powdered sugar dusted over the surface provides a simple yet elegant finishing touch that allows the marbled pattern to show through beautifully. We often add a light dusting just before serving to maintain the pristine appearance.
Creative Flavor Combinations
We love experimenting with fruit variations that transform this classic dessert into something extraordinary. Lemon curd spread between cake layers creates a bright citrusy contrast to the rich chocolate and vanilla flavors. Fresh raspberry filling adds both tartness and vibrant color that makes each slice visually stunning.
Berry compotes spooned alongside individual slices provide a fresh element that cuts through the cake’s richness. We particularly enjoy serving warm berry sauce during summer months when fresh fruits are at their peak.
Presentation Styles
Bundt cake presentation showcases the marbled interior most dramatically when sliced and arranged on a serving platter. We arrange the slices in an overlapping pattern that displays each unique swirl pattern created during the mixing process.
Layer cake versions allow us to add frosting between layers and create impressive towering desserts perfect for special celebrations. The marbled cross section becomes a beautiful surprise element when guests cut into seemingly uniform layers.
Individual slice plating works wonderfully for restaurant style presentation where we can add artistic drizzles of sauce and carefully placed garnishes that highlight the cake’s natural beauty.
Troubleshooting Tips
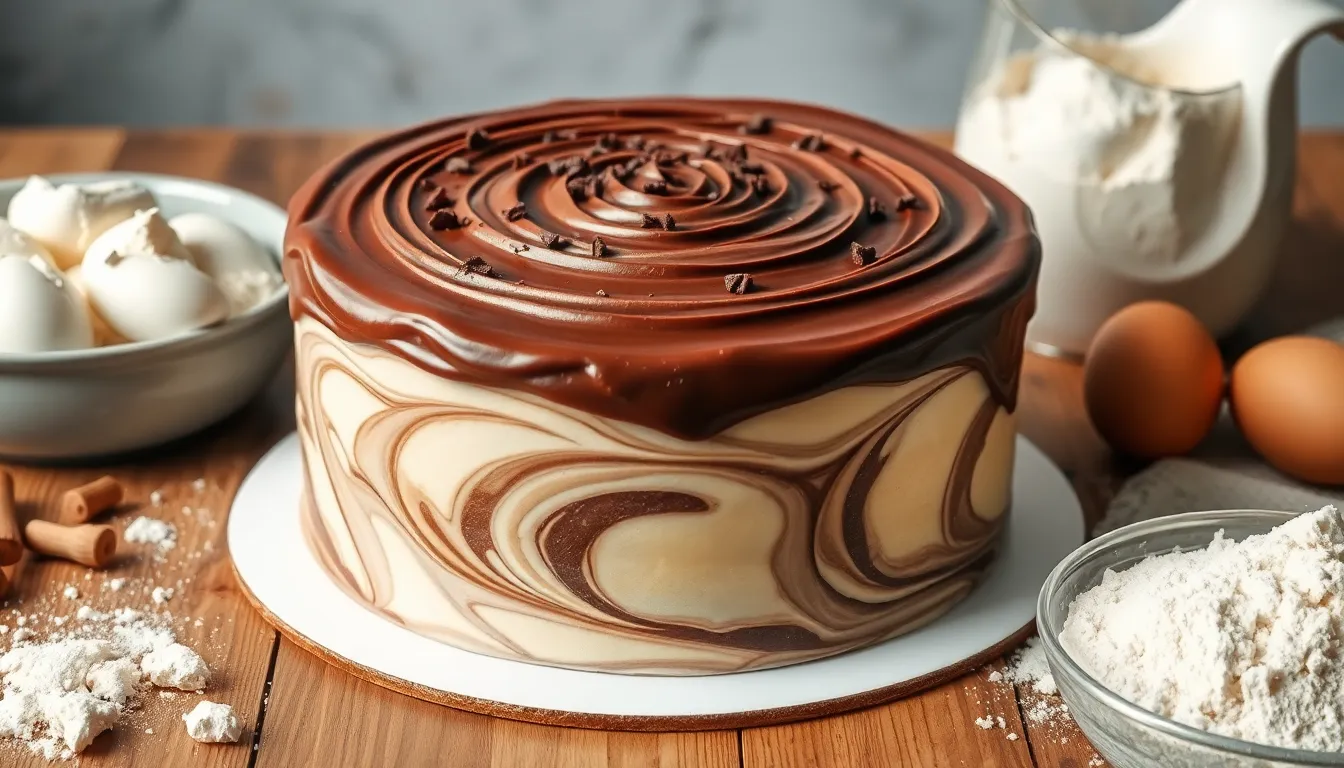
Even experienced bakers encounter challenges when creating the perfect marble cake. We’ve compiled answers to the most common issues that can arise during your baking process.
Preventing Dry or Dense Texture
Dry marble cake typically results from three primary causes. Over-measuring flour creates excess structure that absorbs moisture from your batter. We recommend using a kitchen scale for accurate measurements rather than relying on volume measurements alone. Overmixing develops gluten strands that create a tough texture instead of the tender crumb we desire. Mix ingredients until just combined to maintain the cake’s delicate structure. Overbaking removes essential moisture from your finished cake. Check for doneness 5-10 minutes before the recommended baking time ends.
Achieving Better Marbling Effects
Poor marbling often stems from incorrect technique rather than recipe issues. Many bakers make the mistake of dolloping batter randomly and swirling carelessly. This approach creates lumps and uneven color distribution throughout your cake. We achieve superior results by depositing white batter first as our base layer. Place darker chocolate batter strategically in the center of your prepared pan. Use a spatula to create deliberate swirls by dragging it through both batters while touching the bottom of the pan. This technique ensures even distribution and creates the beautiful patterns we want in every slice.
Fixing Frosting Problems
Crumbly cake that falls apart during frosting indicates cooling or technique issues. Your cake layers must cool completely before applying any frosting or glaze. Rushing this process causes structural problems that make decorating nearly impossible. Use proper tools like an offset spatula for smooth frosting application. Adjust frosting consistency by adding small amounts of milk or cream until you achieve the right spreading texture.
Eliminating Cornbread Texture
Marble cake that tastes dense or cornbread-like usually results from overmixing after flour incorporation. We limit mixing once dry ingredients join the wet mixture to prevent excessive gluten development. Stop mixing immediately when flour disappears into your batter.
Storage Guidelines for Optimal Freshness
| Storage Method | Duration | Container Type | Notes |
|---|---|---|---|
| Room Temperature | 3 days | Airtight container | Best texture maintenance |
| Refrigerated | 7 days | Covered container | May dry out slightly |
| Frozen | 2-3 months | Wrapped tightly | Thaw at room temperature |
Proper storage maintains your marble cake’s moisture and flavor profile. Room temperature storage in airtight containers preserves the best texture for up to three days. Refrigeration extends shelf life to seven days but can dry out your cake’s crumb. We recommend bringing refrigerated cake to room temperature before serving for optimal taste and texture.
Professional Baking Tips
Consistent base recipes throughout your marble cake prevent structural issues. Mixing different cake bases like chiffon and butter cake creates density variations that affect both texture and appearance. We use the same foundational recipe for both vanilla and chocolate portions to ensure uniform baking behavior and complementary flavors in every bite.
Make-Ahead Instructions
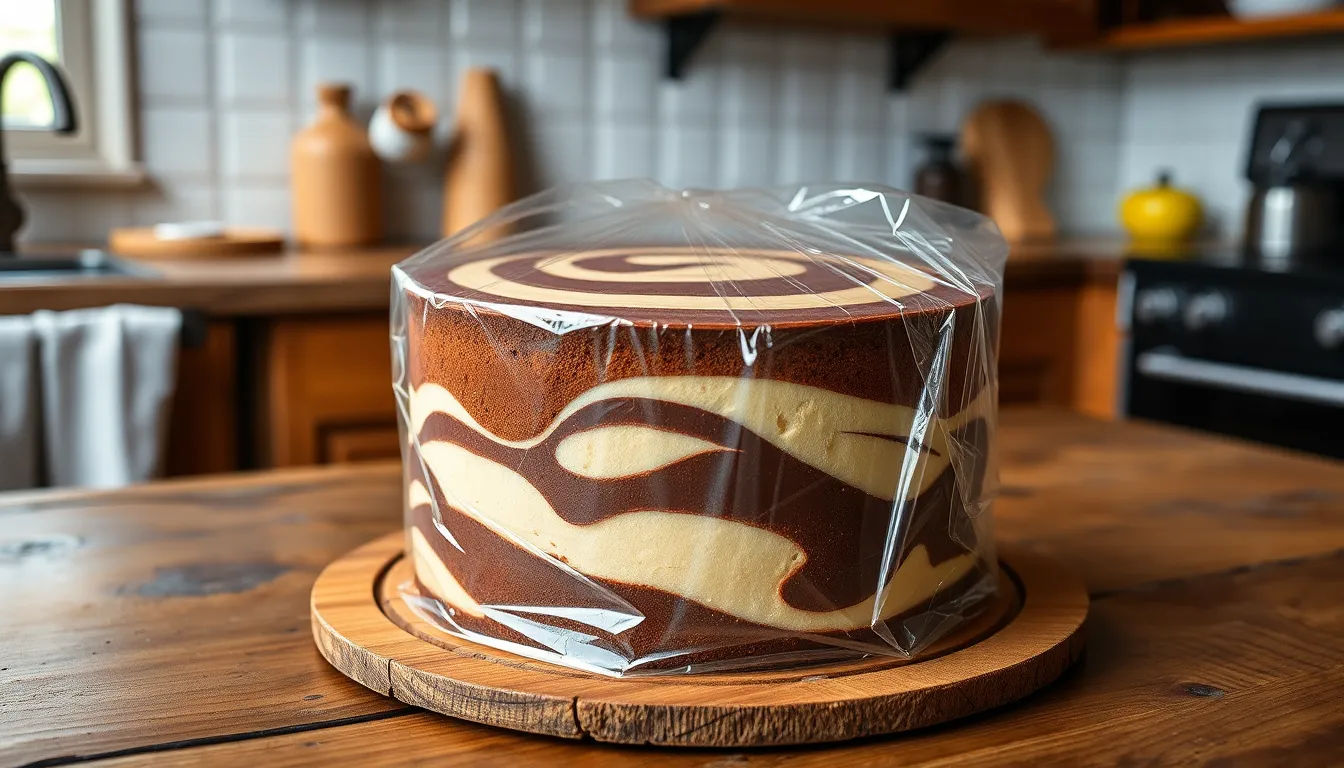
Planning ahead transforms marble cake preparation into a stress-free experience. We recommend several timing strategies that maintain the cake’s exceptional texture and flavor profile.
Short-Term Storage
Baked marble cake layers stay fresh at room temperature for one to two days when properly stored. Wrap the completely cooled cake layers tightly in plastic wrap to lock in moisture. Alternatively, place the cake under a cake dome to preserve its tender crumb and prevent drying.
Long-Term Freezing
Freezer storage extends marble cake freshness for up to two months without compromising quality. Individual wrapping prevents freezer burn and maintains the cake’s delicate texture. First, wrap each cooled layer in plastic wrap, then add a protective layer of aluminum foil. Airtight containers provide additional protection for longer storage periods.
Thawing Process
Frozen marble cake layers require proper thawing for optimal serving conditions. Remove wrapped layers from the freezer and thaw in the refrigerator overnight for gradual temperature adjustment. Room temperature thawing takes 2-3 hours depending on cake size and thickness.
Buttercream Preparation
Chocolate buttercream frosting accommodates advance preparation exceptionally well. Store prepared buttercream in the refrigerator for up to two weeks in an airtight container. Before use, bring the frosting to room temperature and re-mix with an electric mixer to restore its smooth, spreadable consistency.
| Storage Method | Duration | Temperature | Wrapping Required |
|---|---|---|---|
| Room Temperature | 1-2 days | 68-72°F | Plastic wrap or cake dome |
| Refrigerator | 5-7 days | 35-40°F | Airtight container |
| Freezer | Up to 2 months | 0°F | Double wrap with foil |
These make-ahead strategies provide flexibility for event planning while ensuring every slice maintains its signature marbled appearance and moist texture.
Conclusion
We’ve covered everything you need to create this timeless dessert that never fails to impress. From mastering the swirling technique to understanding proper storage methods marble cake truly offers something special for every baker.
The beauty of this recipe lies in its adaptability – whether you’re planning ahead for a special event or whipping up a last-minute treat the results will always showcase those gorgeous marbled patterns we all love.
Now it’s time to put these techniques into practice and create your own masterpiece. We’re confident that with these detailed instructions and expert tips you’ll achieve bakery-quality results right in your own kitchen. Happy baking!
Frequently Asked Questions
What is marble cake and what makes it special?
Marble cake is a classic American dessert that combines vanilla and chocolate batters to create a visually stunning swirled pattern. What makes it special is the perfect balance of flavors – vanilla provides a tender crumb while chocolate adds richness. Each slice has a unique marbled pattern, making it both delicious and beautiful.
What ingredients do I need to make marble cake?
You’ll need ingredients for both vanilla and chocolate batters. For vanilla: all-purpose flour, baking powder, salt, butter, sugar, eggs, vanilla extract, milk, and vegetable oil. For chocolate: cocoa powder, hot water, optional instant coffee granules, melted butter, sugar, and vanilla extract. This dual-batter approach ensures perfect flavor balance.
What equipment is essential for making marble cake?
Essential equipment includes mixing bowls, an electric mixer, measuring cups and spoons, the right baking pans, a wire cooling rack, and a preheated oven. These tools are crucial for achieving the perfect marbled swirl and ensuring even baking with a moist texture throughout the cake.
How do I create the perfect marble effect?
To create the perfect marble effect, layer spoonfuls of vanilla and chocolate batters alternately in your prepared pan. Use careful swirling techniques – horizontal swirls for loaf pans and zig-zag patterns for round pans. Avoid overmixing to preserve distinct color contrast and clean your knife after each swirl for clean lines.
How should I store marble cake and how long does it last?
Store marble cake at room temperature in an airtight container for 2-3 days, refrigerate for 5-7 days, or freeze for 2-3 months using proper wrapping techniques. Cool the cake on a wire rack for 1-2 hours after baking before storing. Always check for spoilage before consumption.
Can I make marble cake ahead of time?
Yes! For short-term storage, wrap cooled cake layers in plastic wrap and store for 1-2 days. For long-term storage, freeze individual layers wrapped in plastic and aluminum foil for up to two months. Thaw overnight in the refrigerator or at room temperature for 2-3 hours before serving.
What are some creative serving suggestions for marble cake?
Marble cake is versatile for any occasion. Try classic glazes like rich fudge or vanilla glaze, dust with powdered sugar for elegance, or add creative fillings like lemon curd or fresh raspberry. Present as a bundt cake, layered cake with frosting, or individual slices for a restaurant-style experience.
What should I do if my marble cake turns out dry or dense?
Prevent dry or dense texture by using accurate measurements, careful mixing techniques, and proper cooling methods. Avoid overmixing the batter, ensure your oven temperature is correct, and don’t overbake. Use the same foundational recipe for both batters to prevent structural issues and enhance flavor harmony.

