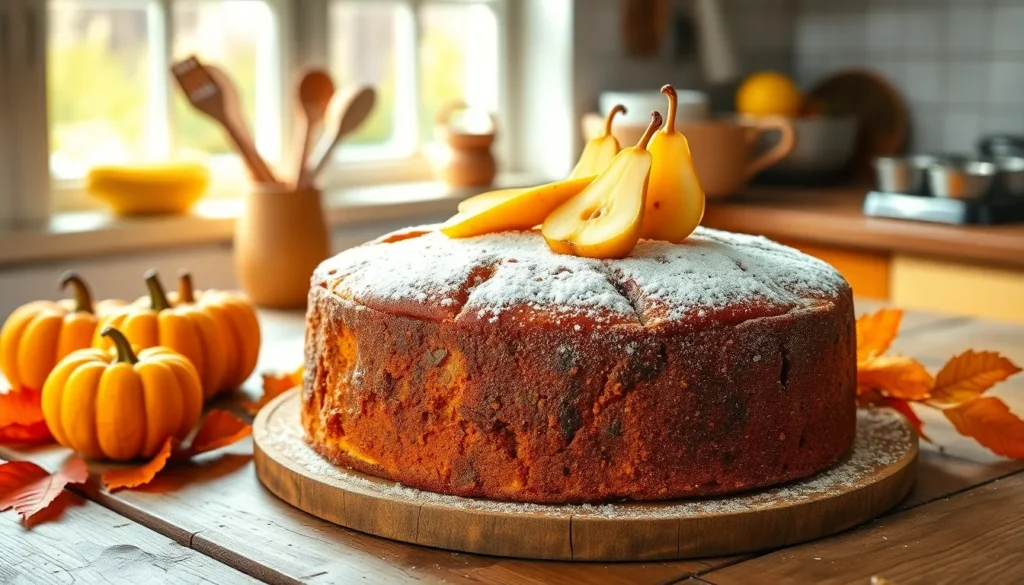
We’ve discovered the perfect way to transform ripe pears into pure dessert magic with this incredible pear cake recipe. This moist and tender cake celebrates autumn’s finest fruit while delivering warm spices and incredible flavor that’ll have your kitchen smelling absolutely divine.
What makes our pear cake truly special is how the fruit practically melts into the batter during baking. The natural sweetness of pears creates an incredibly moist crumb that stays fresh for days. We love how this versatile cake works beautifully for everything from casual weekend baking to elegant dinner parties.
The best part? You don’t need to be a baking expert to create this showstopper. With simple pantry ingredients and our foolproof technique you’ll have a bakery-quality dessert that rivals any expensive café creation. Let’s jump into this irresistible recipe that’ll become your new fall favorite.
Ingredients
We’ve organized these ingredients by their exact purpose in the recipe to make preparation seamless. Each component contributes to creating the perfect balance of moist cake and tender pears.
For the Cake Batter
- 1½ cups all-purpose flour
- 1 cup granulated sugar
- ½ cup unsalted butter, softened
- 2 large eggs, room temperature
- ½ cup whole milk
- 2 teaspoons baking powder
- 1 teaspoon vanilla extract
- ½ teaspoon salt
- ¼ teaspoon ground cinnamon
For the Pear Topping
- 3 large ripe pears, peeled and sliced thin
- 2 tablespoons granulated sugar
- 1 tablespoon lemon juice
- ½ teaspoon ground cinnamon
- ¼ teaspoon ground nutmeg
- 1 tablespoon cornstarch
For the Streusel (Optional)
- ⅓ cup all-purpose flour
- ⅓ cup brown sugar, packed
- 3 tablespoons cold unsalted butter, cubed
- ½ teaspoon ground cinnamon
- Pinch of salt
Equipment Needed
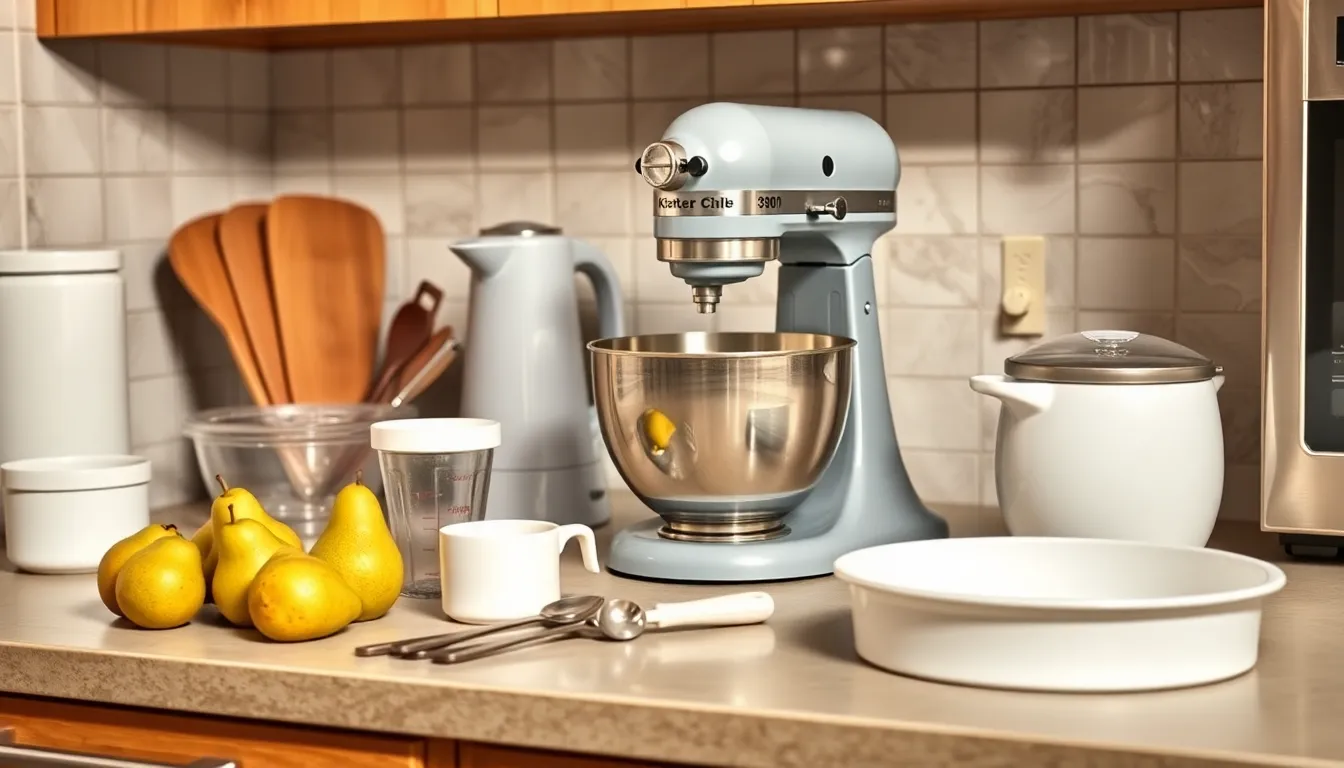
Success with our pear cake recipe depends on having the right tools ready before we start mixing. We recommend gathering these essential items to ensure smooth preparation and professional results.
Electric Stand Mixer serves as our primary mixing tool for creating the perfect batter consistency. This powerful appliance whisks ingredients efficiently and ensures even distribution throughout the mixture. A hand mixer works as an alternative if you prefer a more compact option.
Round Cake Pan measuring 8 to 9 inches provides the ideal baking vessel for our pear cake. We suggest using a pan with 2-inch sides to accommodate the batter and pear layers without overflow. A 9″ x 5″ loaf pan offers another excellent option for those who prefer a different presentation.
Measuring Cups and Spoons guarantee precise ingredient ratios that make the difference between good and exceptional results. We always use dry measuring cups for flour and sugar while liquid measuring cups work best for milk and other wet ingredients.
Oven Preheated to 350°F (180°C) creates the consistent temperature environment our pear cake needs for even baking. Proper preheating takes approximately 15 to 20 minutes and ensures the cake rises properly from the moment it enters the oven.
Additional Tools that enhance our baking process include a large mixing bowl for combining ingredients, a rubber spatula for folding in delicate components, and a wire cooling rack for proper cake cooling. Sharp knives help us achieve clean pear slices while cutting boards provide safe preparation surfaces.
| Equipment | Size/Specification | Purpose |
|---|---|---|
| Round Cake Pan | 8-9 inches, 2-inch sides | Primary baking vessel |
| Loaf Pan | 9″ x 5″ | Alternative baking option |
| Electric Stand Mixer | Standard capacity | Efficient batter mixing |
| Oven Temperature | 350°F (180°C) | Consistent baking heat |
Instructions
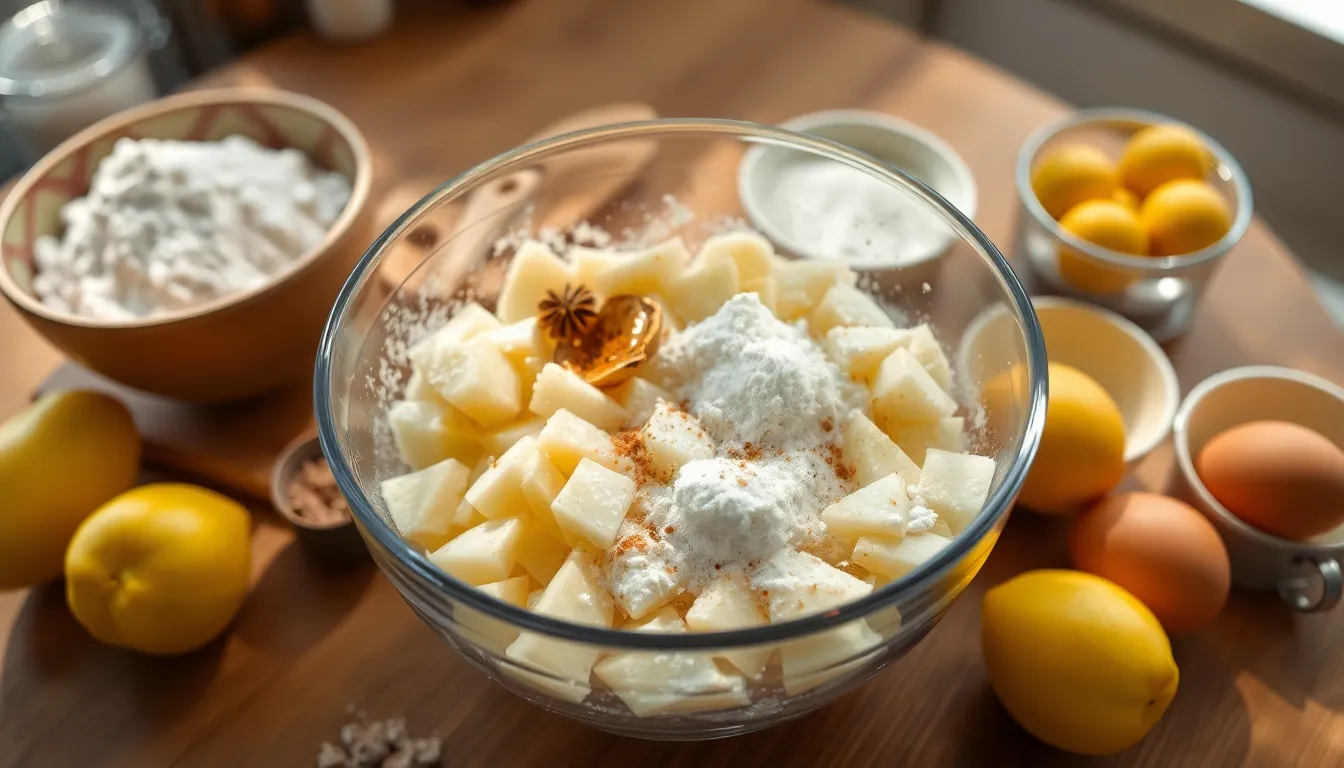
Now that we have our ingredients measured and equipment ready, let’s walk through each step to create this delicious pear cake. These detailed instructions will guide us through the entire process from preparing the pears to achieving that perfect golden finish.
Prep the Pears
We begin by peeling our ripe pears using a sharp knife or vegetable peeler, removing all the skin completely. Core each pear carefully and chop them into half-inch cubes to ensure even distribution throughout our cake batter. The small pieces will cook properly and prevent any sinking during the baking process.
Place the chopped pears in a medium bowl and toss them with 2 tablespoons of sugar, lemon juice, ground cinnamon, and ground nutmeg. Add the cornstarch to the mixture and gently fold everything together until the pears are evenly coated. Set this mixture aside while we prepare our cake batter, allowing the flavors to meld together.
Make the Cake Batter
Using our electric stand mixer, we cream the unsalted butter and granulated sugar together on medium speed for 3-4 minutes until the mixture becomes pale and fluffy. This step creates the foundation for our cake’s tender crumb structure.
Add the eggs one at a time, beating well after each addition before incorporating the vanilla extract. Mix briefly to combine without overworking the batter.
In a separate large mixing bowl, we whisk together the all-purpose flour, baking powder, salt, and ground cinnamon until evenly distributed. Alternately add the dry ingredients and whole milk to our butter mixture, beginning and ending with the flour mixture. We mix just until the ingredients are combined, being careful not to overmix which can result in a tough cake texture.
Gently fold in our prepared pear mixture using a rubber spatula, ensuring the fruit pieces are evenly distributed throughout the batter.
Assemble the Cake
We grease our 8 to 9-inch round cake pan or 9″ x 5″ loaf pan thoroughly with butter and lightly dust with flour, tapping out any excess. Transfer our pear cake batter into the prepared pan, spreading it evenly with our rubber spatula.
For those choosing to add the optional streusel topping, we combine the flour, brown sugar, cold butter pieces, ground cinnamon, and salt in a small bowl. Using our fingertips or a pastry cutter, we work the mixture until it resembles coarse crumbs, then sprinkle this evenly over the top of our cake batter.
Bake the Pear Cake
We place our assembled cake into the preheated 350°F oven and bake for 40 to 50 minutes, checking for doneness by inserting a clean skewer into the center. The cake is ready when the skewer comes out clean or with just a few moist crumbs attached.
During baking, we monitor the top of our cake and cover it with aluminum foil if it begins to brown too quickly before the center is fully cooked. Once baked, we remove the cake from the oven and allow it to cool in the pan for 10 minutes before transferring to our wire cooling rack to cool completely.
Directions for Cooling and Serving
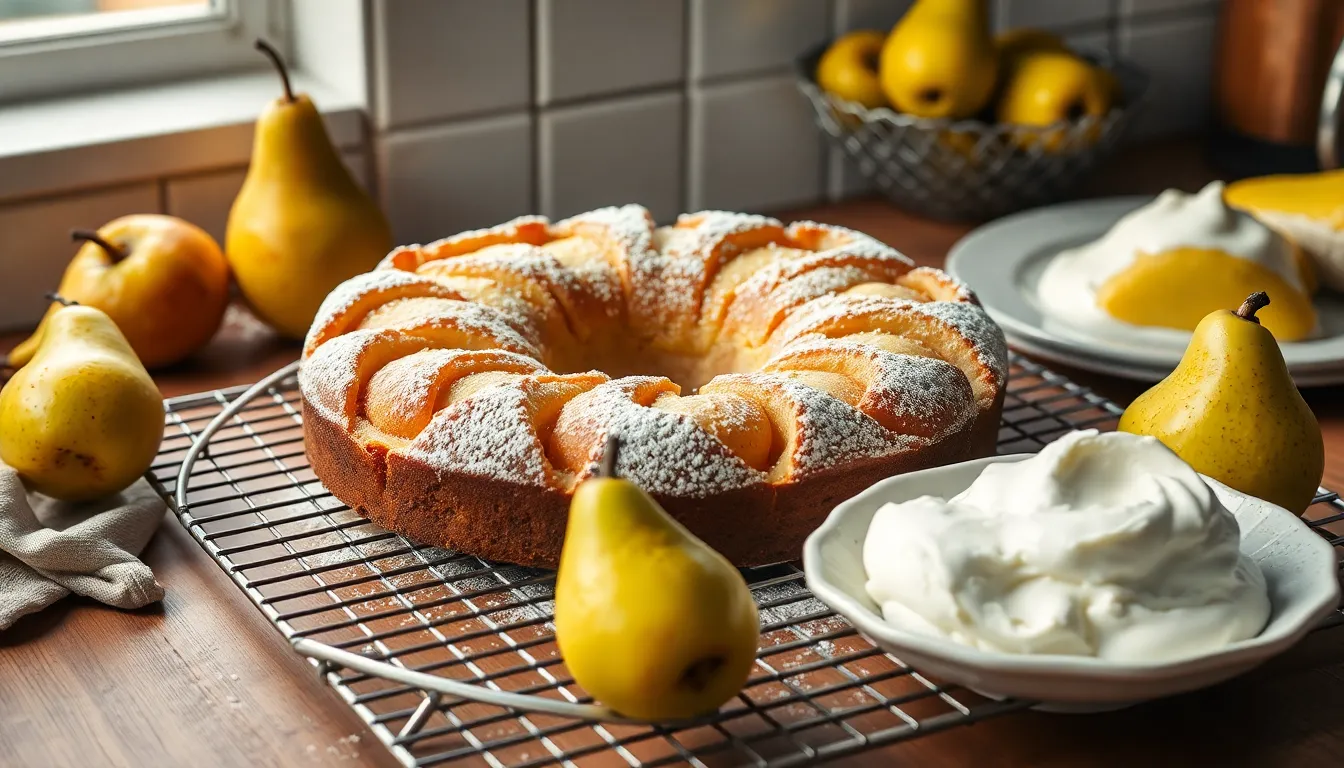
Cooling the Cake Properly
After our pear cake finishes baking, we need to let it rest in the pan for about 10 minutes. This crucial resting period allows the cake to set properly and prevents it from breaking apart when we remove it from the pan.
We should use a knife to gently loosen the edges of the cake from the pan sides. This step becomes especially important when using a springform or non-stick pan to ensure clean removal.
Once we’ve loosened the edges, we can transfer the cake to a wire rack for complete cooling. The cake needs to cool for at least 10 to 15 minutes before serving for the best texture and flavor.
Serving Your Pear Cake
When our cake has cooled sufficiently, we can dust it with confectioner’s sugar for an elegant finishing touch. This simple addition creates a beautiful presentation that enhances the cake’s visual appeal.
We recommend serving the pear cake with freshly whipped cream or vanilla ice cream if desired. These accompaniments add an extra layer of flavor and creamy texture that complements the tender pears perfectly.
Storage Guidelines
Our leftover pear cake stores beautifully in an airtight container in the refrigerator for up to a week. For longer storage, we can freeze the cake for up to a month while maintaining its quality and taste.
| Storage Method | Duration | Container Type |
|---|---|---|
| Refrigerated | Up to 1 week | Airtight container |
| Frozen | Up to 1 month | Freezer-safe container |
Essential Tips for Best Results
We should choose firm pears like Bartlett or Anjou varieties for optimal results in our pear cake. These varieties hold their shape well during baking and provide the perfect balance of sweetness and texture.
Proper pan preparation remains crucial for easy cake removal. We need to grease our pan thoroughly with nonstick spray or butter before adding the batter to ensure our beautiful pear cake releases cleanly from the pan.
Make-Ahead Tips
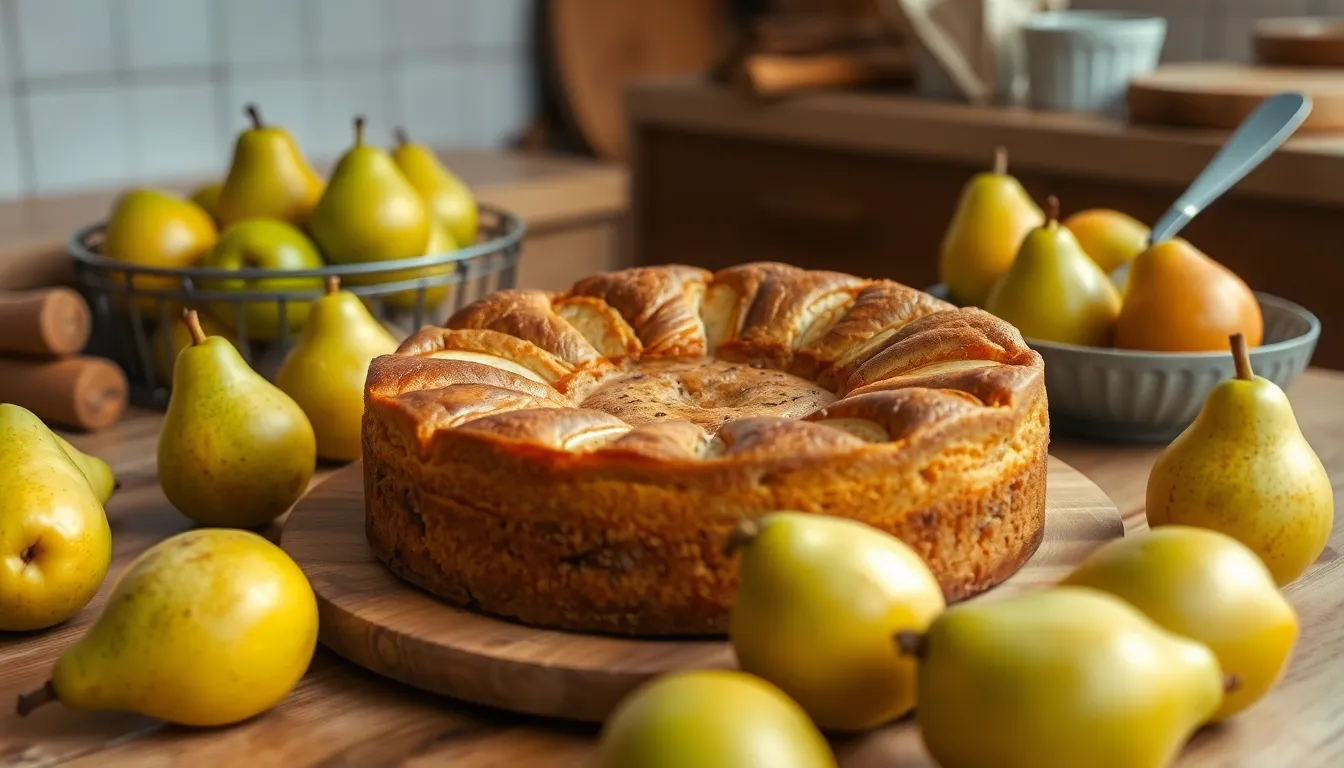
Planning ahead makes our pear cake preparation effortless and stress-free. We can store our finished pear cake in an airtight container at room temperature for up to 2-3 days while maintaining its moist texture and fresh flavor. The cake’s natural oils and pear moisture help preserve its quality during this storage period.
Room Temperature Storage
We recommend covering our pear cake with foil or placing it in an airtight container in a cool location to extend freshness up to 5 days. This method works particularly well when we want to maintain the cake’s tender crumb and prevent it from drying out.
Refrigerated Storage
For longer storage periods, we can refrigerate our pear cake to extend its freshness beyond the typical few days. Refrigeration helps preserve both the cake’s texture and the delicate pear flavors while preventing spoilage.
Advance Topping Preparation
When making upside-down pear cake variations, we can prepare the pear topping mixture up to 2 days in advance. Store the prepared topping in the refrigerator until ready to assemble and bake our cake.
| Storage Method | Duration | Best For |
|---|---|---|
| Room Temperature (Airtight) | 2-3 days | Daily serving |
| Room Temperature (Covered) | Up to 5 days | Extended freshness |
| Refrigerated | Beyond 5 days | Long-term storage |
| Topping Prep | 2 days | Advance preparation |
Assembly Strategy
We can prepare our pear mixture and dry ingredients separately the night before baking. Keep the seasoned pear cubes refrigerated and store the flour mixture in a covered bowl at room temperature. This approach streamlines our baking process the following day while ensuring optimal ingredient freshness.
Storage Instructions
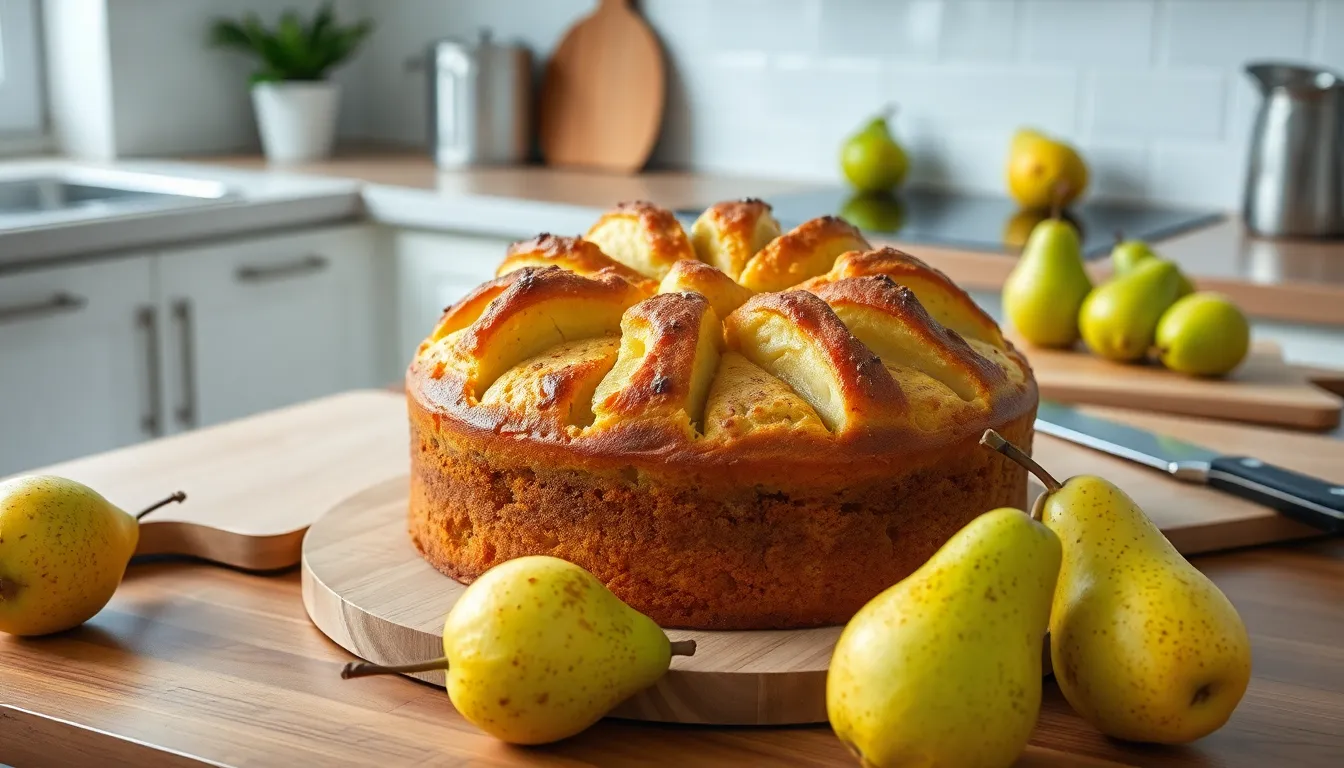
We recommend storing your freshly baked pear cake properly to maintain its moist texture and delicious flavor for as long as possible.
Room Temperature Storage
For short-term storage, we can keep the pear cake at room temperature in an airtight container. The cake stays fresh for 2-3 days when stored this way, though some recipes suggest consuming within one day for optimal taste. Always ensure the cake has cooled completely before placing it in storage to prevent moisture buildup that could affect texture.
Refrigeration Storage
When we need longer storage, refrigeration offers the best solution for maintaining freshness. Place the cake in an airtight container and store in the refrigerator for 4-5 days. This method works particularly well if we plan to keep the cake beyond the initial day or two after baking.
Freezer Storage
For extended preservation, we can freeze pear cake for up to 2 months. Wrap the completely cooled cake tightly in plastic wrap, then place it inside a freezer-safe bag to prevent freezer burn. When ready to serve, thaw the cake overnight in the refrigerator or at room temperature for several hours.
| Storage Method | Duration | Container Type |
|---|---|---|
| Room Temperature | 1-3 days | Airtight container |
| Refrigeration | 4-5 days | Airtight container |
| Freezing | Up to 2 months | Plastic wrap + freezer bag |
Key Storage Tips
We always ensure our pear cake cools completely before storing to prevent condensation from forming inside containers. Using airtight containers or proper wrapping maintains the cake’s moisture while preventing it from absorbing other flavors. Remember that pear cakes taste best when enjoyed fresh, but proper storage techniques help preserve their delicious qualities for several days or even months.
Serving Suggestions
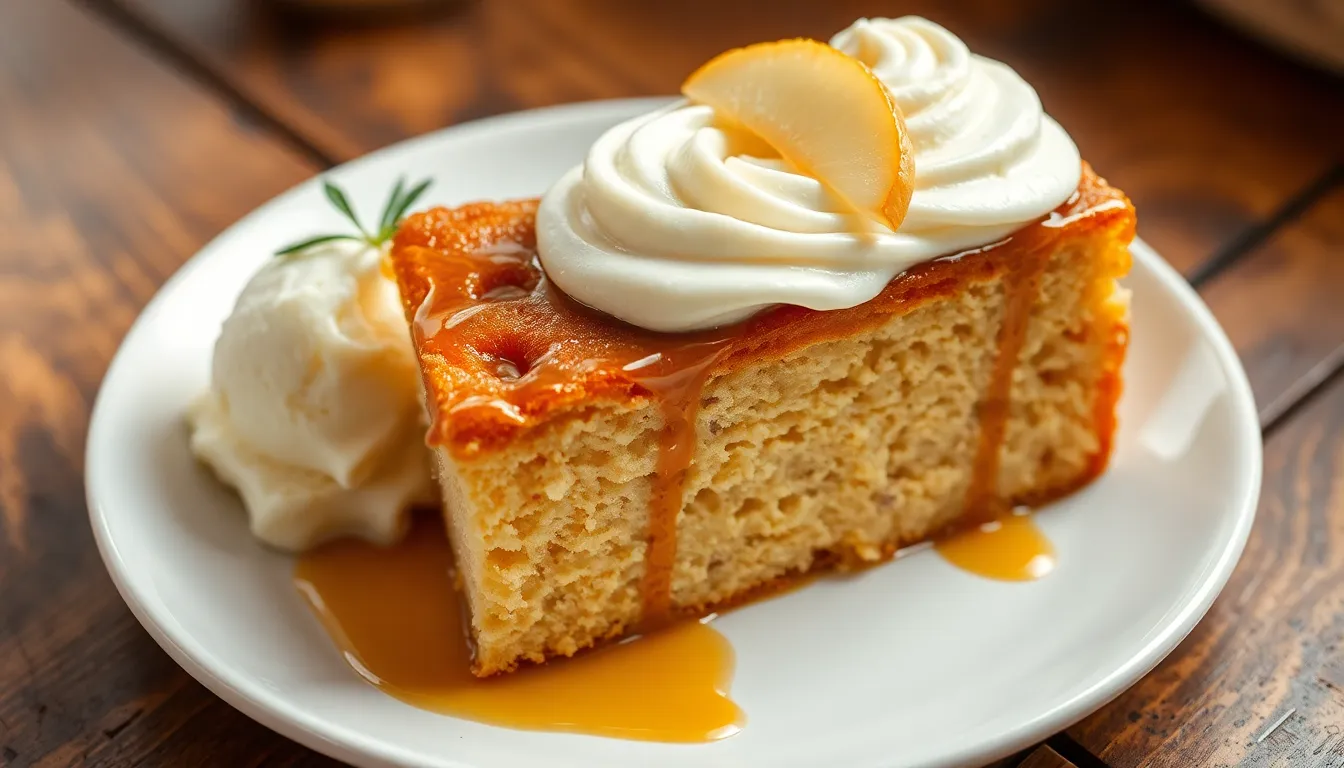
Our pear cake shines brightest when paired with complementary flavors and textures that enhance its natural sweetness. We recommend serving each slice with a generous scoop of vanilla ice cream or freshly whipped cream to create the perfect temperature contrast against the warm spiced cake.
Caramel sauce transforms this dessert into an indulgent masterpiece. We love drizzling the rich golden sauce over individual slices to add depth and luxurious sweetness that pairs beautifully with the tender pears throughout the cake.
Light cream cheese frosting offers another exceptional serving option that we frequently suggest to our readers. The tangy contrast cuts through the cake’s sweetness while maintaining the dessert’s moist texture and adding a professional bakery finish.
Visual presentation elevates the entire dining experience. We arrange thin pear slices in an overlapping fan pattern on top of each serving to create an Instagram worthy presentation that showcases the star ingredient. Fresh pear slices not only look stunning but also provide textural variety with their crisp bite.
| Serving Option | Flavor Profile | Best Occasion |
|---|---|---|
| Vanilla ice cream | Sweet and creamy contrast | Casual family dinners |
| Whipped cream | Light and airy complement | Afternoon tea service |
| Caramel sauce | Rich and indulgent | Special celebrations |
| Cream cheese frosting | Tangy and smooth | Formal dinner parties |
| Fresh pear garnish | Crisp and refreshing | Any presentation |
Temperature plays a crucial role in serving success. We serve our pear cake slightly warm to room temperature to maximize the aromatic spices and allow the pear flavors to bloom fully on the palate. Cold cake masks the delicate cinnamon and nutmeg notes that make this dessert so memorable.
Portion control becomes effortless when we cut clean slices using a sharp knife wiped between cuts. This technique prevents the moist cake from sticking and ensures each serving looks as perfect as it tastes.
Recipe Variations
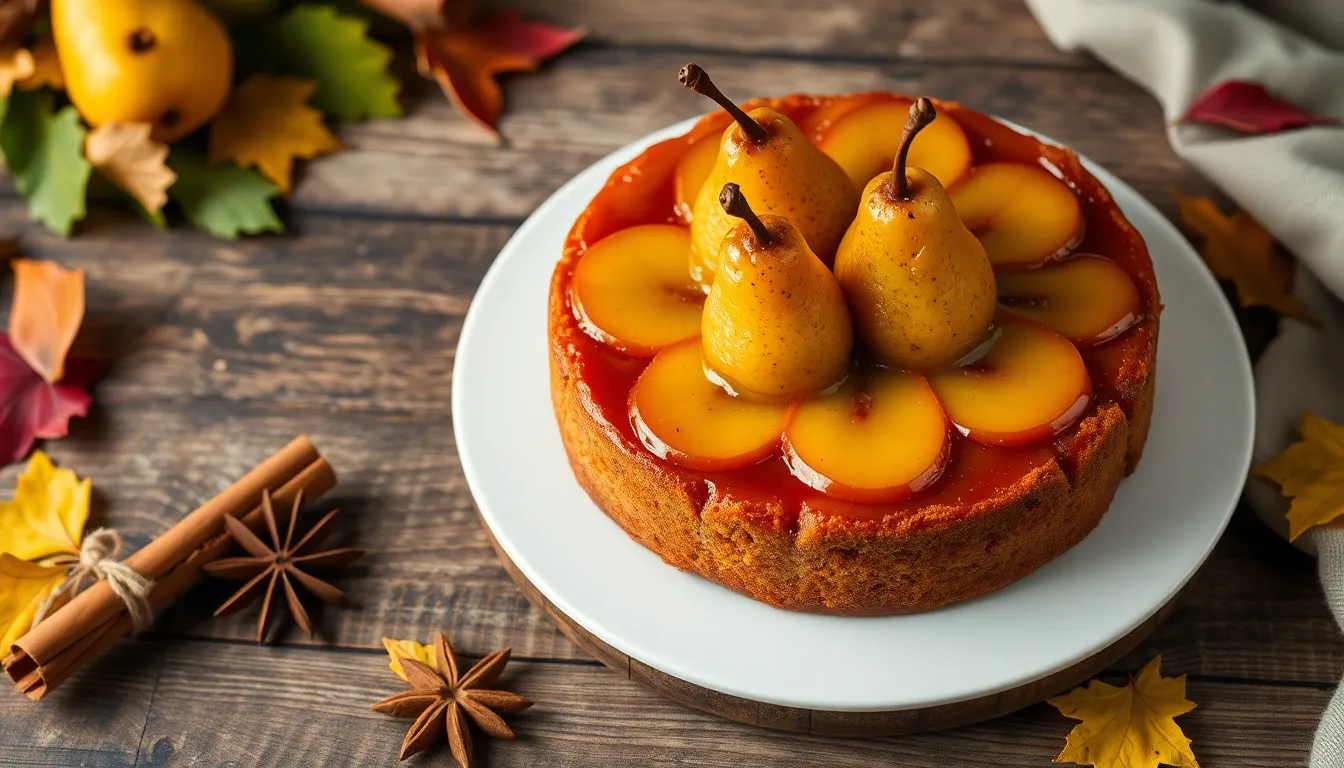
We love how versatile pear cake can be, allowing us to explore different flavors and textures while maintaining the delicious essence of ripe pears. These variations offer exciting ways to customize our classic pear cake recipe.
Spiced Pear Cake
Transform our basic pear cake into a warming autumn treat by incorporating aromatic spices. We recommend adding 1 teaspoon ground cinnamon, 1/4 teaspoon ground nutmeg, and 1/4 teaspoon ground ginger to the flour mixture. These warm spices complement the natural sweetness of pears perfectly, making this variation ideal for fall and winter celebrations. The spices create depth and complexity that elevates the cake beyond a simple fruit dessert.
For enhanced flavor, we suggest using brown sugar instead of granulated sugar in the batter. This substitution adds molasses notes that pair beautifully with the spice blend. Consider adding a pinch of ground cloves or allspice for even more seasonal warmth.
Upside Down Pear Cake
Create a stunning presentation with this elegant variation that showcases caramelized pears on top. We start by melting 3 tablespoons butter with 1/3 cup brown sugar in our cake pan directly on the stovetop until bubbly. Arrange thinly sliced pears in an overlapping pattern over the caramel mixture, creating a beautiful design.
Pour our prepared cake batter carefully over the arranged pears, ensuring we don’t disturb the pattern. After baking, we let the cake cool for exactly 5 minutes before running a knife around the edges and inverting it onto a serving plate. The result is a gorgeous cake with glossy caramelized pears adorning the top. Serve this variation slightly warm to highlight the caramel flavors.
Gluten Free Pear Cake
Accommodate dietary restrictions without sacrificing flavor by using alternative flour blends. We replace the all purpose flour with 1 1/2 cups almond flour combined with 1/2 cup coconut flour for rich, nutty flavors. Add 1/2 teaspoon xanthan gum to help bind the ingredients and create proper texture.
This variation requires slight adjustments to our liquid ingredients since alternative flours absorb moisture differently. We reduce the milk to 1/3 cup and add an extra egg to maintain the cake’s structure. The result offers a denser, more tender crumb with enhanced nuttiness that complements the pears beautifully. Rice flour can substitute for coconut flour if preferred, using a 1:1 ratio.
Conclusion
We’ve shared everything you need to create the perfect pear cake that’ll become your go-to autumn dessert. From selecting the right pears to mastering the baking technique this recipe delivers consistently delicious results every time.
Whether you’re hosting a dinner party or simply craving something sweet this versatile cake adapts to any occasion. The combination of tender pears and moist cake creates a dessert that’s both comforting and impressive.
Don’t hesitate to experiment with our suggested variations to make this recipe uniquely yours. We’re confident this pear cake will earn a permanent spot in your baking repertoire and bring warmth to your kitchen throughout the fall season.
Frequently Asked Questions
What type of pears work best for this cake recipe?
Firm pear varieties like Bartlett or Anjou are ideal for this recipe. These varieties maintain their texture during baking while providing optimal sweetness. Avoid overly soft or mushy pears as they may break down too much during the baking process and affect the cake’s structure.
How long does the pear cake stay fresh?
The pear cake stays fresh at room temperature for 2-3 days when stored in an airtight container. For longer storage, refrigerate for 4-5 days or freeze for up to 2 months. Always ensure the cake is completely cooled before storing to prevent moisture buildup.
Can I make parts of this recipe ahead of time?
Yes, you can prepare the pear topping mixture up to 2 days in advance and store it in the refrigerator. You can also prepare the pear mixture and dry ingredients separately the night before baking to streamline your preparation process.
What size pan should I use for this pear cake?
You can use either an 8 to 9-inch round cake pan or a 9″ x 5″ loaf pan for this recipe. Make sure to grease and flour your pan thoroughly to ensure easy cake removal after baking.
How do I know when the pear cake is done baking?
Bake the cake at 350°F (180°C) for 40 to 50 minutes. Test for doneness by inserting a skewer or toothpick into the center of the cake. If it comes out clean or with just a few moist crumbs, the cake is ready.
What are the best serving suggestions for pear cake?
Serve the cake slightly warm to room temperature for maximum flavor. Popular pairings include vanilla ice cream, freshly whipped cream, caramel sauce, or cream cheese frosting. Garnish with fresh pear slices for an elegant presentation and added texture.
Can I make this recipe gluten-free?
Yes, you can create a gluten-free version by substituting the all-purpose flour with a combination of almond flour and coconut flour. This maintains the cake’s delicious flavor while accommodating dietary restrictions without compromising taste or texture.
What equipment do I need to make this pear cake?
Essential equipment includes an electric stand mixer, measuring cups and spoons, an 8-9 inch round cake pan or 9″ x 5″ loaf pan, large mixing bowl, rubber spatula, wire cooling rack, and sharp knives for pear preparation.

