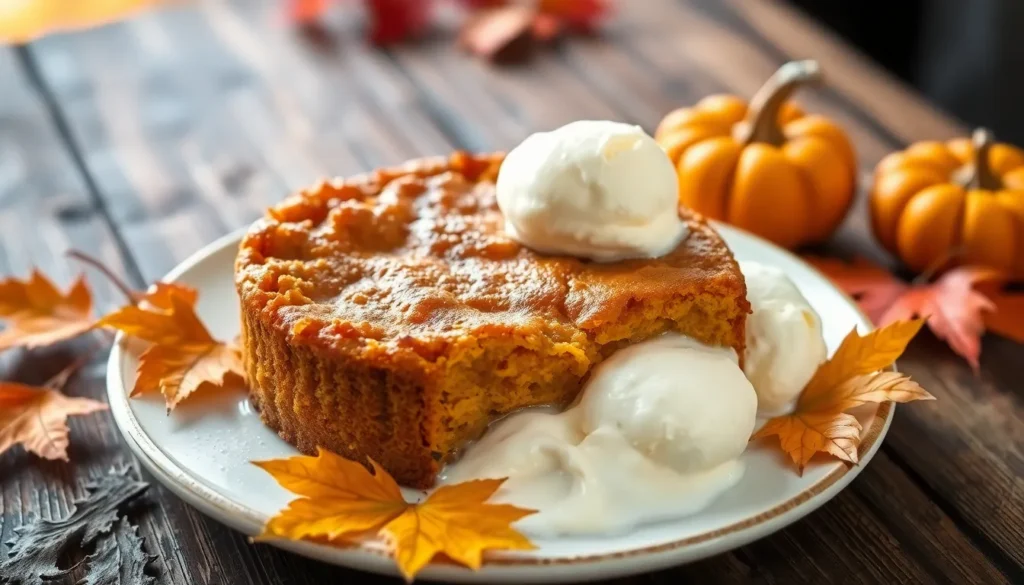
We’re about to share one of fall’s most irresistible desserts that’ll have your kitchen smelling like autumn heaven. Pumpkin dump cake combines all the cozy flavors of pumpkin pie with the effortless charm of a cake mix dessert – and the best part? You literally dump everything together and let the oven work its magic.
This foolproof dessert originated from the “dump cake” trend that swept through American kitchens in the 1970s. The genius lies in its simplicity: canned pumpkin puree meets warm spices while butter creates those coveted crispy edges we all fight over. It’s the perfect solution when you’re craving pumpkin pie but don’t want the fuss of making pastry from scratch.
We’ve perfected this recipe to deliver maximum flavor with minimal effort. Whether you’re hosting Thanksgiving dinner or just want to embrace the season’s spirit, this pumpkin dump cake delivers bakery-quality results without the bakery-level stress.
Ingredients
We’ve carefully selected each ingredient to create the perfect balance of pumpkin spice flavors and buttery cake texture. Our streamlined ingredient list makes this dump cake both accessible and foolproof for bakers of all skill levels.
For The Cake Layer
- 1 (15 oz) can pumpkin puree
- 1 (12 oz) can evaporated milk
- 3 large eggs
- 3/4 cup granulated sugar
- 1 teaspoon vanilla extract
- 1 teaspoon ground cinnamon
- 1/2 teaspoon ground nutmeg
- 1/4 teaspoon ground ginger
- 1/4 teaspoon ground cloves
- 1/2 teaspoon salt
- 1 box (15.25 oz) yellow cake mix
For The Topping
- 1 cup (2 sticks) unsalted butter, melted
- 1/2 cup chopped pecans or walnuts (optional)
- 1/4 cup mini marshmallows (optional)
Equipment Needed
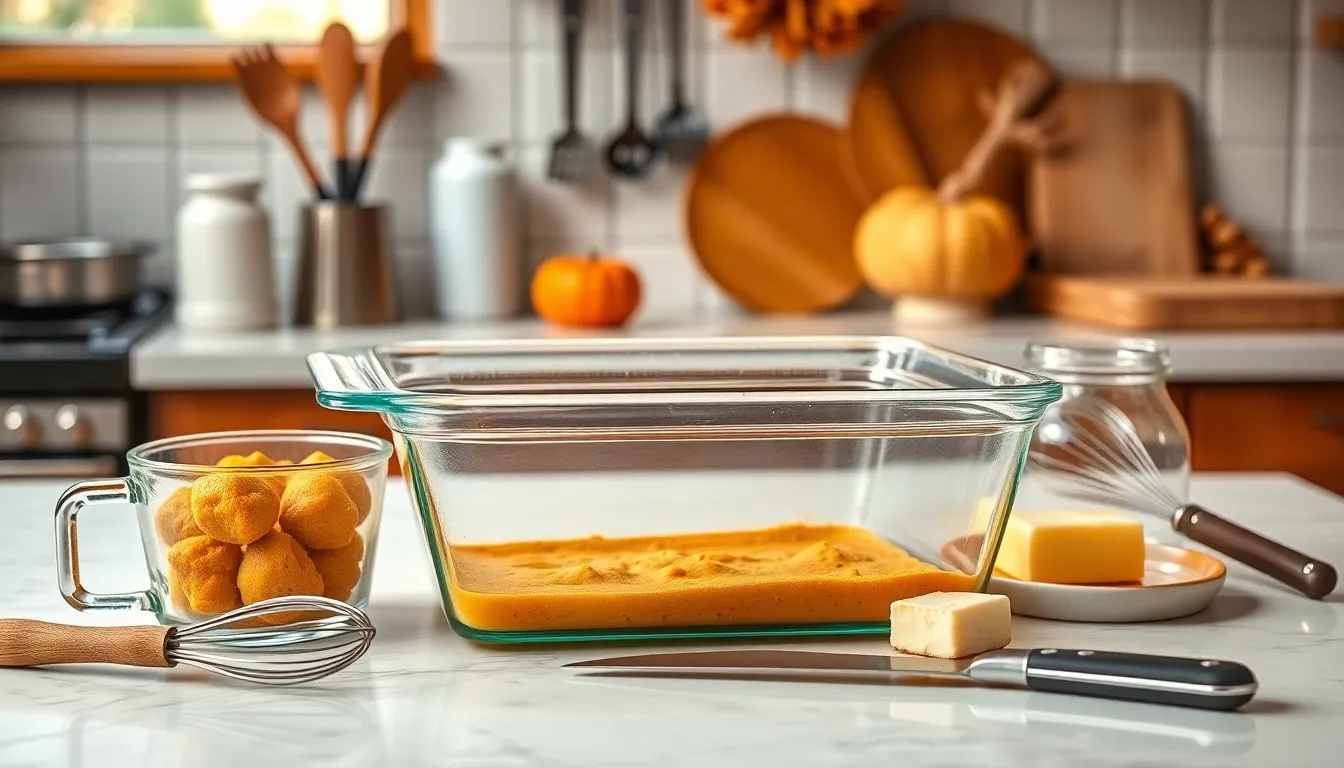
Our pumpkin dump cake recipe requires minimal equipment, making it accessible for kitchens of any size. We recommend gathering these essential tools before starting your baking process to ensure smooth preparation.
9×13 inch baking pan serves as the foundation for this dessert. We prefer this size because it provides the perfect depth for layering ingredients while ensuring even baking throughout. Glass or metal pans work equally well for this recipe.
Measuring cups and spoons help achieve accurate proportions of each ingredient. We suggest having both dry and liquid measuring tools available since this recipe combines wet and dry components. Precision matters when balancing the pumpkin layer with the cake mix topping.
Whisk becomes essential for combining the pumpkin mixture smoothly. We use this tool to blend the pumpkin puree with eggs, milk, and spices until no lumps remain. A fork can substitute if a whisk isn’t available.
Knife to slice the butter allows for even distribution across the cake surface. We recommend cutting cold butter into thin pats or small cubes to ensure uniform coverage. This technique helps create the signature crispy top texture that makes dump cakes special.
Optional tools include a large mixing bowl for combining wet ingredients and a rubber spatula for scraping every bit of pumpkin mixture into the pan. Having these basics on hand transforms the baking process into an effortless experience that delivers professional results.
Instructions
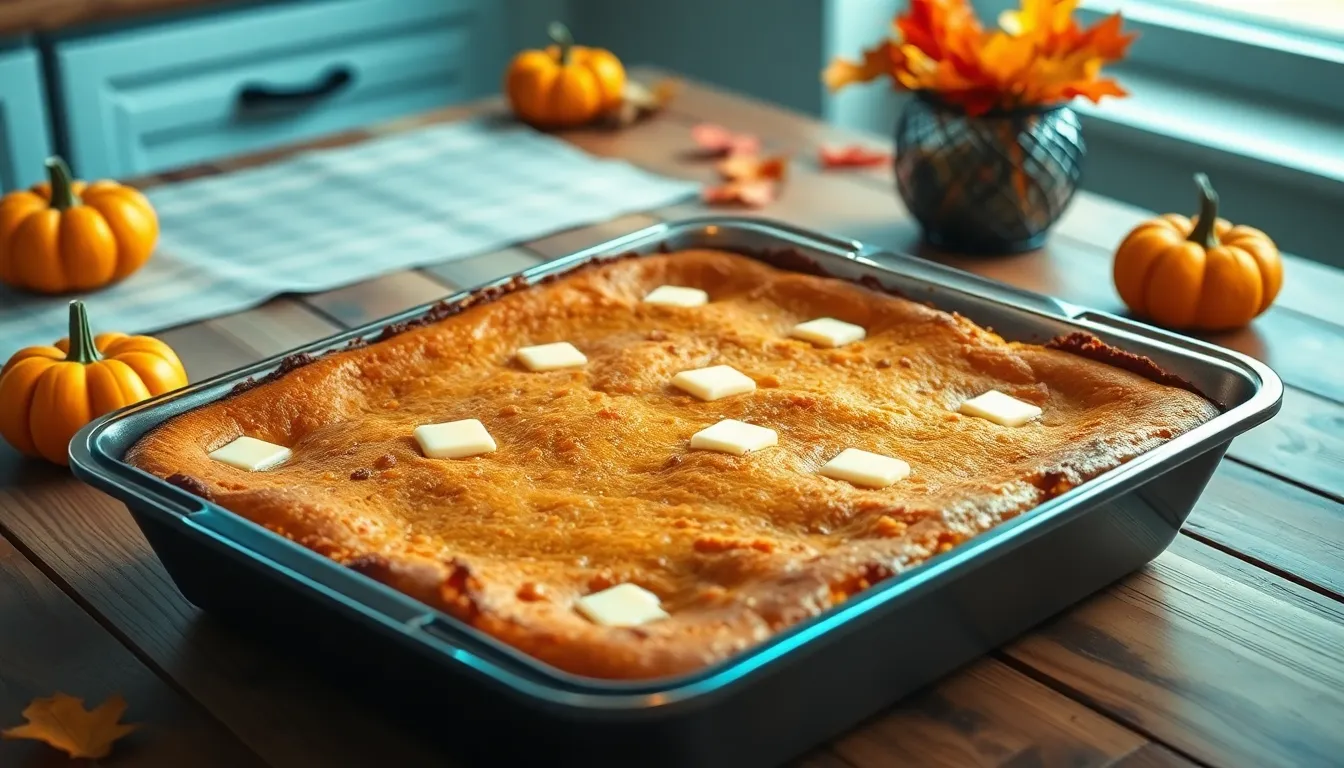
We’ll walk through this simple dump cake process step by step to create a perfectly balanced dessert with minimal effort and maximum flavor.
Prep The Pan
We start by preheating our oven to 350°F (175°C) for optimal baking temperature. Next we lightly grease our 9×13-inch baking pan with non-stick cooking spray to ensure the cake releases easily after baking. This preparation step prevents sticking and creates the foundation for our perfectly baked dump cake.
Prepare The Pumpkin Layer
We combine all our wet ingredients in a large mixing bowl to create the rich pumpkin base. First we add 1 can of pure pumpkin puree followed by 1 cup of evaporated milk for creamy texture. We crack in 4 large eggs and measure 2 cups of granulated sugar for sweetness. Our blend of pumpkin pie spice and a pinch of salt rounds out the flavor profile. Using our whisk we blend everything until the mixture becomes completely smooth and well combined with no lumps remaining.
Add The Cake Mix
We pour our smooth pumpkin mixture directly into our prepared baking pan and spread it evenly. Next we sprinkle one complete box of yellow cake mix over the entire surface of the pumpkin layer. The dry cake mix should cover the pumpkin mixture completely without stirring or mixing the layers together. This layering technique creates the signature dump cake texture we’re aiming for.
Create The Butter Topping
We slice our cold unsalted butter into thin pats for even distribution across the surface. These butter pieces should be scattered evenly over the dry cake mix layer to ensure consistent browning and crispy texture. For extra flavor and crunch we can add optional toppings like chopped pecans or walnuts at this stage. Mini marshmallows or toffee bits also make excellent additions when sprinkled over the butter layer.
Bake The Dump Cake
We place our assembled dump cake in the preheated oven and bake for 45-50 minutes until the center sets completely. The edges should appear lightly browned and the top should have a golden crispy texture. We test doneness by gently pressing the center which should feel firm rather than jiggly. Once baked we remove the cake from the oven and allow it to cool slightly before serving warm.
Directions For Serving
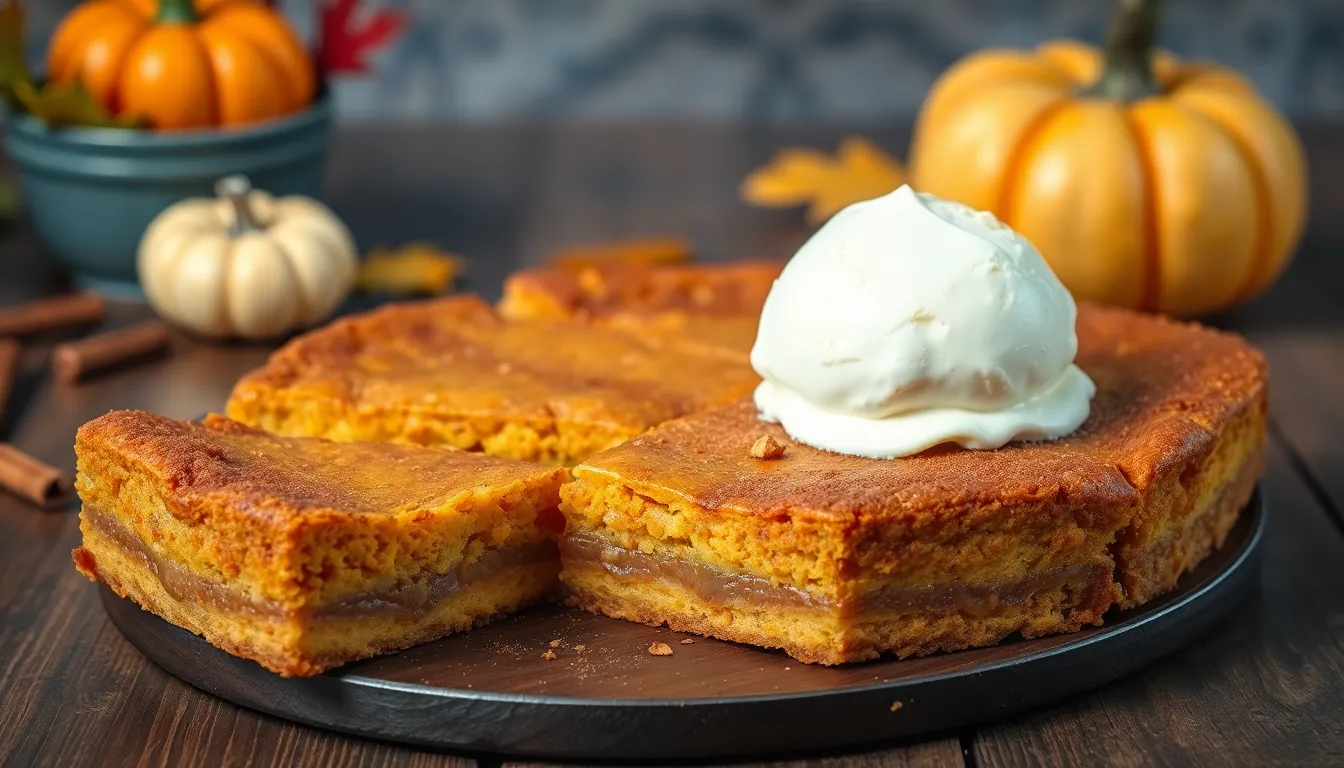
We recommend allowing our pumpkin dump cake to cool for about an hour after removing it from the oven. This cooling period helps the layers set properly and makes slicing much easier.
Temperature preferences offer flexibility for serving this dessert. Room temperature provides the ideal texture balance where the crispy top contrasts beautifully with the creamy pumpkin layer. Chilled serving from the refrigerator creates a firmer consistency that some prefer during warmer weather.
Portion sizing works best when we cut the cake into generous squares using a sharp knife. The 9×13 inch pan typically yields 12 to 15 servings depending on desired portion sizes.
Classic accompaniments elevate this dessert to restaurant quality. A scoop of vanilla ice cream creates the perfect temperature contrast against the warm cake. Freshly whipped cream adds lightness that complements the dense pumpkin flavors.
Flavor enhancements take this simple dessert to the next level. Drizzling caramel sauce over each serving adds rich sweetness that pairs naturally with pumpkin spices. A light dusting of cinnamon provides extra warmth for autumn gatherings.
Storage considerations maintain quality for extended enjoyment. Leftover cake keeps well covered in the refrigerator for up to four days. We can serve cold portions directly from storage or allow them to return to room temperature for softer texture.
Presentation tips make this humble dump cake worthy of special occasions. Individual plates showcasing the distinct layers create visual appeal. Garnishing with a sprinkle of chopped pecans or a small dollop of whipped cream adds professional finishing touches.
Make-Ahead Instructions
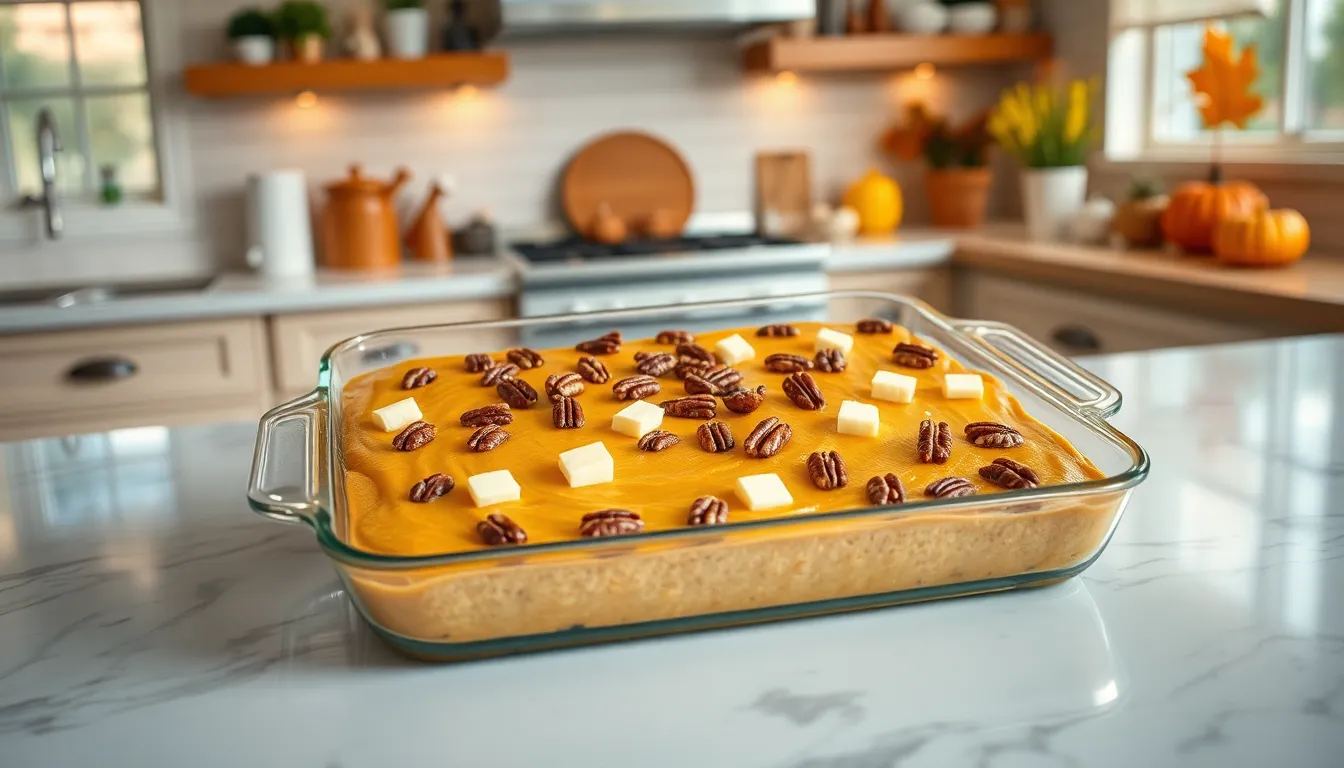
Planning ahead transforms our pumpkin dump cake into an even more convenient dessert option for busy schedules and holiday entertaining. We can prepare several components in advance to streamline the baking process when guests arrive.
Preparing the Pumpkin Filling
We recommend mixing the pumpkin layer up to one day before baking. Combine the pumpkin puree, evaporated milk, eggs, sugar, and pumpkin pie spice with salt in our greased 9×13-inch baking pan. Whisk the mixture until completely smooth and evenly distributed. Cover the pan tightly with plastic wrap or aluminum foil to prevent the filling from absorbing refrigerator odors. Store the prepared filling in the refrigerator until ready to bake.
Topping Preparation Steps
Our butter preparation can also be completed ahead of time. Slice the butter into thin pieces and place them on a covered plate in the refrigerator. Cold butter distributes more evenly across the cake mix and creates better texture results.
Store chopped pecans in an airtight container at room temperature if using within 24 hours. We can prepare nuts up to three days in advance when stored properly in the refrigerator.
Assembly and Baking Adjustments
When we’re ready to bake our make-ahead cake, remove the chilled pumpkin filling from the refrigerator. Sprinkle the yellow cake mix evenly over the cold filling without stirring. Add the pre-sliced butter pieces and chopped pecans on top of the cake mix layer.
| Baking Time Adjustments |
|---|
| Room temperature start: 45-50 minutes |
| Cold start: 55-60 minutes |
| Additional time needed: 10 minutes |
The cold filling requires approximately 10 additional minutes of baking time at 350°F. We should bake until the top becomes golden brown and the center feels set when gently touched. This make-ahead method actually enhances flavor development as the spices have more time to meld together in the pumpkin mixture.
Storage Tips
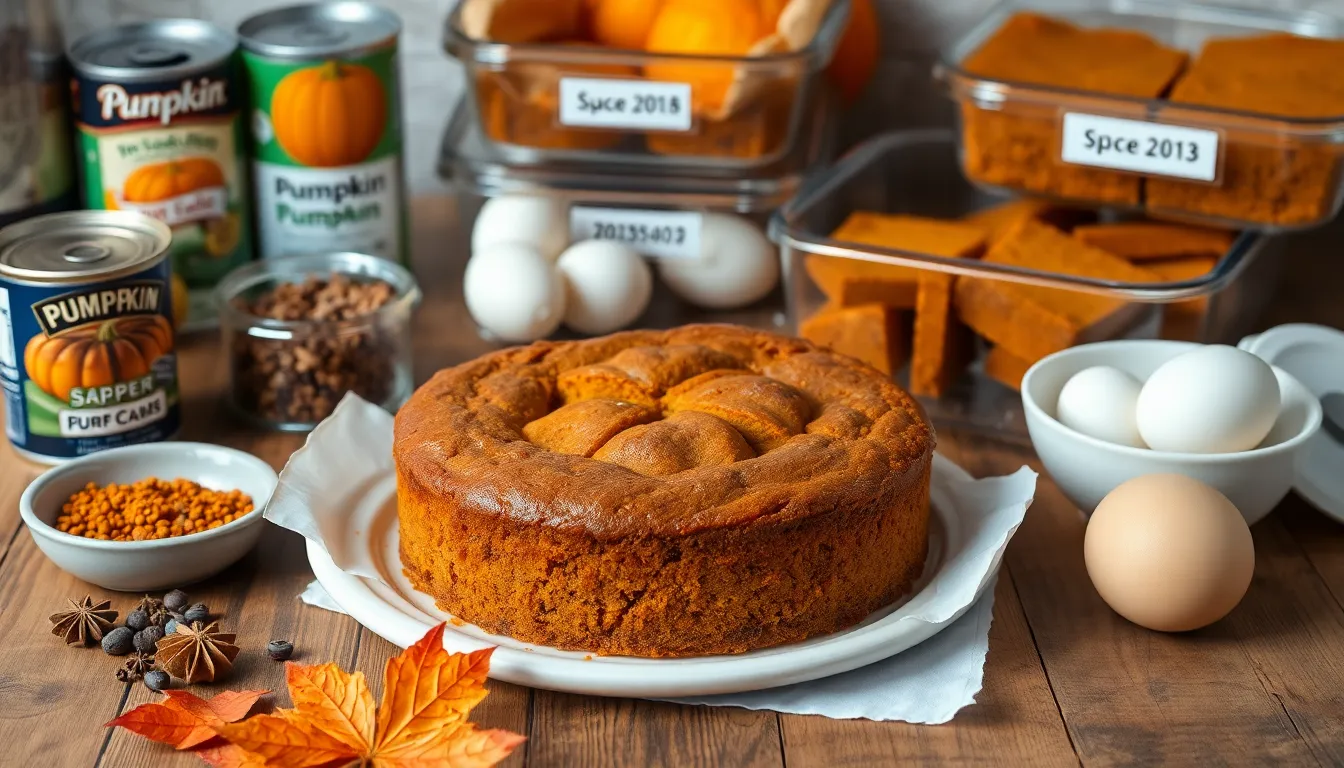
Proper storage keeps our pumpkin dump cake fresh and delicious for days after baking. We need to follow exact guidelines to maintain both quality and food safety while preserving the cake’s unique texture and flavor.
Refrigerator Storage
Complete cooling at room temperature prevents condensation from making our cake soggy. We should allow the cake to cool thoroughly before covering it with plastic wrap, aluminum foil, or placing a tight-fitting lid over the baking dish.
Our refrigerated pumpkin dump cake stays fresh for 3 to 5 days when properly covered. We can serve it straight from the refrigerator for a firmer texture, bring it to room temperature for balanced flavors, or gently reheat portions in the oven or microwave.
Freezer Storage
Freezing extends our cake’s life significantly when we follow proper preparation steps. We must cool the cake completely before wrapping to prevent ice crystals from forming and compromising the texture.
Double wrapping provides the best protection against freezer burn. We wrap the entire cake or individual portions first in plastic wrap, then in aluminum foil, or place them in freezer-safe containers with tight-fitting lids. Labeling with contents and date helps us track storage time.
Our frozen pumpkin dump cake maintains quality for 1 to 3 months. Pumpkin-based desserts can safely store for up to 2 to 3 months without important quality loss.
Thawing requires patience for best results. We transfer frozen cake to the refrigerator overnight or let it sit at room temperature for several hours. For optimal taste and texture, we reheat thawed cake in a preheated 325°F (177°C) oven for about 15 minutes until warmed through.
| Storage Method | Duration | Key Instructions |
|---|---|---|
| Refrigerator | 3–5 days | Cool completely, cover tightly |
| Freezer | 1–3 months | Double-wrap, label with date, thaw slowly |
These storage methods ensure we can enjoy our pumpkin dump cake at peak quality while maintaining food safety standards.
Variations And Substitutions
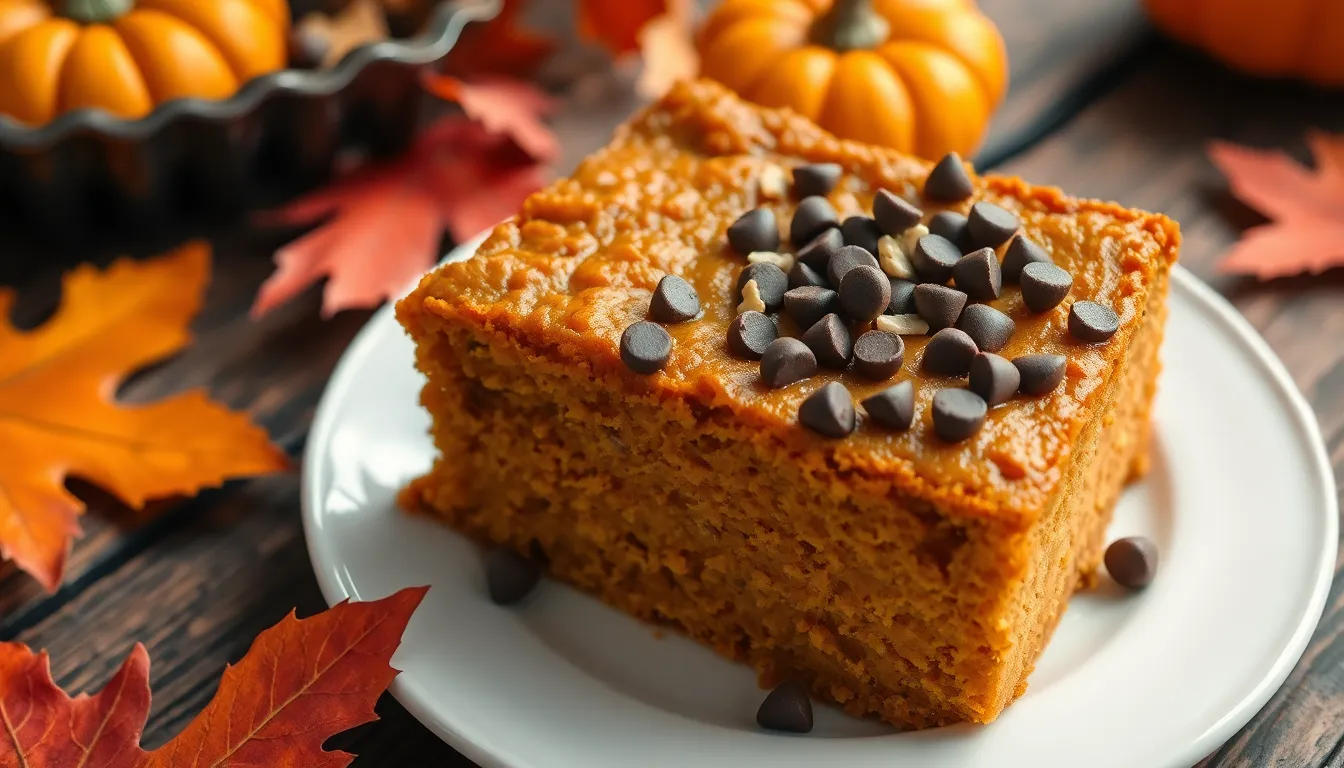
We can easily customize our pumpkin dump cake to match personal preferences and dietary needs. These creative modifications allow us to transform the basic recipe into countless delicious variations.
Spice Variations
We recommend using 2-3 teaspoons of pumpkin pie spice as our go-to blend for authentic fall flavors. When we’re using a spiced cake mix, we can omit the pumpkin pie spice entirely to avoid overwhelming the dessert with too much seasoning.
Alternative spice combinations work beautifully when pumpkin pie spice isn’t available. We can create our own blend by mixing cinnamon, ginger, and ground cloves in equal proportions. This homemade mixture delivers the same warm, aromatic profile that makes pumpkin desserts so appealing.
Mix-In Options
Nuts add exceptional texture and flavor complexity to our dump cake. We love incorporating chopped pecans, walnuts, or almonds directly into the topping for a satisfying crunch that complements the tender cake beneath.
Chocolate lovers can sprinkle 1 cup of chocolate chips over the cake mix layer before adding butter. This creates delightful pockets of melted chocolate throughout the finished dessert.
Fresh fruit elevates our pumpkin dump cake with natural sweetness and tartness. We often mix in chopped Granny Smith apples to create an apple-pumpkin fusion that captures the essence of autumn orchards.
Topping Alternatives
Graham crackers provide a unique twist when we want something different from traditional nuts. We chop them coarsely and scatter them over the cake mix for a sweet, honeyed crunch that reminds us of s’mores.
Creative serving toppings transform our dessert into a restaurant-quality presentation. We enhance each slice with dollops of whipped cream, toasted coconut flakes, crystallized ginger pieces, or toffee bits that add both visual appeal and complementary flavors.
Conclusion
We’ve shown you how this simple yet impressive dessert transforms basic pantry ingredients into something truly special. The beauty of pumpkin dump cake lies in its foolproof nature – even novice bakers can achieve bakery-quality results with minimal effort and cleanup.
This versatile recipe adapts beautifully to your family’s preferences and dietary needs. Whether you’re hosting Thanksgiving dinner or simply craving autumn flavors we’re confident this dessert will become a regular feature in your seasonal baking rotation.
The combination of convenience and delicious taste makes this dump cake an absolute winner. Your guests will never guess how easy it was to create such a show-stopping dessert that captures all the warmth and comfort of fall in every bite.
Frequently Asked Questions
What is a pumpkin dump cake?
A pumpkin dump cake is a simple fall dessert that combines pumpkin pie flavors with the convenience of cake mix. It gets its name from the “dump” method – you literally dump all ingredients into a pan without mixing them together. The result is a layered dessert with a pumpkin custard base and crispy, buttery cake topping.
How long does it take to make pumpkin dump cake?
Pumpkin dump cake takes about 15 minutes to prepare and 45-50 minutes to bake at 350°F. Total time is approximately 1 hour, plus an additional hour of cooling time for easier slicing. This makes it one of the quickest fall desserts you can make from scratch.
Can I make pumpkin dump cake ahead of time?
Yes! You can prepare the pumpkin filling mixture a day in advance and store it in the refrigerator. You can also pre-slice the butter and keep it cold. When ready to bake, add an extra 10 minutes to the baking time since the filling will be cold.
How should I store leftover pumpkin dump cake?
Store leftover pumpkin dump cake covered in the refrigerator for 3-5 days. Let it cool completely before covering to prevent sogginess. For longer storage, wrap tightly and freeze for 1-3 months. Thaw slowly in the refrigerator for best results.
What can I substitute for yellow cake mix?
While yellow cake mix works best, you can experiment with spice cake mix or white cake mix for different flavors. You can also make a homemade cake mix substitute using flour, sugar, baking powder, and salt, though the texture may vary slightly from the original recipe.
Can I add nuts or other mix-ins to pumpkin dump cake?
Absolutely! Chopped pecans, walnuts, chocolate chips, or mini marshmallows make excellent additions. Sprinkle them over the cake mix layer before adding the butter. You can also try graham cracker pieces, coconut flakes, or dried cranberries for variety.
What’s the best way to serve pumpkin dump cake?
Serve pumpkin dump cake at room temperature or chilled, depending on your preference. It pairs wonderfully with vanilla ice cream, whipped cream, or caramel sauce. A light dusting of cinnamon adds extra fall flavor. Cut into generous squares – the recipe serves 12-15 people.
Why do I need to use cold butter slices?
Cold butter slices create the signature crispy, golden top layer of the dump cake. As the cold butter melts during baking, it creates steam and helps the cake mix form a crispy crust. Room temperature or melted butter won’t achieve the same texture.

