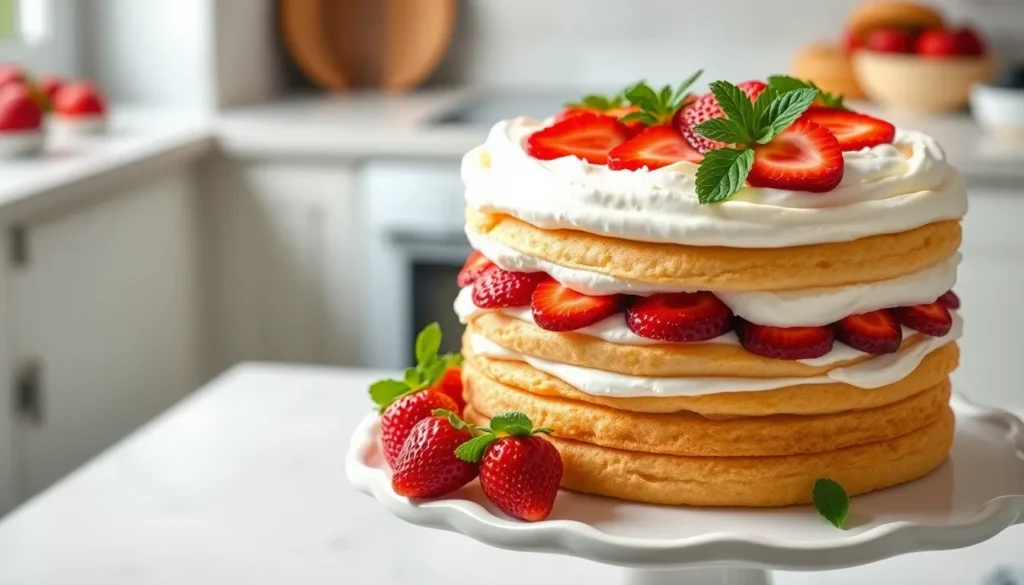
Nothing says spring and summer quite like the perfect strawberry cream cake. We’ve mastered this show-stopping dessert that combines fluffy vanilla sponge layers with luscious whipped cream and fresh strawberries bursting with sweetness. This classic cake has graced celebration tables for generations and it’s easy to see why.
Our strawberry cream cake delivers everything you’d want in a special occasion dessert – it’s visually stunning with its bright red berries peeking through clouds of cream and it tastes even better than it looks. The secret lies in using peak-season strawberries and proper cream-whipping technique to create those perfect billowy layers.
Whether you’re planning a birthday party or weekend gathering this cake will steal the show. We’ll walk you through each step to ensure your cake turns out picture-perfect every single time.
Ingredients
We’ve carefully selected each ingredient to create the perfect balance of flavors and textures in our strawberry cream cake. These components work together to deliver layers of fluffy vanilla sponge paired with fresh berry sweetness and luxurious cream.
For the Cake Layers
- 2 cups all-purpose flour, sifted
- 2 teaspoons baking powder
- 1/2 teaspoon salt
- 1/2 cup unsalted butter, softened to room temperature
- 1 1/4 cups granulated sugar
- 4 large eggs, room temperature
- 2 teaspoons pure vanilla extract
- 1 cup whole milk, room temperature
For the Strawberry Filling
- 2 pounds fresh strawberries, hulled and sliced
- 1/4 cup granulated sugar
- 2 tablespoons fresh lemon juice
- 1 tablespoon cornstarch
- 1/4 cup strawberry jam or preserves
For the Whipped Cream
- 2 cups heavy whipping cream, chilled
- 1/2 cup powdered sugar, sifted
- 1 teaspoon pure vanilla extract
- 1/4 teaspoon unflavored gelatin powder
- 1 tablespoon warm water
For the Garnish
- 1 cup fresh strawberries, hulled and halved
- 2 tablespoons powdered sugar for dusting
- Fresh mint leaves for decoration
- 1/4 cup sliced almonds, toasted (optional)
Equipment Needed
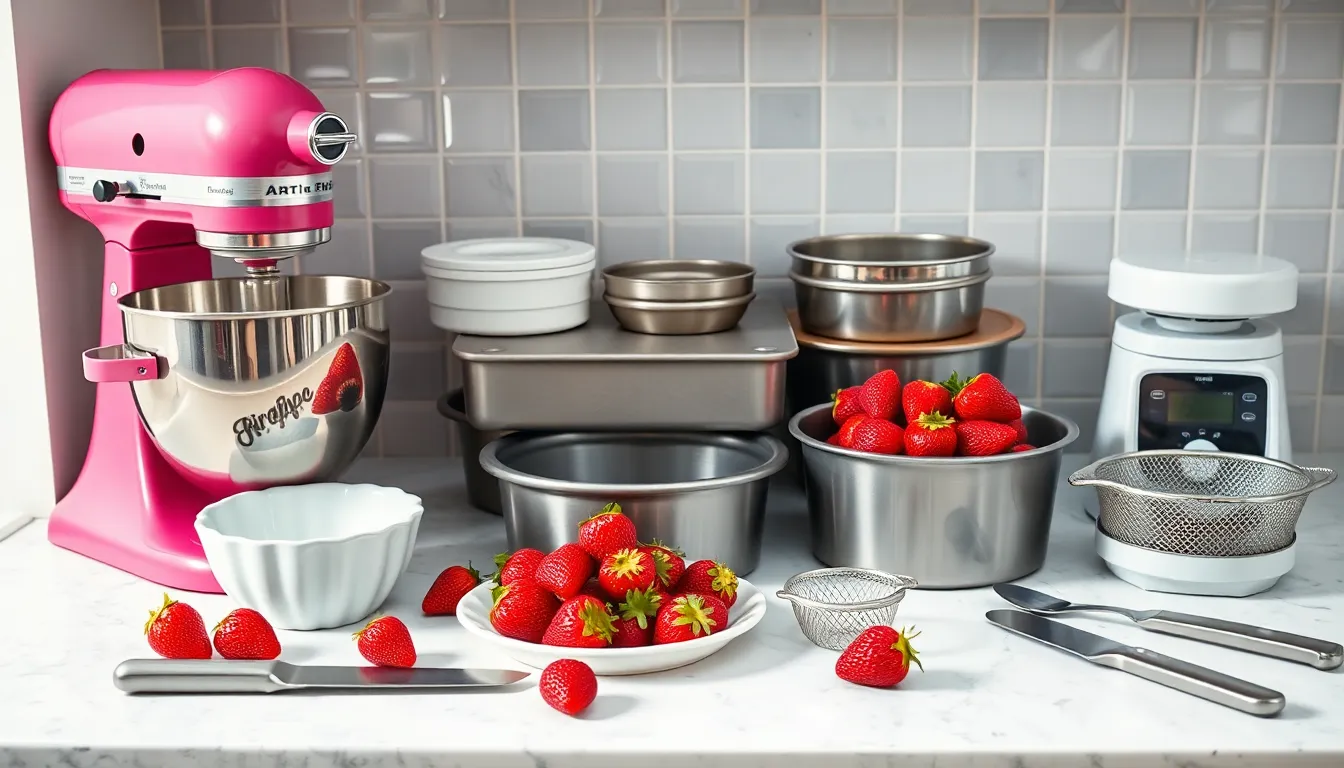
Creating our strawberry cream cake requires exact tools that ensure professional results. We recommend gathering all equipment before starting to streamline the baking process.
Essential Mixing Equipment
Our first priority involves securing proper mixing tools. A stand mixer or handheld mixer provides the power needed for whipping cream and creaming butter. Multiple mixing bowls in various sizes accommodate different components simultaneously. Measuring cups and spoons guarantee ingredient accuracy for consistent results.
Specialized Baking Tools
We need three 8-inch cake pans for creating perfectly sized layers. A kitchen scale delivers precise measurements that volume measurements cannot match. Silicone spatulas fold ingredients gently without deflating batters. A flour sifter creates lighter cake texture by aerating dry ingredients.
Strawberry Preparation Equipment
Fresh strawberry preparation requires exact tools for optimal results. A strawberry huller or milkshake straw removes stems cleanly without wasting fruit. Sharp paring knives slice berries uniformly for even distribution. A fine mesh strainer drains excess strawberry juices when needed.
Processing and Assembly Tools
Strawberry filling preparation benefits from a small food processor or hand-held masher for achieving desired consistency. Offset spatulas provide smooth frosting application and professional finishing touches. We suggest having piping bags and Wilton 2-D piping tips available for decorative elements.
Temperature Control Equipment
A microwave-safe mug proves essential for melting butter or tempering eggs safely. This simple tool prevents ingredient temperature shock that could affect cake texture.
Having these tools ready before beginning ensures smooth preparation and professional presentation for our strawberry cream cake masterpiece.
Instructions
We’ll walk you through each step to create this stunning strawberry cream cake layer by layer. These detailed instructions ensure your cake achieves the perfect balance of flavors and textures.
Prep the Strawberries
Wash fresh strawberries under cold running water and pat them completely dry with paper towels. Remove the green hulls using a strawberry huller or the tip of a paring knife. Slice larger strawberries into 1/4-inch thick pieces for even distribution throughout the cake layers. Chop smaller berries into bite-sized pieces that will complement the cream filling. Reserve the most beautiful whole strawberries for decorating the finished cake. Allow prepared strawberries to sit at room temperature for 15 minutes to release their natural juices.
Make the Cake Layers
Preheat your oven to 350°F and grease three 8-inch round cake pans with butter. Whisk together 3 cups all-purpose flour, 1 1/2 teaspoons baking powder, 1/2 teaspoon baking soda and 1/2 teaspoon salt in a large bowl. Beat softened butter with granulated sugar using your stand mixer until the mixture becomes light and fluffy, about 4 minutes on medium speed. Add eggs one at a time, beating well after each addition. Pour in vanilla extract and beat until fully incorporated.
Alternate adding the dry ingredients and 1 1/3 cups whole milk to the butter mixture, beginning and ending with the flour mixture. Mix each addition just until combined to avoid overworking the batter. Divide the batter evenly among your prepared pans using a kitchen scale for precision. Bake for 25-30 minutes until a toothpick inserted in the center comes out clean. Cool the layers in their pans for 10 minutes before turning them out onto wire racks.
Prepare the Whipped Cream
Chill your mixing bowl and beaters in the freezer for 15 minutes before whipping. Pour cold heavy whipping cream into the chilled bowl and begin beating on medium speed. Gradually increase to high speed as the cream thickens. Add powdered sugar and vanilla extract when soft peaks begin to form. Continue beating until stiff peaks hold their shape when you lift the beaters. Avoid overwhipping to prevent the cream from becoming grainy or separating into butter.
Make the Strawberry Filling
Combine your prepared chopped strawberries with 2 tablespoons granulated sugar in a medium bowl. Toss gently and let the mixture sit for 20 minutes to create natural strawberry syrup. Fold half of your prepared whipped cream into the sugared strawberries using a silicone spatula. Create gentle folding motions to maintain the cream’s light texture while evenly distributing the fruit. Taste and adjust sweetness with additional sugar if needed. Reserve the remaining whipped cream for frosting the exterior of your cake.
Directions for Assembly
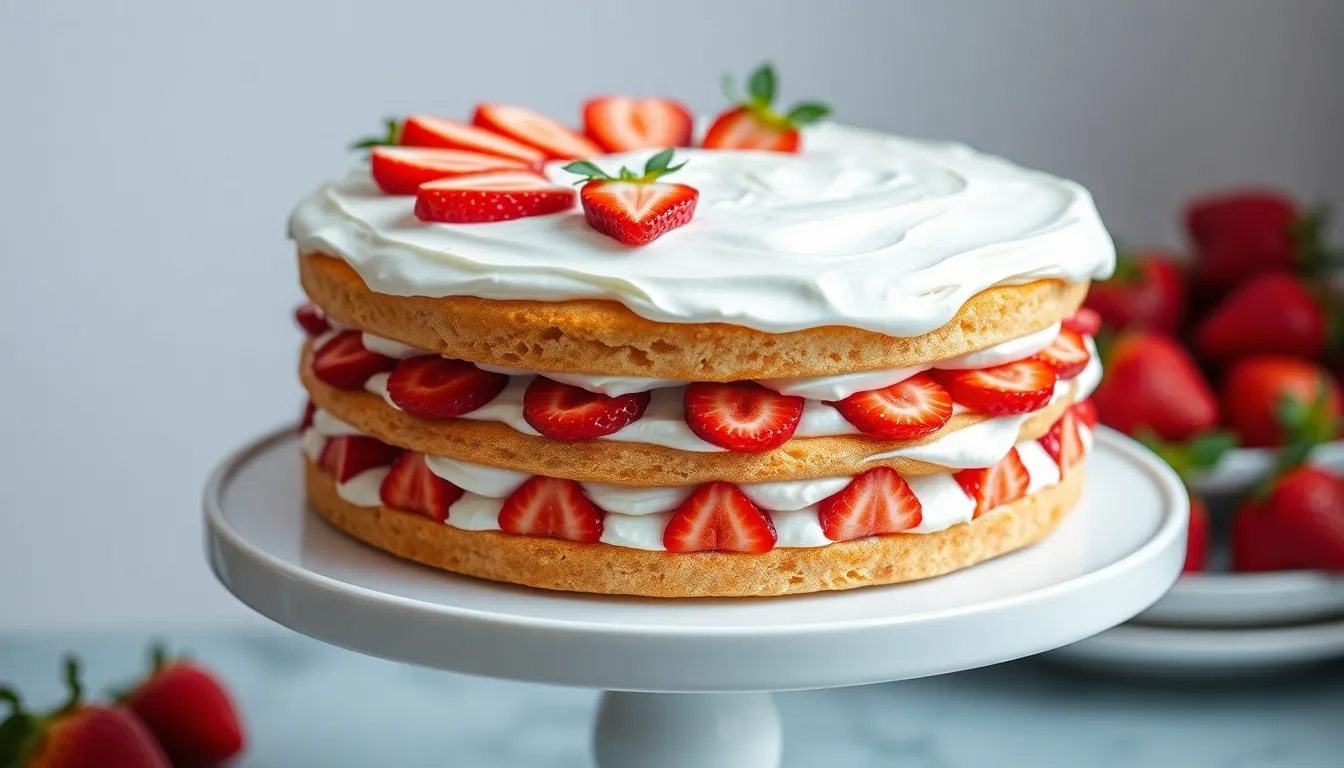
Now that we have all our components ready, let’s bring this beautiful strawberry cream cake together. The assembly process requires patience and gentle handling to create those perfect layers.
Layer the Cake
We start by placing our first cake layer on a serving platter or cake stand. Using an offset spatula, we spread approximately one-third of our strawberry cream filling evenly across the surface, leaving a small border around the edges. The filling should be about ¼ inch thick to maintain structural integrity while providing rich flavor in every bite.
Next, we gently place the second cake layer on top, pressing down lightly to ensure it adheres without squeezing out the filling. We repeat this process with another layer of strawberry cream filling, spreading it evenly with the same technique. Finally, we crown our creation with the third cake layer, pressing gently to create a stable foundation for frosting.
Apply the Final Coating
We begin the final coating by preparing fresh whipped cream separate from our strawberry filling mixture. In a chilled bowl, we whip heavy cream with powdered sugar and vanilla extract until stiff peaks form. This plain whipped cream serves as our frosting base and should hold its shape when lifted with the beaters.
Using an offset spatula, we apply a thin crumb coat around the entire cake, sealing in any loose crumbs. After chilling the cake for 30 minutes, we apply the final layer of whipped cream, working from bottom to top with smooth, even strokes. The frosting should completely cover all cake layers and create a clean, professional appearance.
Add the Finishing Touches
We garnish the top of our cake with fresh strawberry slices arranged in an attractive pattern. The strawberries should be uniform in thickness and placed while the whipped cream is still fresh to ensure proper adhesion. We can create concentric circles, a spiral design, or simply scatter the slices for a rustic look.
Finally, we refrigerate our assembled cake for at least 2 hours before serving to allow all layers to set properly. This chilling time ensures clean slices and prevents the whipped cream from becoming unstable during serving. We avoid freezing the assembled cake since whipped cream and fresh strawberries lose their texture when frozen and thawed.
Make-Ahead Instructions
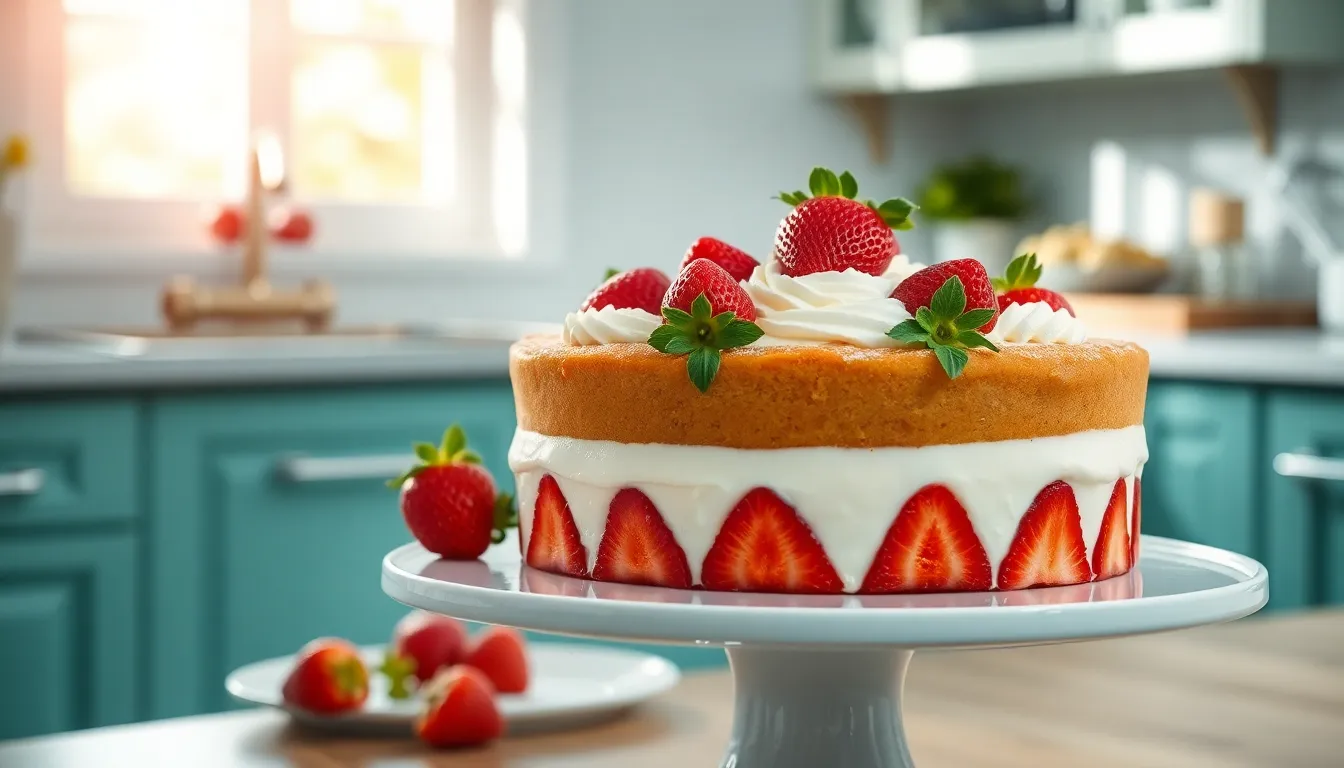
Our strawberry cream cake becomes even more delicious when prepared ahead of time. We recommend assembling the entire cake and allowing it to chill in the refrigerator for optimal results. Based on expert testing, overnight chilling produces the best texture and creates cleaner slices when serving.
Complete Assembly Timeline
| Advance Preparation Time | Storage Method | Results |
|---|---|---|
| 4 hours minimum | Refrigerated | Good texture and stability |
| Overnight (8-12 hours) | Refrigerated | Best texture and clean slicing |
| Up to 24 hours | Refrigerated with protection | Optimal flavor development |
We can assemble our strawberry cream cake up to one day before serving. For overnight storage, we insert wooden skewers or toothpicks into the cake surface to protect any decorative elements from touching plastic wrap or cake covers.
Component Preparation Strategy
Breaking down the preparation allows us maximum flexibility. We can prepare individual components separately and store them until assembly day.
Cake Layers: Our baked cake layers stay fresh at room temperature for up to two days when wrapped tightly in plastic wrap. For longer storage, we freeze the wrapped layers for up to three months.
Whipped Cream: We prepare our stabilized whipped cream and store it in a tightly sealed container in the refrigerator. Fresh whipped cream maintains its texture for several hours or overnight when properly covered.
Strawberry Filling: We prepare our strawberry mixture up to 24 hours ahead. The berries release more natural juices during extended chilling, which enhances the overall flavor profile.
Assembly Day Tips
Our make ahead approach requires attention to moisture control. We ensure all strawberries are thoroughly dried after washing to prevent sogginess. Every cake component must reach room temperature before assembly to prevent condensation that could compromise texture.
We apply our crumb coat technique even with advance preparation. This initial thin layer of whipped cream seals in crumbs and creates a smooth foundation for final decorating. The assembled cake benefits from at least four hours of chilling time before serving to achieve proper stability for clean slicing.
Storage Tips
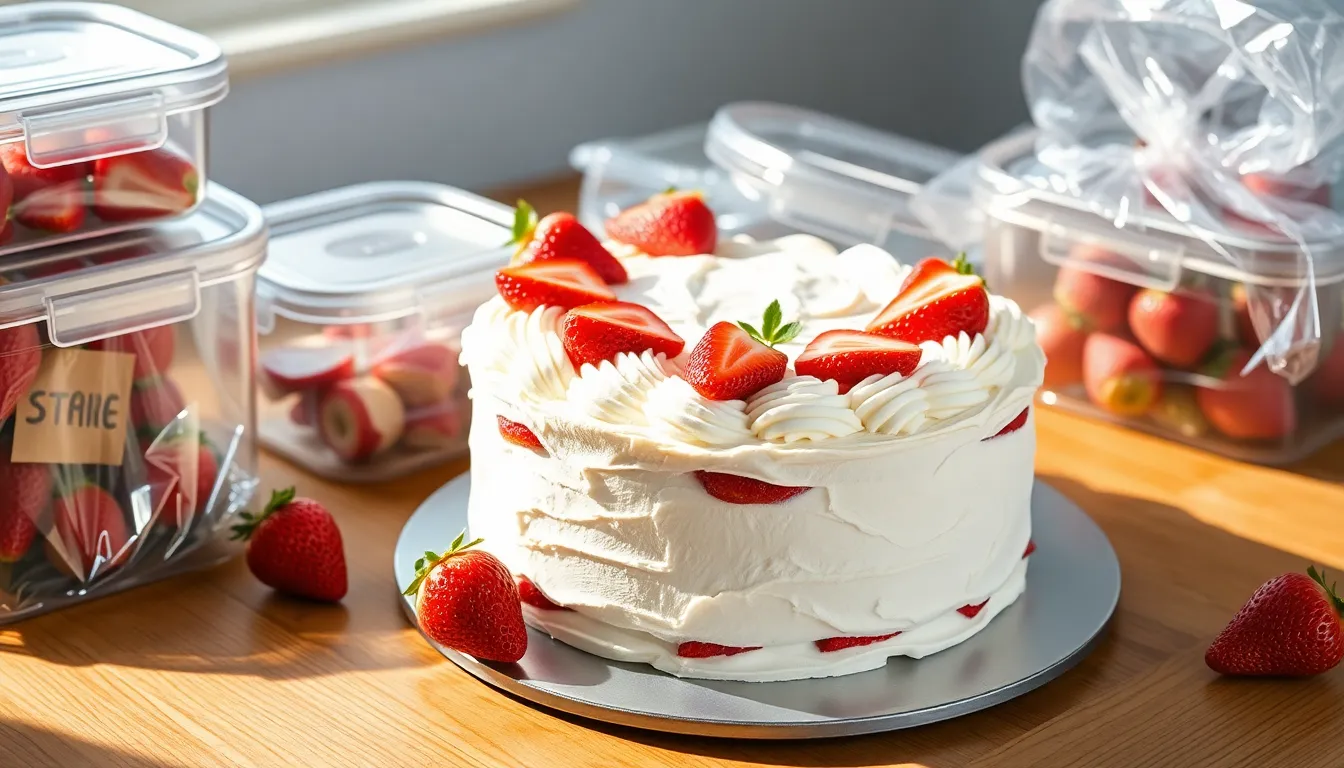
Proper storage ensures our strawberry cream cake maintains its delicate texture and fresh flavor for days after assembly. We recommend different storage methods depending on how long you plan to keep the cake.
Short-Term Storage Options
Refrigeration works best for immediate storage needs. We place the assembled cake in an airtight container or cover it completely with plastic wrap before refrigerating for up to 3 days. The cake tastes best when we allow it to reach room temperature for 15-20 minutes before serving to restore its optimal texture.
Room temperature storage applies only when our cake lacks perishable ingredients like cream frosting or fresh strawberries. We wrap the plain cake layers in aluminum foil or plastic wrap to protect them from dust and moisture for several days at room temperature.
Long-Term Storage Answers
Freezing extends our cake’s life significantly when properly executed. We wrap the assembled cake thoroughly in plastic wrap followed by aluminum foil before freezing for up to 1 month. Individual cake layers freeze for up to 3 months when wrapped separately. Thawing requires overnight refrigeration or several hours at room temperature before serving.
Special Storage Considerations
Frosting protection demands extra attention during storage preparation. We refrigerate the frosted cake for 20 to 30 minutes to firm the frosting surface before wrapping. Strategic placement of toothpicks prevents wrapping materials from touching and damaging the frosting design.
Assembly timing affects storage flexibility significantly. Some recipes require serving within 4 hours of assembly due to moisture content and ingredient stability. Our strawberry cream cake maintains quality longer due to gelatin stabilization in the whipped cream.
| Storage Method | Duration | Temperature | Special Notes |
|---|---|---|---|
| Refrigerated | 3 days | 35-40°F | Cover tightly; bring to room temp before serving |
| Room Temperature | 2-3 days | 68-72°F | Only for unfrosted layers |
| Frozen (assembled) | 1 month | 0°F | Double wrap; thaw slowly |
| Frozen (layers only) | 3 months | 0°F | Wrap individually |
We always label stored cakes with preparation dates to track freshness accurately. Proper storage techniques preserve both the visual appeal and delicious taste that makes our strawberry cream cake a memorable dessert experience.
Serving Suggestions
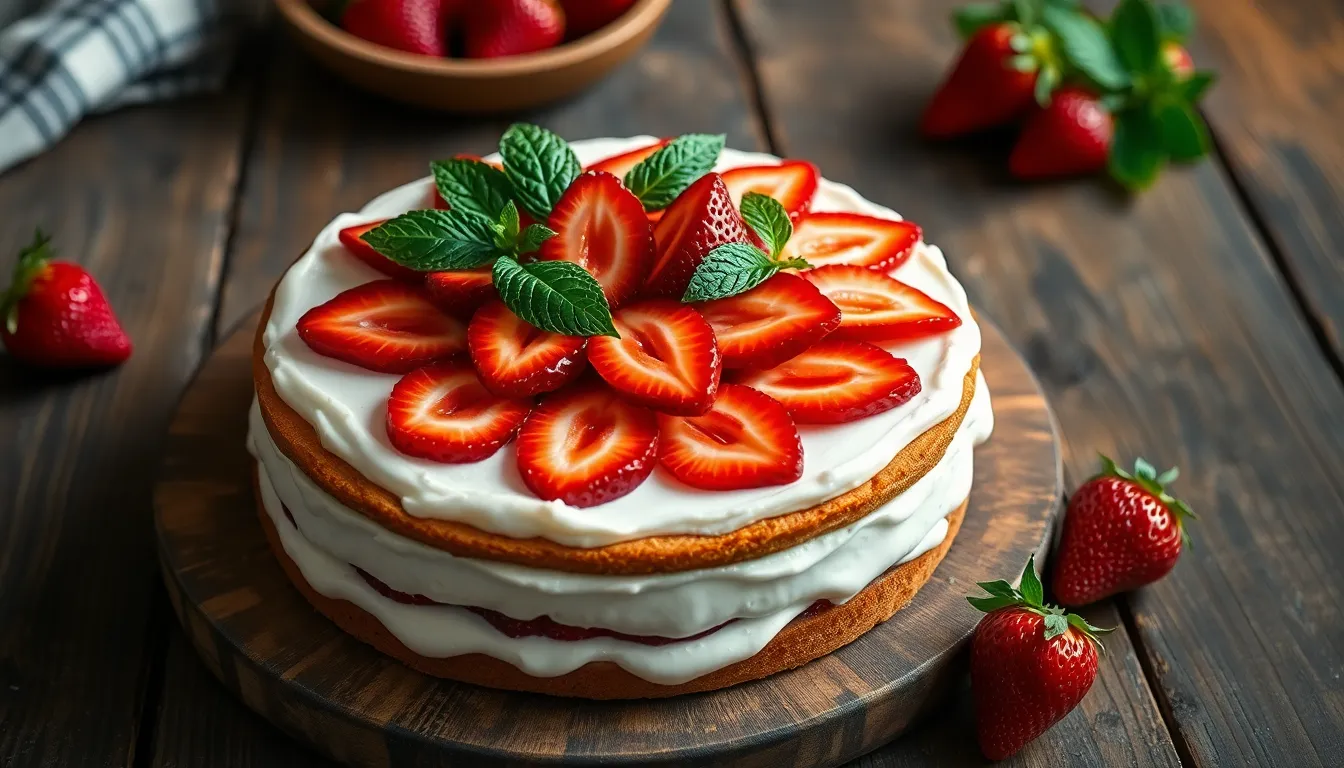
We recommend serving strawberry cream cake chilled for the best experience. Refrigeration allows the layers to set properly and makes slicing significantly easier.
Optimal Chilling Time
Allow the assembled cake to chill for a minimum of 2 to 4 hours before serving. Overnight refrigeration produces optimal results with cleaner cuts and enhanced flavor melding.
| Chilling Duration | Result Quality |
|---|---|
| 2-4 hours minimum | Good layer stability |
| Overnight | Optimal texture and slicing |
Garnishing Techniques
Fresh strawberry slices create the most appealing presentation when arranged on top of the cake. Whole berries provide natural color contrast against the white cream. Freeze-dried strawberry pieces add concentrated flavor and visual interest.
We suggest sprinkling crushed graham crackers over the whipped cream before adding fresh strawberries. This technique creates delightful texture contrast that complements the smooth cream layers.
Professional Slicing Method
Use a sharp serrated knife after chilling to maintain neat layers. Clean the blade between cuts to prevent cream from dragging between slices. This approach ensures each portion maintains its visual appeal.
Elegant Presentation Ideas
Mint leaves offer a fresh garnish option that enhances both appearance and aroma. Edible flowers create an elegant touch for special occasions. These decorative elements elevate the cake’s presentation without overwhelming the strawberry theme.
Beverage Pairings
Sparkling wine or champagne complements the cake’s light and fruity profile perfectly. The effervescence enhances the dessert’s delicate flavors while providing a sophisticated dining experience.
Individual Serving Options
Mini versions can be created using small pans for individual portions. Apply the same layering and garnishing principles while adjusting quantities proportionally. These personal-sized cakes work exceptionally well for formal events or portion control.
Storage During Service
Keep the cake refrigerated until ready to serve to maintain freshness. Remove from refrigeration just before slicing to ensure the cream layers remain stable during presentation.
Conclusion
We’ve walked you through every aspect of creating the perfect strawberry cream cake from selecting the finest ingredients to mastering professional assembly techniques. This showstopping dessert combines simplicity with elegance making it an ideal choice for both novice bakers and experienced home chefs.
The key to success lies in the details: using peak-season strawberries properly chilling your components and allowing adequate time for the flavors to meld together. With our comprehensive guide you’re equipped to create a bakery-quality cake that’ll impress at any gathering.
Remember that patience is your greatest tool when assembling this delicate dessert. Take your time with each layer and don’t rush the chilling process. Your efforts will be rewarded with a stunning cake that tastes as incredible as it looks.
Frequently Asked Questions
What makes strawberry cream cake perfect for spring and summer?
The strawberry cream cake combines fluffy vanilla sponge, whipped cream, and fresh strawberries, creating a light and refreshing dessert ideal for warmer weather. Using peak-season strawberries ensures maximum flavor and sweetness, while the airy texture makes it less heavy than winter desserts, perfect for outdoor gatherings and celebrations.
What are the essential ingredients for strawberry cream cake?
Key ingredients include all-purpose flour, baking powder, unsalted butter, eggs, and vanilla for the cake layers. For the filling, you’ll need fresh strawberries, sugar, lemon juice, and cornstarch. The whipped cream requires heavy cream, powdered sugar, gelatin, and vanilla. Fresh strawberries, mint leaves, and powdered sugar complete the garnish.
What equipment do I need to make this cake?
Essential tools include a stand or handheld mixer, three 8-inch cake pans, multiple mixing bowls, and a kitchen scale. You’ll also need silicone spatulas, offset spatulas, piping bags, a flour sifter, and a fine mesh strainer. For strawberry prep, use a huller or sharp paring knife to ensure clean, even cuts.
How do I properly prepare the strawberries for the cake?
Wash strawberries gently under cold water, then hull and slice them evenly for consistent distribution. Combine chopped strawberries with sugar to create a natural syrup, which enhances flavor and helps bind the filling. This preparation ensures the strawberries integrate perfectly into the whipped cream without making it watery.
What’s the secret to perfect whipped cream for layering?
Chill your mixing bowl and beaters beforehand for best results. Whip heavy cream with powdered sugar and vanilla until soft peaks form, being careful not to over-whip. Adding dissolved gelatin helps stabilize the cream, preventing it from deflating during assembly and ensuring clean, stable layers throughout the cake.
How do I assemble the strawberry cream cake properly?
Start with the first cake layer, add strawberry cream filling, then repeat with remaining layers. Apply a thin crumb coat of whipped cream first, then add the final smooth frosting layer. Handle gently and work patiently to maintain neat layers. Refrigerate between steps to help set each layer properly.
Can I make strawberry cream cake ahead of time?
Yes, this cake actually improves when made ahead. Assemble the cake and refrigerate overnight for best texture and cleaner slices. Individual components can be prepared separately: cake layers freeze for up to 3 months, and the assembled cake can be refrigerated for up to 3 days or frozen for 1 month.
How should I store leftover strawberry cream cake?
Store the cake in an airtight container in the refrigerator for up to 3 days to maintain freshness. For longer storage, wrap tightly and freeze for up to 1 month. Always keep the cake chilled due to the whipped cream and fresh strawberries, and label with preparation date to track freshness.
What’s the best way to serve strawberry cream cake?
Serve the cake chilled for optimal taste and texture. Chill for 2-4 hours or overnight before serving for enhanced flavor and cleaner cuts. Use a sharp knife wiped clean between slices to maintain neat presentation. Garnish with fresh strawberry slices, mint leaves, or edible flowers just before serving.
What beverages pair well with strawberry cream cake?
Sparkling wine or champagne complements the cake’s fresh, fruity flavors beautifully. Other excellent pairings include light white wines, coffee, or herbal teas like chamomile. For non-alcoholic options, try sparkling water with lemon, iced tea, or milk. The cake’s delicate flavors pair best with lighter, refreshing beverages.

