We’ve all been there – eagerly opening the oven door expecting perfectly puffy cookies only to find sad flat discs staring back at us. It’s one of the most frustrating baking moments that leaves us questioning everything we thought we knew about cookie making.
Flat cookies aren’t just a cosmetic issue – they affect texture taste and that satisfying bite we’re all craving. The good news? There’s almost always a simple explanation behind this common baking mishap. From ingredient temperatures to mixing techniques several factors can transform our dream cookies into pancake-thin disappointments.
Understanding why cookies spread too much during baking empowers us to troubleshoot and prevent this issue in future batches. We’ll walk you through the most common culprits and share proven answers that’ll have you baking picture-perfect cookies every time.
Why Are My Cookies Flat: Common Causes
Understanding the root causes of flat cookies helps us troubleshoot our baking issues and achieve the perfect cookie texture every time. Let’s examine the most frequent culprits behind this frustrating problem.
Too Much Butter or Oil
Excess fat creates cookies that spread too quickly in the oven before the structure sets. We often see this happen when recipes call for softened butter but we accidentally add too much or when we substitute oil without adjusting quantities. Fat acts as a tenderizer that weakens the cookie’s structure and promotes spreading. When our cookie dough contains too much butter or oil it becomes overly soft and loses its ability to hold shape during baking.
Insufficient Flour
Not enough flour leaves our cookie dough without adequate structure to maintain its shape. Flour provides the protein framework that helps cookies hold their form as they bake. We sometimes accidentally under-measure flour when we scoop it directly from the container instead of spooning it into our measuring cup. Humid weather can also affect flour measurements since moisture in the air makes flour pack more densely.
Overmixing the Dough
Excessive mixing develops too much gluten in our cookie dough which can lead to tough flat cookies. We should mix just until ingredients combine to avoid activating the gluten proteins unnecessarily. Overmixing also incorporates too much air into the dough which can cause cookies to rise initially then collapse and spread. Electric mixers make it easy to overmix so we recommend using the lowest speed setting and stopping as soon as we see our ingredients come together.
Wrong Oven Temperature
Baking at too low a temperature allows cookies to spread before the edges set properly. We need sufficient heat to create steam that helps cookies rise and to set the structure quickly. An oven thermometer helps us verify our actual oven temperature since many ovens run hot or cold compared to their settings. Preheating for at least 15 minutes ensures our oven reaches the correct temperature throughout.
Old or Inactive Leavening Agents
Expired baking soda or baking powder fails to provide the lift our cookies need to rise properly. We should replace baking soda every 18 months and baking powder every 12 months for optimal results. Testing our leavening agents before baking helps prevent flat cookie disasters. We can test baking soda by mixing a small amount with vinegar to see if it fizzes and test baking powder by adding it to hot water.
Using Melted Instead of Softened Butter
Melted butter creates a completely different cookie texture than properly softened butter. We need softened butter to cream properly with sugar which incorporates air and creates structure. Melted butter lacks the ability to trap air during the creaming process and produces cookies that spread excessively. Room temperature butter should give slightly when pressed but still hold its shape.
Too Much Sugar
Excessive sugar causes cookies to spread more because sugar becomes liquid when heated. We see this especially with brown sugar which contains more moisture than white sugar. Sugar also lowers the temperature at which proteins coagulate so our cookie structure sets later in the baking process. Measuring sugar accurately and following recipe ratios prevents this spreading issue from occurring.
Essential Ingredients for Perfect Cookies
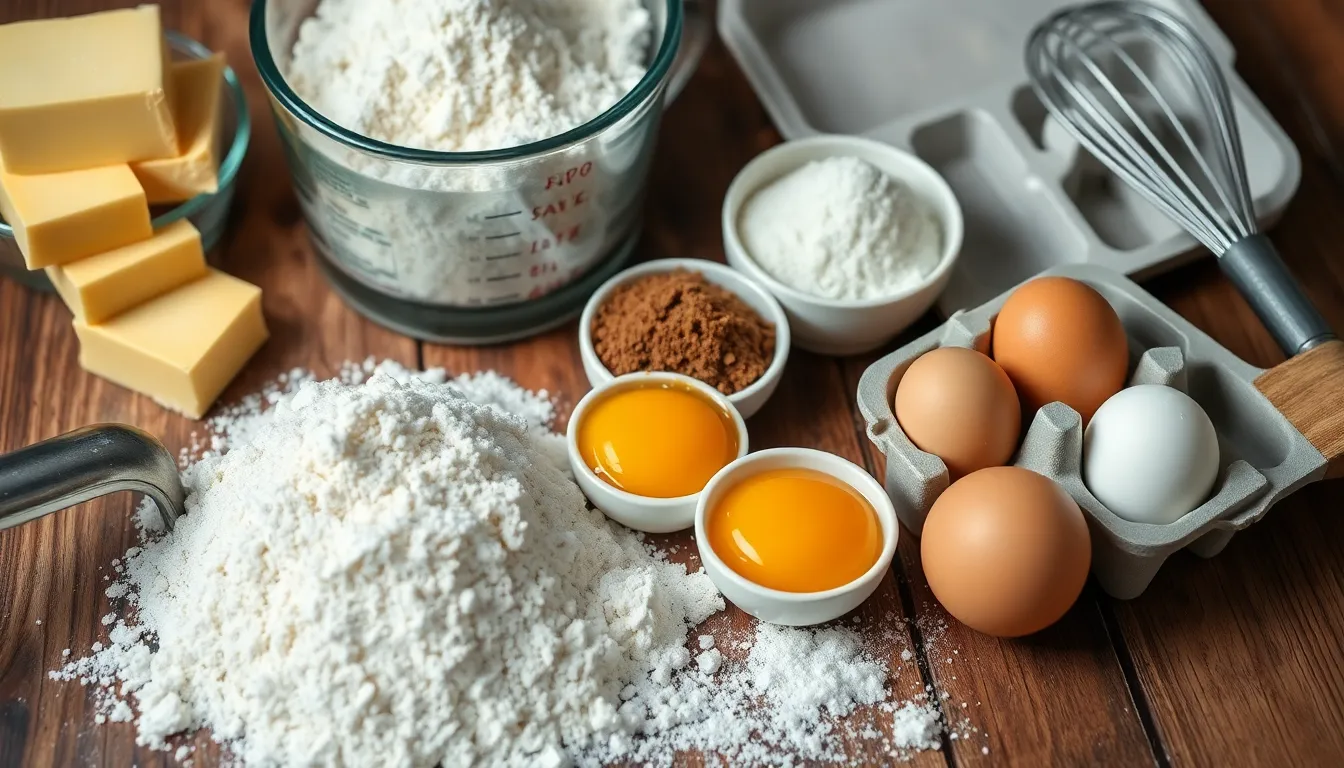
The foundation of any great cookie lies in understanding how each ingredient contributes to the final result. When we master these core components and their proper handling, we can consistently achieve cookies with the perfect shape and texture.
Flour Types and Measurements
All-purpose flour serves as the backbone of most cookie recipes, providing the essential structure that prevents excessive spreading. We need to measure flour accurately since too little flour creates dough that lacks the framework necessary to hold its shape during baking.
The measurement technique makes a important difference in our results. Scooping flour directly from the bag often leads to inconsistent amounts that can throw off the entire recipe. We recommend using a kitchen scale to weigh flour for the most reliable consistency in our baking.
| Measurement Issue | Result | Solution |
|---|---|---|
| Too little flour | Excessive spreading and flat cookies | Use kitchen scale for accuracy |
| Inconsistent scooping | Variable cookie results | Weigh ingredients instead of volume measuring |
Butter Temperature and Consistency
Butter temperature plays a crucial role in cookie structure and spread. When butter becomes too soft or melted, our cookies will spread excessively before the dough has a chance to set in the oven.
Over-creaming butter and sugar creates another common problem we often encounter. Mixing these ingredients too long or at high speed generates excess air and heat, causing the butter to lose its emulsion. This breakdown releases fat prematurely during baking, resulting in flat, greasy cookies that lack the proper texture we desire.
Sugar Ratios and Types
Sugar content directly affects how much our cookies will spread during baking. Excessive sugar increases the dough’s liquidity as it melts in the oven, leading to cookies that flatten beyond our expectations.
The type of sugar we choose also impacts the final result. Using only granulated sugar instead of incorporating brown sugar can reduce chewiness and increase spread. Brown sugar contains molasses, which adds moisture and helps create a more tender, less spread-prone cookie.
Eggs and Binding Agents
Eggs serve dual purposes in our cookie dough by providing both structure and moisture. The right amount creates proper binding between ingredients, but we must balance this carefully.
Too many eggs can make our cookies cakey rather than achieving the desired texture. Conversely, insufficient eggs may fail to bind the ingredients properly, contributing to unwanted spreading during the baking process.
Leavening Agents
Baking soda and baking powder control the rise and overall structure of our cookies. These leavening agents must be measured precisely since both too much and too little can affect the final outcome.
Incorrect leavening amounts may cause cookies to collapse after an initial rise or fail to achieve proper lift altogether. Either scenario results in the flat cookies we work so hard to avoid in our baking endeavors.
Equipment Needed
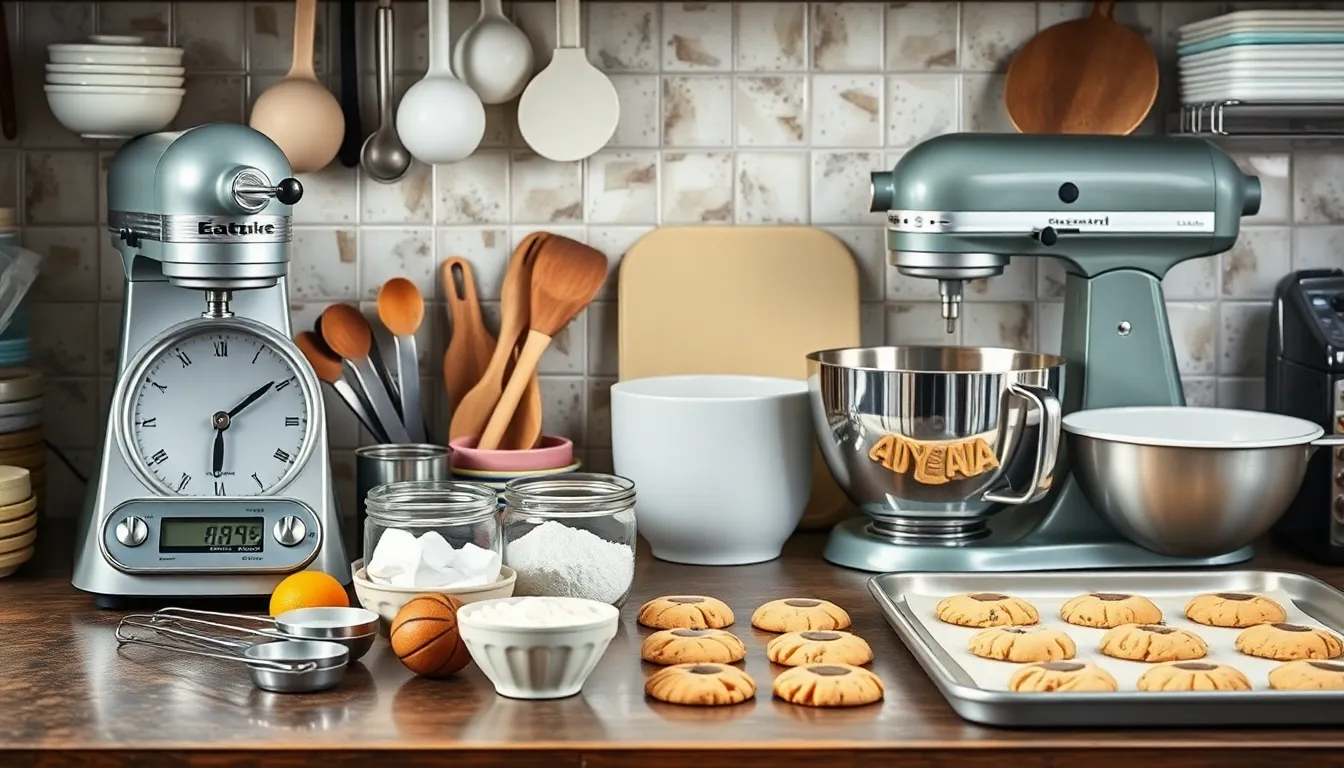
Having the right equipment makes all the difference when preventing flat cookies. We’ve compiled the essential tools that will help you achieve perfectly shaped cookies every time.
Measuring Tools
Accurate measurements form the foundation of successful cookie baking. A digital kitchen scale ensures precise flour measurements since too little flour causes excessive spreading. We recommend weighing ingredients rather than using volume measurements for consistency.
Standard measuring cups and spoons serve as backup tools for smaller quantities. Dry measuring cups work best for flour while liquid measuring cups handle wet ingredients accurately. Quality measuring spoons help portion leavening agents correctly since even small variations affect cookie structure.
Mixing Equipment
Proper mixing equipment controls dough development and temperature. A stand mixer or hand mixer creams butter and sugar effectively without over-incorporating air that leads to flat cookies. We suggest using medium speed to prevent over-creaming which causes butter emulsion separation.
Large mixing bowls provide adequate space for combining ingredients without spillage. Rubber spatulas help scrape bowl sides and fold ingredients gently to avoid overmixing. These tools maintain proper dough texture while preventing gluten overdevelopment.
Baking Sheets and Pans
Cookie baking success depends heavily on proper baking surfaces. Light-colored heavy-duty baking sheets distribute heat evenly and prevent excessive browning that can cause spreading. Dark pans absorb more heat and may cause cookies to flatten before structure sets.
Parchment paper or silicone baking mats create ideal non-stick surfaces without encouraging spread like greased sheets do. We avoid aluminum foil since it can promote unwanted spreading. An oven thermometer ensures accurate temperatures since incorrect heat levels cause structural failures in cookies.
Instructions for Fixing Flat Cookie Dough
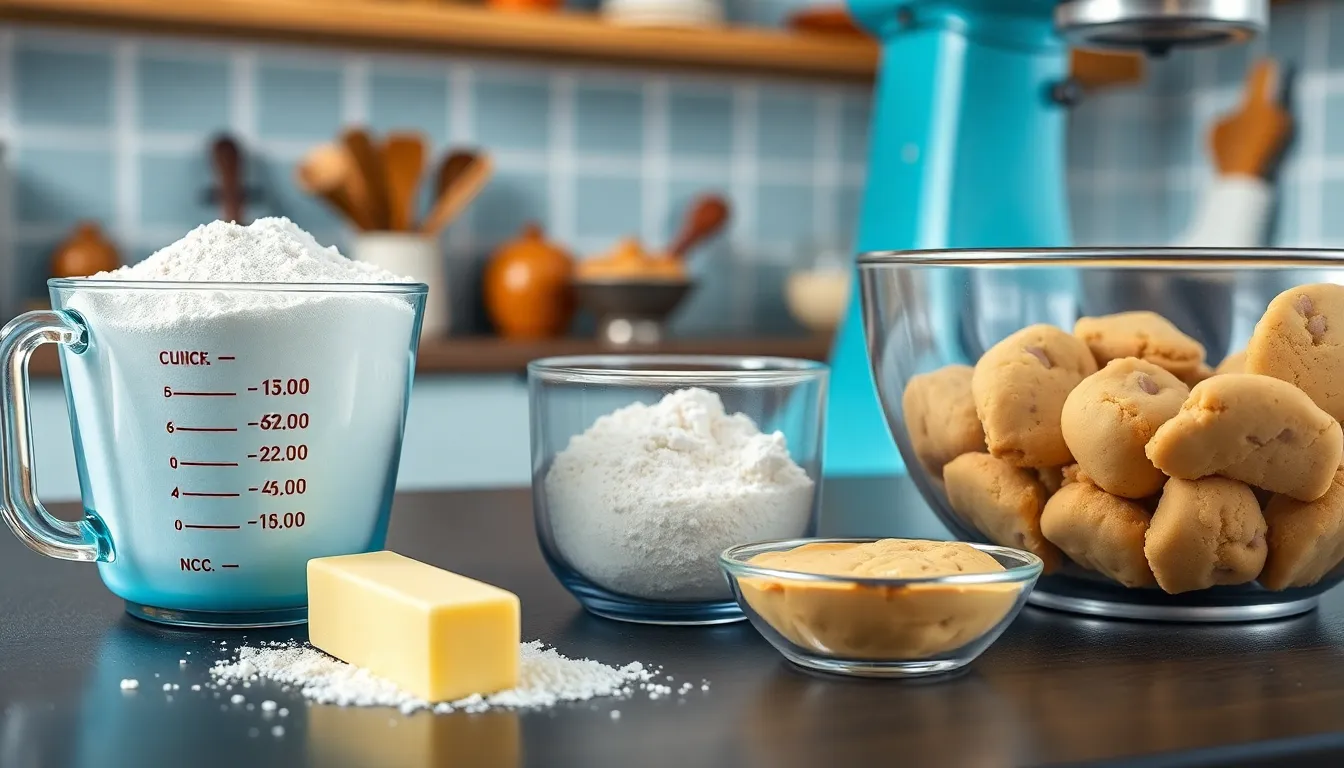
Now that we understand the causes behind flat cookies, let’s explore practical answers to fix your cookie dough and prevent future spreading disasters. These targeted adjustments will help restore structure and achieve the perfect cookie texture.
Adjusting Flour Content
Accurate flour measurement forms the foundation of properly structured cookies. We recommend using a kitchen scale to measure flour by weight rather than volume, as this eliminates the guesswork that leads to inconsistent results. When flour content falls short, cookies lack the structural framework needed to maintain their shape during baking.
Start by checking your flour measurement against the recipe’s requirements. If your cookies consistently turn out flat, gradually increase the flour content by adding one tablespoon at a time until you achieve the desired thickness. But, avoid overdoing this adjustment since excessive flour creates dense, cakey cookies that swing too far in the opposite direction.
Proper flour incorporation also matters significantly. Gently fold flour into the wet ingredients just until combined, avoiding aggressive mixing that can develop too much gluten and affect texture.
Correcting Butter Temperature
Butter temperature plays a crucial role in preventing cookie spread during baking. We need room temperature butter that yields slightly to pressure but maintains its shape when pressed. Butter that feels too soft or appears greasy will cause excessive spreading as it melts too quickly in the oven.
Test your butter by pressing it gently with your finger. Properly tempered butter should leave an indentation without your finger sinking completely through. If your butter feels too warm, place it in the refrigerator for 10-15 minutes before using.
When butter temperature seems correct but cookies still spread excessively, chill your prepared dough for 30 minutes to 2 hours before baking. This chilling period helps solidify the butter and prevents cookies from spreading beyond their intended boundaries.
Fixing Overmixed Dough
Overmixing creates several problems that lead to flat cookies, particularly when creaming butter and sugar together. We should limit this creaming process to 2-3 minutes maximum to avoid incorporating excessive air that causes cookies to rise and then collapse into flat shapes.
Set a timer when creaming butter and sugar to prevent accidentally overmixing. The mixture should appear light and fluffy without becoming overly aerated or separating. Stop mixing immediately once you achieve the desired texture.
If you suspect your dough has been overmixed, chilling becomes even more critical. Refrigerate the dough for at least 1 hour to help re-emulsify the butter and sugar mixture. This chilling process helps restore some structure and reduces the likelihood of flat cookies during baking.
Step-by-Step Directions for Perfect Cookies
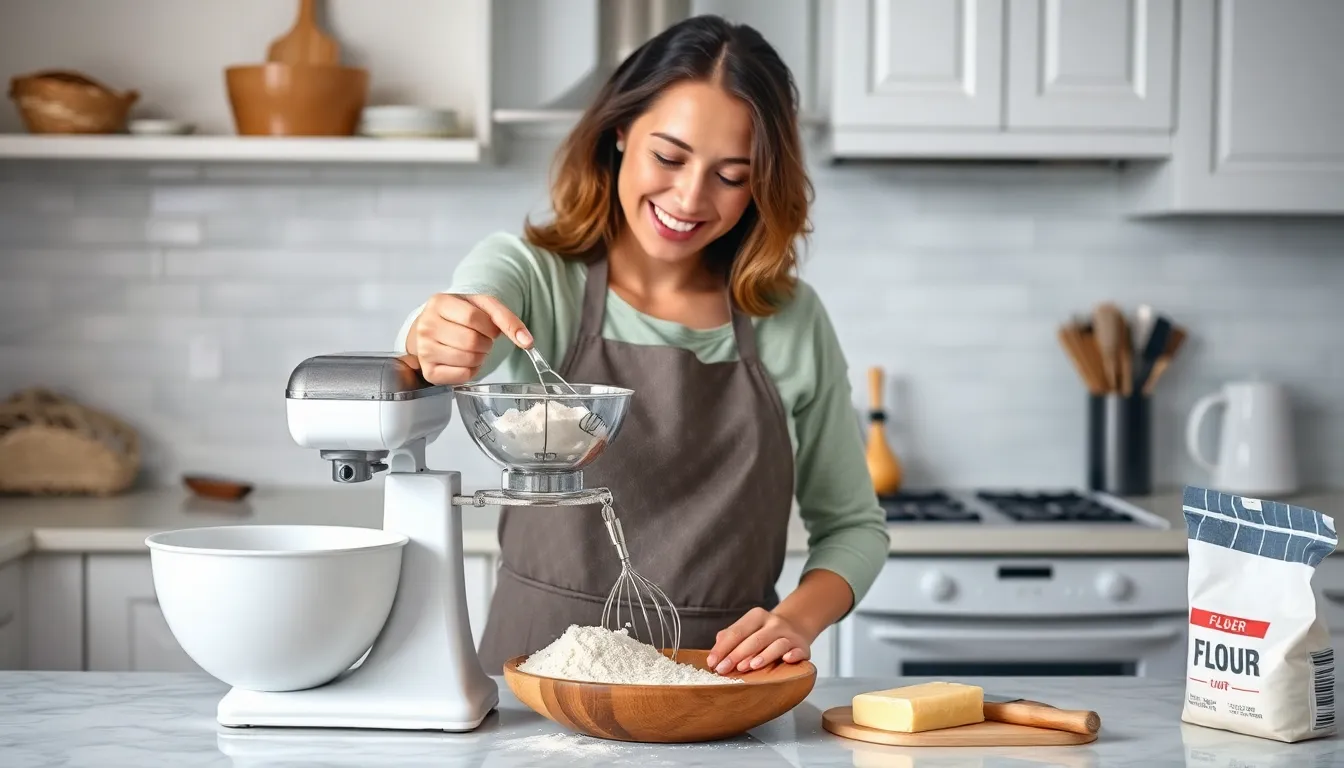
Now that we understand the causes and answers for flat cookies, let’s walk through the exact process to create perfectly shaped cookies every time. Following these precise steps will help you avoid the common pitfalls that lead to disappointing results.
Prep Work
We always begin by measuring our flour accurately using a kitchen scale for the most consistent results. Chill our butter to room temperature by removing it from the refrigerator 30-60 minutes before baking – properly softened butter should yield slightly to pressure but not be mushy or melted.
Our leavening agents need fresh potency to work effectively. We check expiration dates on baking powder and baking soda regularly, replacing them every 6-12 months for optimal rising power.
Line our baking sheets with parchment paper rather than greasing them directly. Room temperature baking sheets prevent immediate spreading when the dough hits the surface.
Mixing the Dough
We cream butter and sugar together for exactly 2-3 minutes until light and fluffy, avoiding the temptation to overmix. Excessive creaming introduces too much air, causing cookies to rise and then collapse flat during baking.
Add eggs one at a time, mixing just until incorporated after each addition. Our dry ingredients get combined separately first, then gradually folded into the wet mixture using the lowest mixer speed or a wooden spoon.
Stop mixing immediately once the flour disappears into the dough. Overmixing develops gluten structure that works against us, creating tough and flat cookies instead of tender ones.
Shaping and Spacing
We chill our cookie dough for 30 minutes minimum if it feels too soft or warm to handle properly. Cold dough holds its shape better during the initial baking phase when structure sets.
Portion our cookies using a cookie scoop or spoons for uniform sizing. Consistent portions ensure even baking and prevent some cookies from spreading while others maintain their shape.
Space cookie portions at least 2 inches apart on our prepared baking sheets. Adequate spacing prevents cookies from merging together as they spread during baking.
Baking Temperature and Time
We preheat our oven completely before baking and verify the actual temperature using an oven thermometer. Many ovens run hot or cold, affecting how cookies set and spread.
Bake cookies at the recipe’s specified temperature without opening the oven door during the first 75% of baking time. Temperature fluctuations from door opening can disrupt the setting process.
Remove cookies when edges appear set but centers still look slightly underdone. Cookies continue cooking on the hot baking sheet after removal, preventing overbaking that can also contribute to flat results.
Troubleshooting Tips
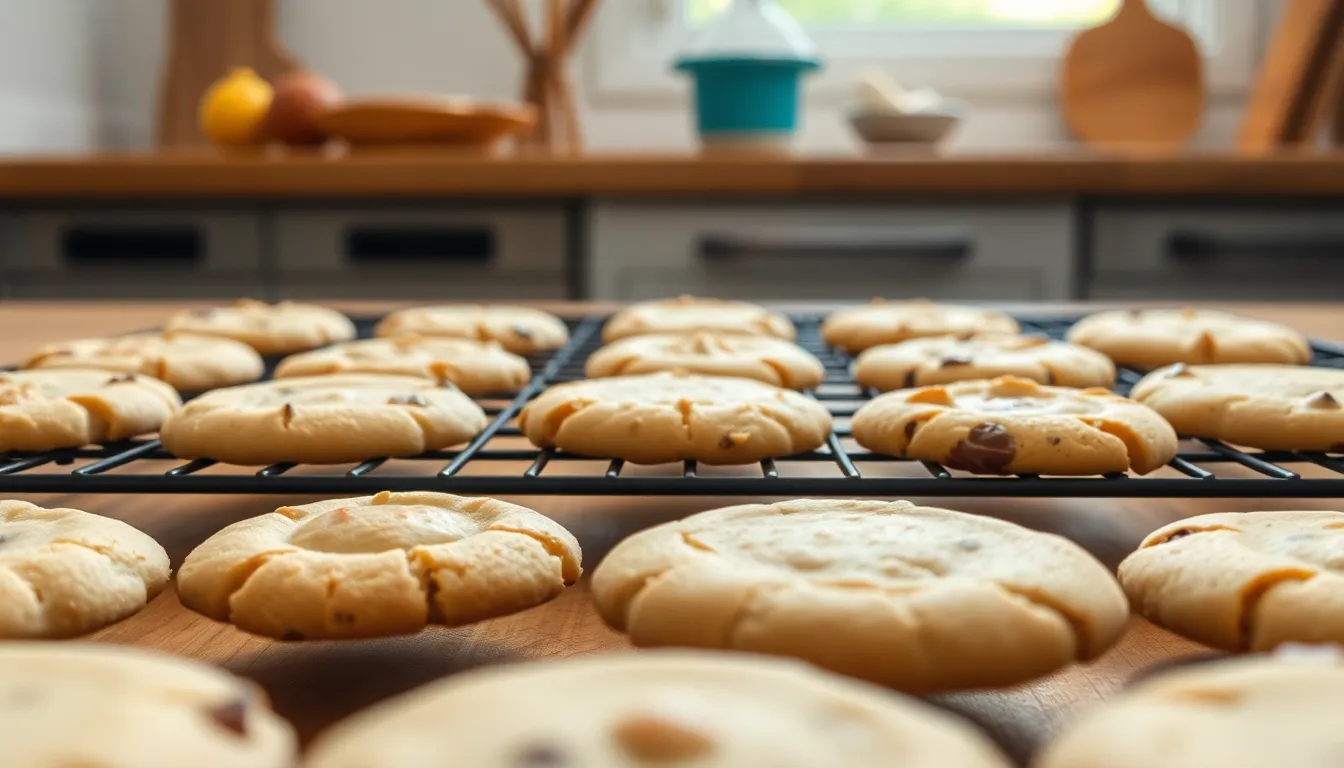
When our cookies still turn out flat even though following proper mixing techniques, we need to examine exact factors that can rescue our baking efforts. These targeted answers address the most common issues that occur during the baking process.
Dough Too Soft Answers
Chilling the dough becomes our first line of defense when we notice the mixture feels too warm or sticky. We recommend refrigerating cookie dough for at least 30 minutes before baking to firm up the butter and prevent excessive spreading.
Using a mix of white and brown sugar helps reduce spread since brown sugar contains more moisture that creates structure. We can adjust our sugar ratios by replacing up to half the white sugar with brown sugar for better cookie stability.
Adding extra flour gradually works when our dough appears too loose or wet. We suggest incorporating one tablespoon at a time until the dough holds its shape when scooped.
Room temperature ingredients create the ideal consistency for mixing without requiring excessive beating. We ensure our eggs and dairy reach room temperature about an hour before baking to maintain proper dough texture.
Oven Calibration Check
Testing our oven temperature with an independent thermometer prevents the disappointment of flat cookies caused by incorrect heat levels. We place an oven thermometer on the center rack and compare readings to our oven’s display settings.
Calibrating temperature discrepancies requires adjusting our baking temperature accordingly. We increase or decrease the setting based on the thermometer reading to achieve accurate baking conditions.
Preheating time affects cookie structure since insufficient heat allows butter to melt before other ingredients set. We allow our oven to preheat for at least 15 minutes before baking to ensure consistent temperatures throughout the baking chamber.
Cooling and Storage Methods
Cooling cookies on the baking sheet for 2-3 minutes allows them to firm up before transfer. We avoid moving warm cookies immediately since they remain soft and prone to breaking or losing shape.
Transferring cookies to a wire rack prevents bottom sogginess that can compromise texture. We use a thin spatula to gently lift each cookie without damaging delicate edges.
Storing completely cooled cookies in airtight containers maintains their intended texture and prevents moisture absorption. We separate cookie layers with parchment paper to prevent sticking and preserve individual shapes.
Prevention Techniques

Understanding the root causes of flat cookies allows us to carry out targeted prevention strategies. These proven techniques help ensure our cookies maintain their shape and achieve the perfect texture every time.
Proper Measuring Methods
We recommend using a kitchen scale to ensure accurate flour measurements, as this precision prevents the common mistake of adding too little flour that leads to flat cookies. When measuring flour with cups, we should spoon it lightly into the measuring cup and level it off with a knife rather than scooping directly from the container. This method prevents packing too much flour, which can result in overly dense cookies.
Digital scales provide the most consistent results, especially when following recipes that list ingredients by weight. We find that even small variations in flour amounts can significantly impact cookie structure and spread. For liquid ingredients, we use clear measuring cups at eye level to ensure accuracy, while dry ingredients require the proper measuring cups designed specifically for that purpose.
Temperature Control
Maintaining proper butter temperature is crucial for preventing excessive cookie spread during baking. We ensure our butter reaches the right consistency by taking it out of the refrigerator 30 to 60 minutes before baking, allowing it to soften but not melt. The ideal butter should give slightly when pressed but still hold its shape.
Oven temperature accuracy plays an equally important role in cookie success. We verify our oven temperature with an oven thermometer, as many ovens run hot or cold, causing fats to melt too quickly before other ingredients can set properly. Preheating the oven completely before baking ensures consistent results, and we avoid placing cookie dough on hot baking sheets that can cause immediate spreading.
Timing Guidelines
We cream butter and sugar for the recommended 2 to 3 minutes to achieve the proper texture without overworking the mixture. Over-creaming can warm the butter and prevent it from holding air pockets, leading to excessive spread during baking. Using a timer helps us maintain consistency across batches.
Baking time requires careful attention to the temperature specified in each recipe. We resist the urge to increase oven temperature to speed up the process, as this can cause structural failure in our cookies. Following the exact timing and temperature guidelines ensures our cookies set properly before the fats have a chance to create excessive spread.
Conclusion
Now we’ve covered all the essential factors that lead to flat cookies and how to prevent them. From proper ingredient measurements and butter temperature to using the right equipment and techniques we can see that perfect cookies are absolutely achievable.
The key is paying attention to details like flour ratios leavening agents and oven temperature while avoiding common mistakes such as overmixing or using melted butter. With these insights we’re confident you’ll be baking beautifully shaped cookies that taste as good as they look.
Remember that baking is both an art and a science. By following these proven methods and maintaining consistency in our approach we’ll never have to wonder “why are my cookies flat” again.
Frequently Asked Questions
Why do my cookies always turn out flat?
Flat cookies are typically caused by too much butter or oil, insufficient flour, overmixing the dough, incorrect oven temperature, or old leavening agents. Using melted butter instead of softened butter and excessive sugar can also contribute to spreading. These factors weaken the cookie structure and prevent proper setting during baking.
How can I measure flour correctly to prevent flat cookies?
Use a digital kitchen scale for the most accurate flour measurements, as this prevents packing too much flour into measuring cups. If using cups, spoon flour into the measuring cup and level it off with a knife. Avoid scooping directly from the bag, which can pack flour and lead to inaccurate measurements.
What’s the proper butter temperature for cookie dough?
Butter should be softened to room temperature, not melted. Properly softened butter should give slightly when pressed but still hold its shape. Melted butter creates excess moisture and fat, leading to cookies that spread too much during baking and lose their intended shape and texture.
How long should I cream butter and sugar together?
Cream butter and sugar for 2-3 minutes until the mixture is light and fluffy. Over-creaming incorporates too much air, which can cause cookies to rise initially then collapse and spread during baking. Under-creaming won’t provide enough structure for the cookies to hold their shape.
What type of baking sheet is best for preventing flat cookies?
Use light-colored, heavy-duty baking sheets for even heat distribution. Dark pans absorb more heat and can cause cookies to spread too quickly. Line sheets with parchment paper or silicone mats instead of greasing them, as excess grease can contribute to unwanted spreading during baking.
How do I know if my oven temperature is accurate?
Use an oven thermometer to verify your oven’s actual temperature, as many ovens run hot or cold. Incorrect temperatures can prevent cookies from setting properly, leading to excessive spreading. An oven that’s too hot causes rapid spreading, while too cool prevents proper structure development.
Should I use brown sugar or white sugar to prevent flat cookies?
Brown sugar can help reduce spread due to its moisture content and acidity, which helps cookies hold their shape better. However, the ratio of sugars matters more than the type. Too much sugar of any kind will cause excessive spreading, so follow recipe measurements carefully.
How should I store cookies to maintain their shape?
Cool cookies completely on a wire rack before storing. Place them in airtight containers with parchment paper between layers to prevent sticking and moisture transfer. Proper storage maintains texture and prevents cookies from becoming soggy or losing their shape over time.


