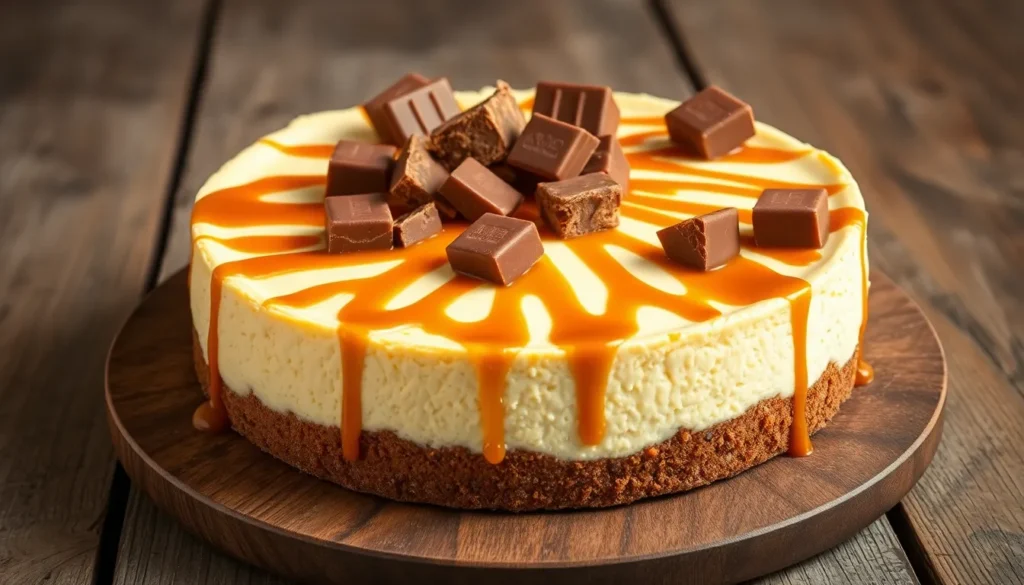
When we first discovered the magic of combining creamy cheesecake with the irresistible sweetness of Caramilk chocolate, we knew we’d stumbled upon dessert perfection. This Caramilk cheesecake transforms the beloved Canadian chocolate bar into a rich and velvety dessert that’ll have your guests begging for the recipe.
We’ve perfected this no-bake version that captures every bit of that signature caramel-filled chocolate flavor while maintaining the smooth texture that makes cheesecake so addictive. The golden swirls of melted Caramilk create stunning visual appeal that’s almost too beautiful to cut into.
What makes this recipe truly special is how the chocolate’s unique caramel center melts seamlessly into the cream cheese base, creating layers of flavor that dance on your tongue. Whether you’re planning a dinner party or simply treating yourself to something extraordinary, this Caramilk cheesecake delivers restaurant-quality results with surprisingly simple techniques.
Ingredients
Our Caramilk cheesecake requires three distinct components that work together to create this indulgent dessert. We’ve organized the ingredients by preparation stage to streamline your baking process.
For the Crust
- 2 cups graham cracker crumbs
- 6 tablespoons unsalted butter, melted
- 3 tablespoons granulated sugar
- 1/4 teaspoon salt
For the Cheesecake Filling
- 32 oz cream cheese, softened to room temperature
- 1 cup granulated sugar
- 4 large eggs, room temperature
- 1/2 cup sour cream
- 1/4 cup heavy cream
- 8 oz Caramilk chocolate bars, melted and cooled slightly
- 2 teaspoons vanilla extract
- 1/4 teaspoon salt
For the Caramilk Topping
- 4 oz Caramilk chocolate bars, chopped into small pieces
- 1/2 cup heavy cream
- 2 tablespoons unsalted butter
- 1/4 cup caramel sauce
- Additional Caramilk chocolate pieces for garnish
Equipment Needed
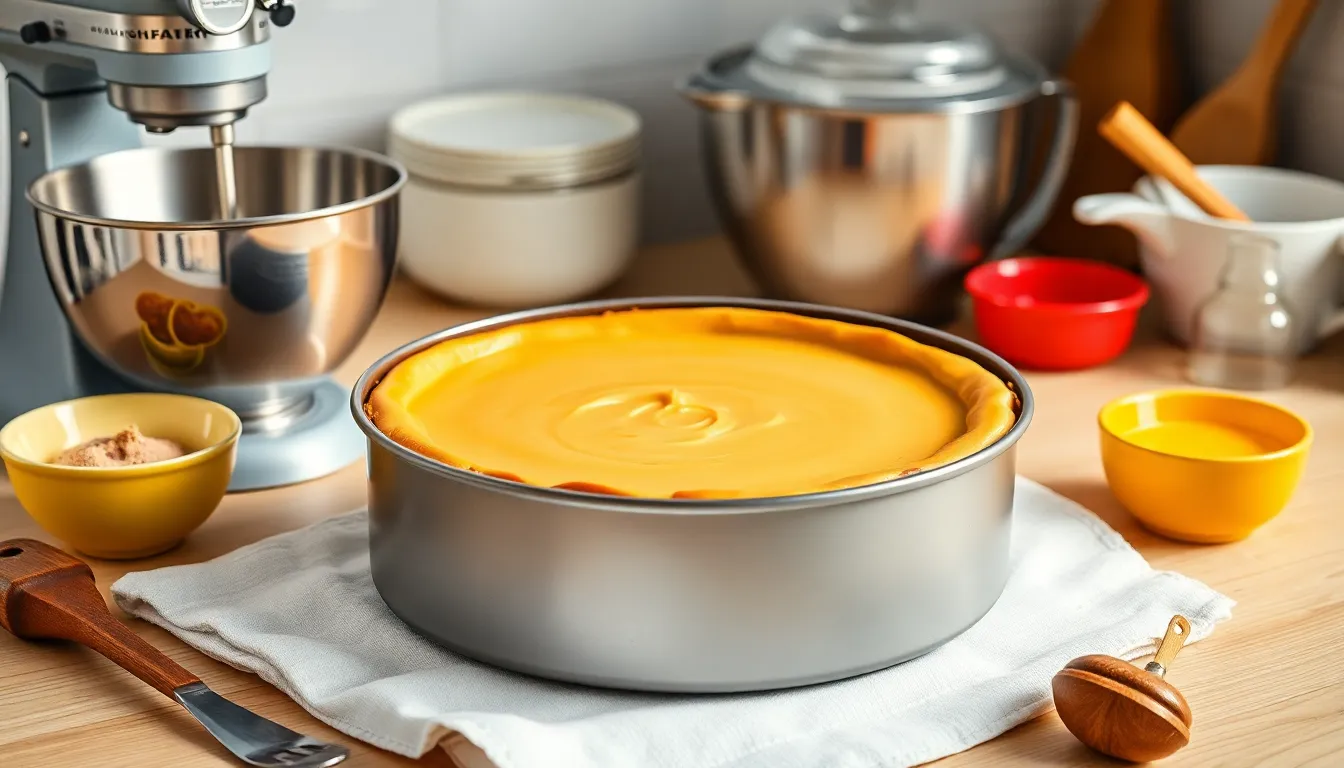
Creating our perfect Caramilk cheesecake requires exact tools that ensure professional results every time. We recommend gathering all equipment before starting to streamline the preparation process.
A 22 cm (9-inch) springform pan serves as our most essential tool for this recipe. This specialized pan allows easy removal of the delicate cheesecake without damaging its smooth surface or carefully crafted layers.
Our electric mixer or handheld beaters become crucial for achieving the silky texture that defines exceptional cheesecake. We use this equipment to blend cream cheese, sugar, and cream into a perfectly smooth filling without lumps or air bubbles.
For the crust preparation, we need either a food processor or the combination of a rolling pin and zip-top bag. The food processor creates uniform crumbs quickly, while the rolling pin method offers more control over texture if preferred.
Mixing bowls in both large and medium sizes organize our ingredients efficiently throughout the process. We designate the large bowl for the main filling and the medium bowl for preparing the crust mixture.
A spatula or wooden spoon helps us fold ingredients gently and scrape bowl sides thoroughly. This tool ensures we incorporate every bit of our precious Caramilk chocolate into the mixture.
Measuring cups and spoons guarantee accuracy in our recipe proportions. Precise measurements become particularly important when working with chocolate and cream ratios that affect the final setting consistency.
| Equipment | Size/Type | Primary Use |
|---|---|---|
| Springform pan | 22 cm (9-inch) | Easy cheesecake removal |
| Electric mixer | Handheld or stand | Smooth filling texture |
| Food processor | Standard | Uniform crust crumbs |
| Mixing bowls | Large and medium | Ingredient organization |
| Measuring tools | Cups and spoons | Recipe accuracy |
Instructions
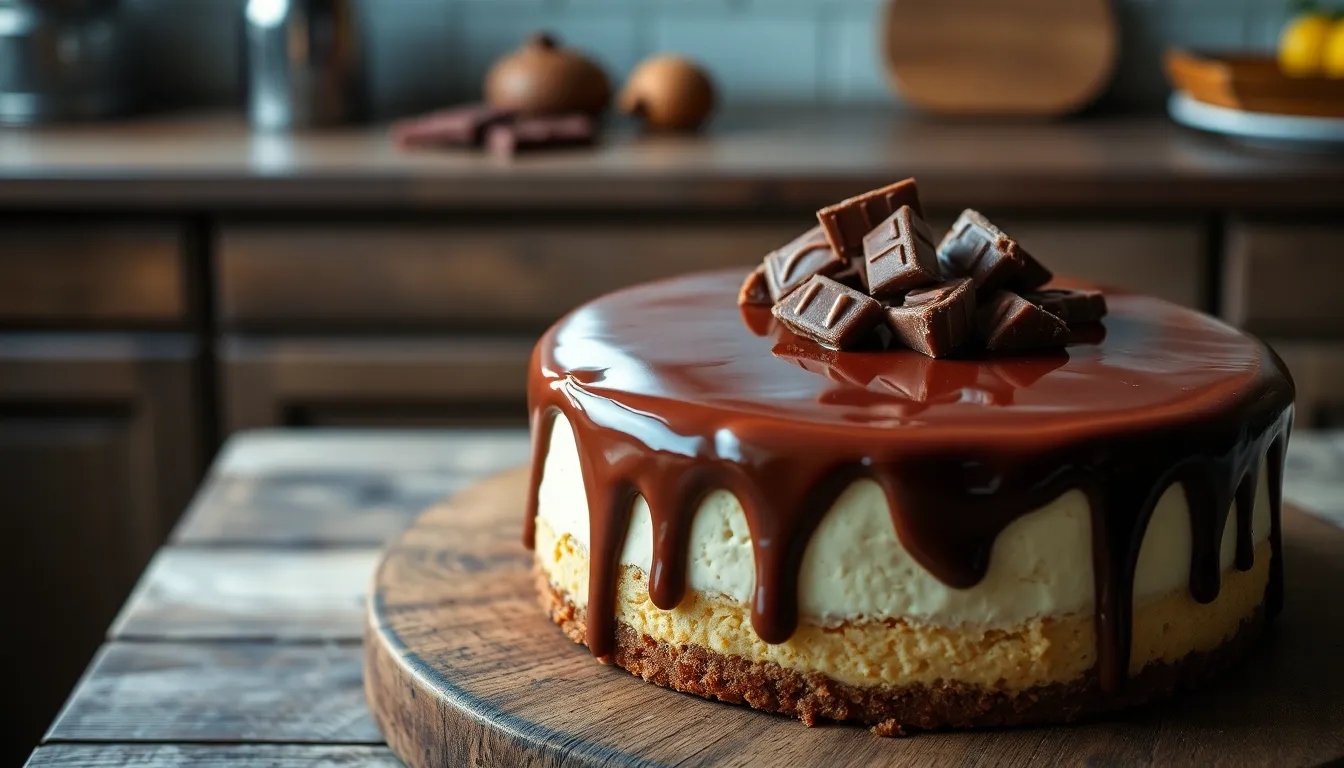
We’ll guide you through each step to create this impressive Caramilk cheesecake that delivers restaurant-quality results. Follow our detailed process to achieve the perfect balance of creamy texture and rich Caramilk flavor.
Prep the Crust
We start by crushing our graham crackers into fine crumbs using a food processor until we achieve a consistent texture. Combine the crumbs with melted butter and sugar in a large bowl until the mixture resembles wet sand and holds together when pressed. Press this mixture firmly into the bottom of our 22 cm springform pan using the back of a measuring cup or our fingers. Create an even layer that extends slightly up the sides for optimal structure. Chill the prepared crust in the refrigerator while we prepare the filling to ensure it sets properly.
Make the Cheesecake Filling
We begin by allowing our cream cheese to reach room temperature for easier mixing and smoother results. Beat the softened cream cheese with an electric mixer on medium speed until completely smooth and free of lumps. Gradually add sugar and continue beating until the mixture becomes light and fluffy. Melt our Caramilk chocolate using 30-second intervals in the microwave or over a double boiler until smooth and glossy. Mix the melted chocolate into our cream cheese mixture until fully incorporated. Pour in the heavy cream and vanilla extract while beating on low speed until the mixture thickens to a mousse-like consistency. Gently fold in caramel sauce by hand to create beautiful swirls throughout the filling.
Bake the Cheesecake
Most Caramilk cheesecakes follow the no-bake method which we recommend for optimal texture and ease. We skip the traditional baking step to maintain the light and creamy consistency that makes this dessert special. The chilling process provides sufficient setting without the risk of cracking or overcooking that can occur with baked versions. This approach also preserves the delicate Caramilk flavor profile that might be altered through heat exposure.
Prepare the Caramilk Topping
We create our luxurious topping by combining chopped Caramilk chocolate with heavy cream in a microwave-safe bowl. Heat the mixture in 20-second intervals stirring between each session until we achieve a smooth and glossy consistency. Stir in butter while the mixture is still warm to add extra richness and shine. Allow the topping to cool slightly before application to prevent melting the cheesecake layer beneath. Reserve additional Caramilk pieces for garnishing the finished dessert.
Assemble and Chill
We carefully pour our prepared filling over the chilled crust using a spatula to spread it evenly to the edges. Smooth the surface with an offset spatula to create a professional appearance. Drizzle our prepared Caramilk topping over the surface in decorative patterns or spread it evenly for complete coverage. Garnish with reserved chocolate pieces while the topping is still slightly warm for better adhesion. Cover the cheesecake with plastic wrap and refrigerate for at least 6 hours or overnight to ensure proper setting and optimal flavor development.
Directions for Serving
We recommend running a thin knife around the edges of our chilled Caramilk cheesecake before removing it from the springform pan. This technique prevents the cheesecake from cracking or sticking to the sides during removal.
Carefully release the springform mechanism by unhooking the latch and gently lifting the outer ring upward. The cheesecake should remain intact on the pan’s base for easy handling.
Transfer the entire cheesecake to our serving plate by sliding a large spatula underneath the base. We can also remove the bottom of the springform pan by carefully sliding the cheesecake onto the serving plate using parchment paper as a guide.
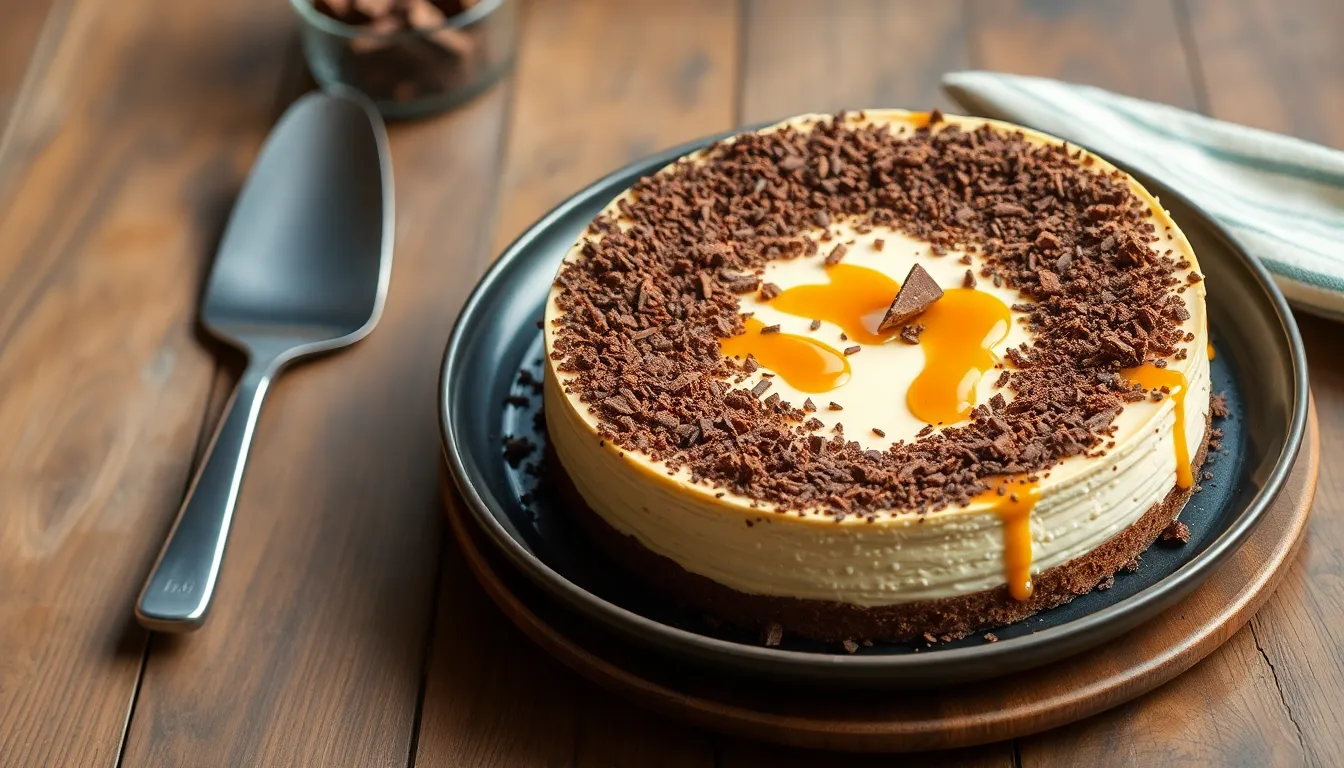
Grated Caramilk chocolate makes an elegant garnish that enhances both the visual appeal and flavor profile of our dessert. We sprinkle the chocolate generously over the surface just before serving to maintain its texture and appearance.
A drizzle of caramel sauce creates beautiful patterns when applied in circular motions across the top. This additional caramel element reinforces the Caramilk flavor while adding a glossy finish to our presentation.
We slice the cheesecake using a sharp knife dipped in warm water between each cut. This method ensures clean slices without dragging the creamy filling or disturbing the decorative toppings.
Our Caramilk cheesecake must be served chilled to maintain its proper consistency and optimal flavor. The refrigerated temperature preserves the smooth texture that makes this no-bake dessert so appealing.
Storage in the refrigerator keeps our cheesecake fresh for several days when covered with plastic wrap or stored in an airtight container. We maintain the same serving temperature throughout the storage period for consistent results.
Make-Ahead Instructions
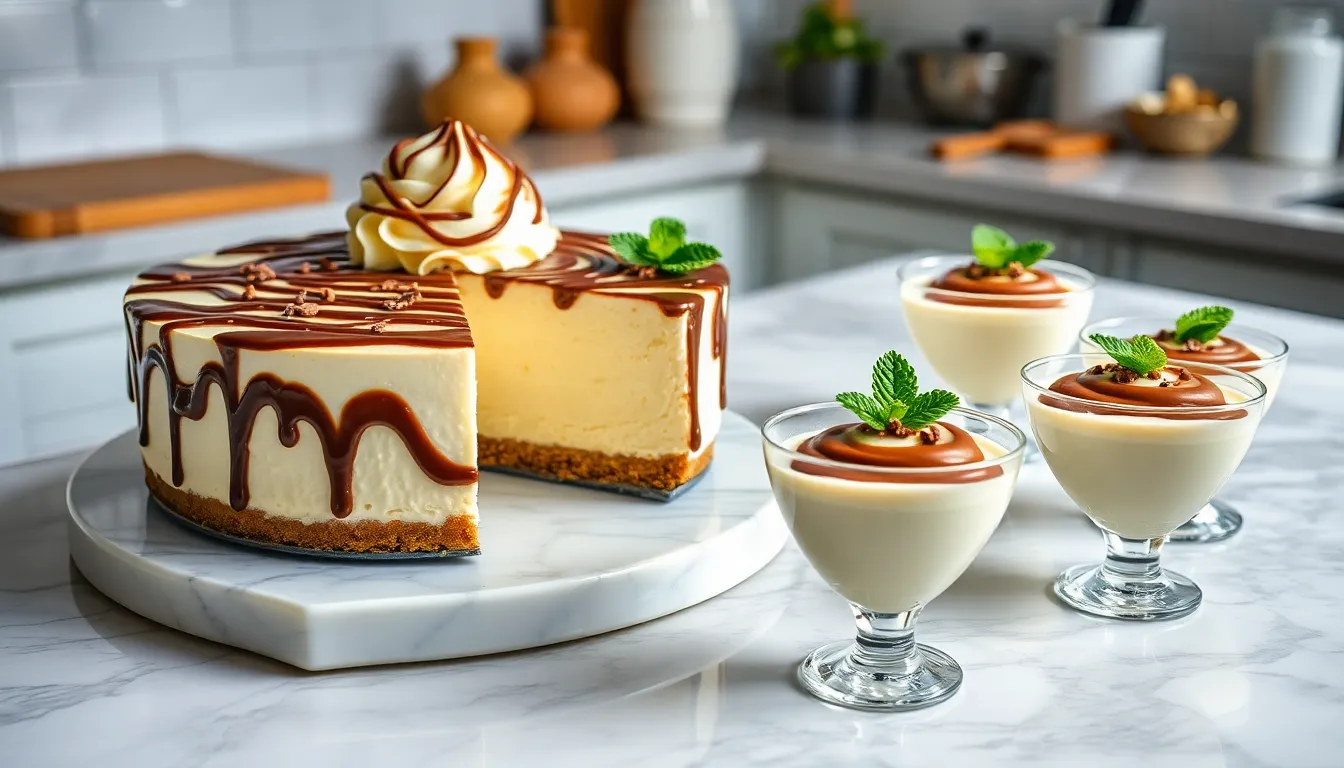
We love how this Caramilk cheesecake becomes the perfect make ahead dessert for busy schedules and special occasions. Our no-bake version allows you to prepare the entire dessert well in advance while maintaining its creamy texture and rich flavor.
Advance Preparation Timeline
We recommend preparing this cheesecake up to 24 hours before serving for optimal results. Mix all ingredients according to our recipe instructions and assemble the cheesecake completely. The filling needs adequate time to set properly in the refrigerator.
Overnight Setting Process
Place the assembled cheesecake in the refrigerator overnight to ensure it firms up correctly. We find that allowing the cheesecake to set for at least 8 hours creates the perfect consistency. The cream cheese base will develop its signature smooth texture during this extended chilling period.
Freezing for Extended Storage
Our Caramilk cheesecake freezes beautifully for up to one month when properly wrapped. Cover the cheesecake tightly with plastic wrap and aluminum foil to prevent freezer burn. This method preserves both flavor and texture remarkably well.
Proper Thawing Technique
Transfer the frozen cheesecake to the refrigerator for gradual thawing when you’re ready to serve. We always thaw our cheesecakes in the refrigerator to avoid condensation issues that can affect the texture. Allow 6 to 8 hours for complete thawing depending on the thickness of your cheesecake.
Individual Portion Strategy
Consider preparing individual Caramilk cheesecake cups for elegant presentation and convenient serving. These single portions make entertaining effortless and allow guests to enjoy perfectly portioned desserts. Individual cups also freeze and thaw more quickly than full-sized cheesecakes.
Final Assembly Tips
Add the Caramilk chocolate topping and caramel swirl just before serving if you’ve prepared the base ahead of time. This technique ensures the toppings maintain their beautiful appearance and optimal texture. Fresh garnishes always enhance the visual appeal of make ahead desserts.
Storage Tips
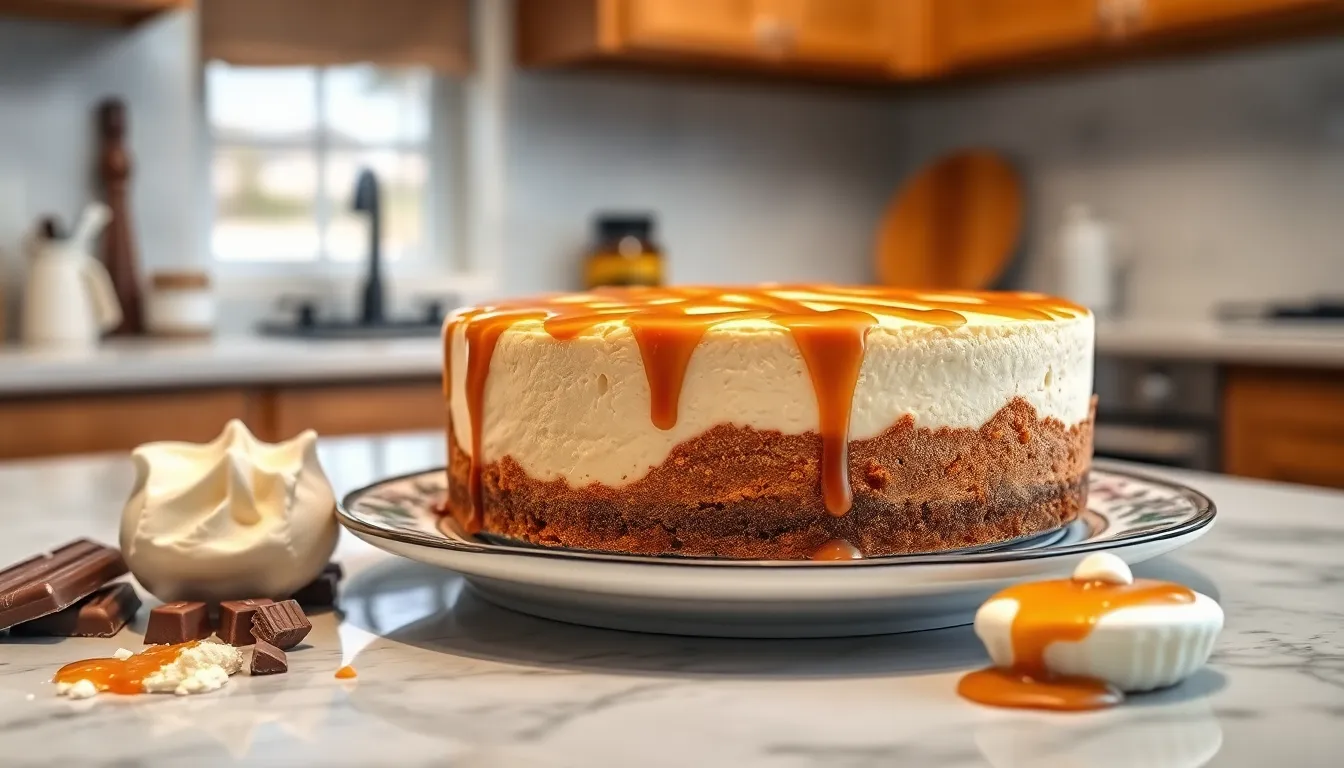
Proper storage ensures our Caramilk cheesecake maintains its rich flavor and creamy texture while staying safe to eat. We need to follow exact guidelines to preserve the delicate balance of cream cheese and chocolate that makes this dessert so special.
Cool Completely Before Refrigerating
We must allow our finished cheesecake to cool completely at room temperature before placing it in the refrigerator. This crucial step prevents condensation from forming inside the storage container which can make the crust soggy and alter the texture we worked so hard to achieve.
Allow Adequate Chilling Time
Our Caramilk cheesecake requires at least 4 hours of chilling time in the refrigerator but we recommend leaving it overnight for the best set and texture. This extended chilling period allows all the flavors to meld together perfectly.
Refrigerator Storage Method
We should keep our cheesecake tightly covered to protect it from dry air and prevent it from absorbing other flavors in the refrigerator. Plastic wrap works well or we can use a cake carrier or airtight container for storage. The cheesecake stays fresh in the refrigerator for up to 3 days when stored properly.
| Storage Method | Duration | Temperature |
|---|---|---|
| Refrigerator | 3 days | 35-40°F |
| Freezer | 1 month | 0°F |
| Room temperature | 1-2 hours | 70°F |
Freezing for Extended Storage
We can freeze our Caramilk cheesecake for longer storage by wrapping it completely in plastic wrap followed by aluminum foil. This double wrapping prevents freezer burn and maintains quality for up to 1 month. We can freeze the whole cheesecake or individual slices for convenience.
Thawing and Serving Guidelines
When we’re ready to enjoy our frozen cheesecake we should thaw it gradually in the refrigerator rather than at room temperature. Our cheesecake can safely sit at room temperature for 1 to 2 hours before serving without losing its shape or texture. We recommend removing it from the springform pan and transferring it to our serving plate just before presentation.
Troubleshooting Common Issues
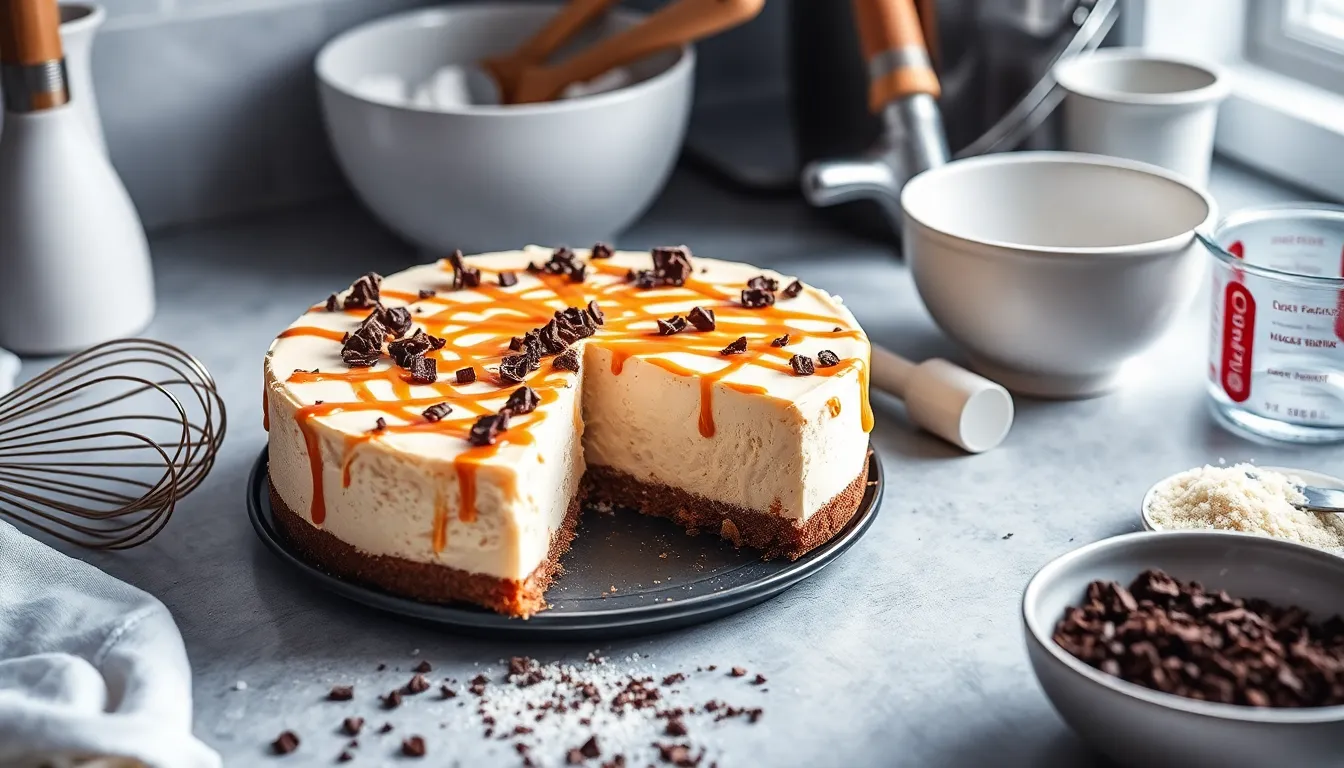
Even experienced bakers encounter challenges when preparing Caramilk cheesecake. We’ve compiled answers to the most common problems to ensure your dessert turns out perfectly every time.
Cheesecake Not Setting Properly
The most frequent issue we encounter is a cheesecake that remains too soft after the recommended chilling time. Research shows that refrigeration for at least 6 hours is essential, as 4 hours results in a cheesecake that remains too soft for proper slicing. For no-bake recipes, we must ensure gelatin is completely dissolved and properly incorporated into the mixture. Omitting or under-dissolving gelatin prevents the cake from achieving the necessary structure for setting.
| Minimum Chilling Time | Result |
|---|---|
| 4 hours | Too soft for serving |
| 6+ hours | Properly set |
We recommend folding whipped cream gently but thoroughly to avoid air pockets that can interfere with the setting process. Temperature consistency also plays a crucial role in achieving the desired firmness.
Cracks Appearing on Top
Baked Caramilk cheesecakes often develop unsightly cracks when cooled too quickly or exposed to high temperatures. We prevent this by using a water bath during baking and avoiding overbeating the batter. Gradual cooling inside the oven with the door slightly ajar after baking minimizes temperature shock that causes cracking.
Lumpy or Curdled Filling
Lumps form when cream cheese isn’t at room temperature before mixing begins. We always beat cream cheese and sugar until completely smooth before adding other ingredients. When incorporating melted Caramilk chocolate, we ensure it’s cooled slightly but still pourable to prevent the mixture from curdling upon contact with cold ingredients.
Base Not Holding Together
A crumbly base typically results from insufficient pressing or inadequate butter content. We ensure biscuit crumbs are finely processed and butter is evenly distributed throughout the mixture. Pressing the base firmly into the pan and chilling thoroughly before adding the filling creates the necessary foundation for the cheesecake.
Chocolate Seizing or Burning
Caramilk chocolate requires gentle heating to maintain its smooth consistency. We use a double boiler or microwave at low-medium power in short intervals, stirring between each session. This method prevents seizing or burning that can ruin the chocolate’s texture and flavor.
Prevention Checklist
Following these key steps eliminates most common problems:
- Chill for at least 6 hours
- Use room temperature cream cheese
- Melt chocolate gently using controlled heat
- Press base firmly and chill completely
- Cool baked cheesecakes slowly to prevent cracking
These troubleshooting techniques ensure consistent results and help you create the perfect Caramilk cheesecake every time.
Conclusion
We’ve shared everything you need to create this show-stopping Caramilk cheesecake that’ll have your guests asking for the recipe. The no-bake method makes it surprisingly simple while delivering restaurant-quality results that look as incredible as they taste.
This dessert combines the best of both worlds – the beloved flavor of Caramilk chocolate with the creamy indulgence of classic cheesecake. Whether you’re planning ahead for a special occasion or treating yourself to something extraordinary the make-ahead friendly nature means you can enjoy the process without stress.
With our detailed instructions troubleshooting tips and storage guidance you’re equipped to create a dessert that’s guaranteed to impress. The rich caramel swirls and chocolate topping make every slice a memorable experience that captures the essence of this iconic chocolate bar in cheesecake form.
Frequently Asked Questions
What makes Caramilk cheesecake different from regular cheesecake?
Caramilk cheesecake combines the creamy texture of traditional cheesecake with the sweet, caramel-centered flavor of Caramilk chocolate. The melted Caramilk chocolate is incorporated into the cream cheese base, creating a rich flavor experience that captures the essence of the beloved chocolate bar in dessert form.
Do I need to bake this Caramilk cheesecake?
No, this is a no-bake cheesecake recipe. The no-bake method helps maintain the light and creamy texture while allowing the Caramilk flavors to shine through. You simply need to chill the cheesecake for at least 6 hours or overnight to achieve the proper consistency.
What equipment do I need to make this cheesecake?
You’ll need a 22 cm (9-inch) springform pan, an electric mixer or handheld beaters, a food processor or rolling pin with zip-top bag for the crust, various mixing bowls, and measuring cups and spoons. The springform pan is essential for easy removal without damaging the cheesecake.
How long does the cheesecake need to set?
The cheesecake needs to chill for at least 6 hours, but overnight is preferred for optimal consistency. This allows the flavors to meld together and ensures the cheesecake sets properly. For best results, allow it to sit at room temperature for 1-2 hours before serving.
Can I make this cheesecake ahead of time?
Yes, this cheesecake is perfect for make-ahead preparation. You can prepare it up to 24 hours in advance and store it in the refrigerator. It can also be frozen for up to a month when properly wrapped in plastic wrap and aluminum foil.
How should I store leftover cheesecake?
Store the cheesecake tightly covered in plastic wrap or an airtight container in the refrigerator for up to 3 days. Make sure it’s completely cooled before refrigerating to prevent condensation that could make the crust soggy. Always keep it chilled until ready to serve.
What should I do if my cheesecake doesn’t set properly?
Ensure you’ve chilled the cheesecake for the full recommended time (at least 6 hours). Check that you used the correct proportions of cream cheese and heavy cream. If it’s still too soft, continue chilling for a few more hours. Using room temperature cream cheese helps achieve proper consistency.
How do I prevent cracks on top of my cheesecake?
Use room temperature cream cheese and avoid overmixing the filling. Gently fold in ingredients and ensure the melted Caramilk chocolate isn’t too hot when added. Since this is a no-bake recipe, cracks are less common, but gentle handling during preparation helps maintain a smooth surface.
Can I make individual portions instead of one large cheesecake?
Yes, you can create individual Caramilk cheesecake cups for elegant presentation and quicker serving. Use the same recipe proportions but divide the mixture among individual serving cups or ramekins. These smaller portions will set faster and are perfect for parties.
What’s the best way to slice and serve the cheesecake?
Run a thin knife around the edges before removing from the springform pan to prevent cracking. Use a warm knife for clean cuts, wiping it between slices. Serve chilled and garnish with grated Caramilk chocolate and a drizzle of caramel sauce for added visual appeal.

