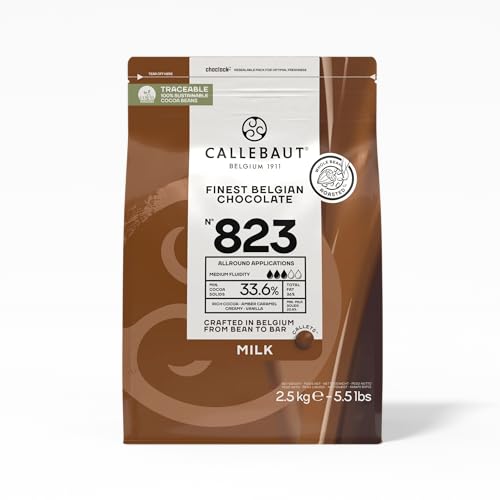
Nothing beats the irresistible aroma of freshly baked chocolate chip muffins wafting through your kitchen. These bakery-style treats combine the perfect balance of fluffy, tender crumb with bursts of melted chocolate in every bite. We’ve perfected this recipe to deliver that coveted bakery texture and rich flavor you’ve been craving.
Our foolproof chocolate chip muffin recipe creates those beautiful domed tops and moist interiors that make store-bought versions pale in comparison. The secret lies in our simple mixing technique and the perfect ratio of ingredients that ensures consistent results every single time.
Whether you’re planning a special breakfast, packing lunch boxes, or simply satisfying your sweet tooth, these muffins deliver pure comfort food bliss. They’re incredibly versatile too – perfect for busy mornings, afternoon snacks, or even dessert with a glass of cold milk.
Ingredients
Our carefully selected ingredients work together to create the perfect texture and flavor balance that makes these chocolate chip muffins irresistible. Each component plays a crucial role in achieving that bakery-quality result we’re after.
Dry Ingredients
- 2 cups all-purpose flour
- 2 teaspoons baking powder
- 1/2 teaspoon salt
- 1/2 cup granulated sugar
- 1/4 cup packed light brown sugar
Wet Ingredients
- 1/2 cup unsalted butter, melted and slightly cooled
- 1 large egg, room temperature
- 1 cup whole milk
- 2 teaspoons vanilla extract
Chocolate Chips and Add-ins
- 1 1/4 cups semi-sweet chocolate chips
- 2 tablespoons all-purpose flour (for coating chocolate chips)
- Optional: 1/2 cup chopped walnuts or pecans
Equipment Needed
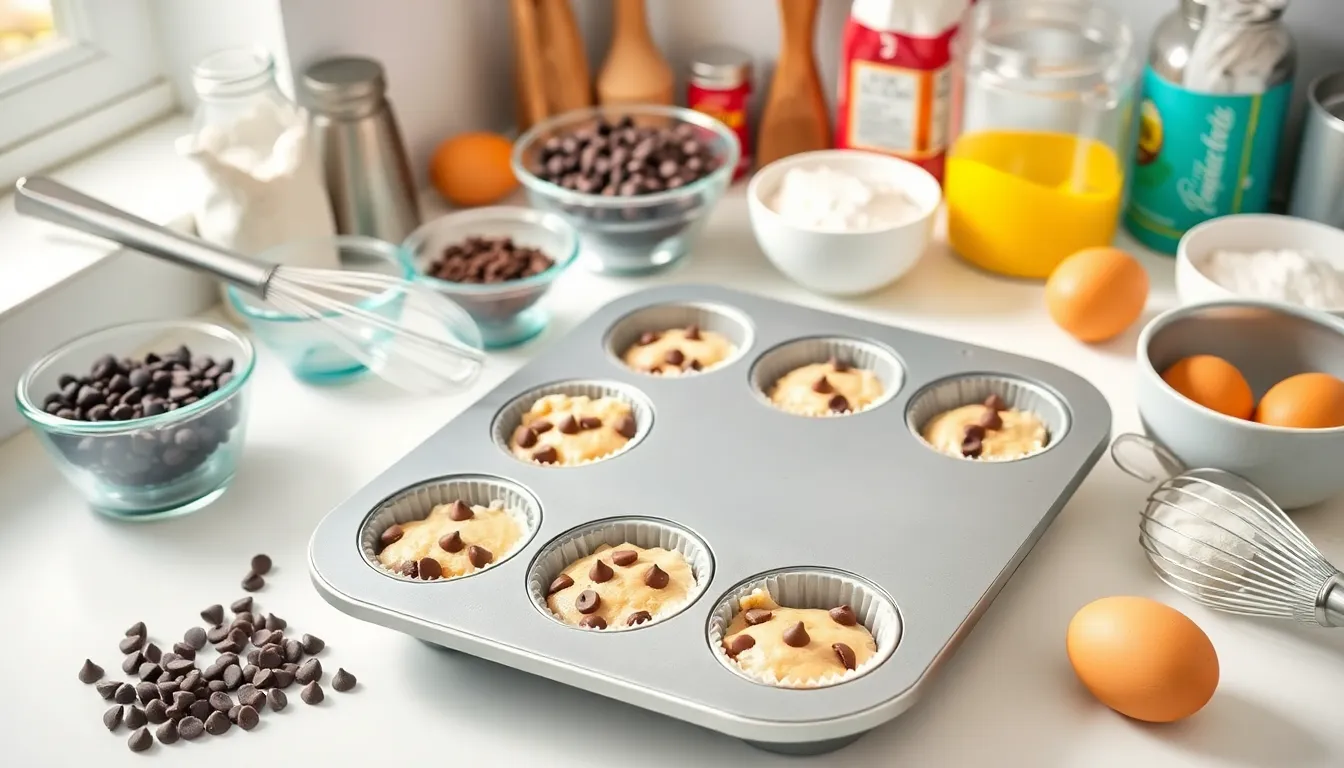
Before we jump into creating our bakery-style chocolate chip muffins, let’s gather the essential tools that will ensure our baking success. Having the right equipment makes all the difference in achieving that perfect fluffy texture and even chocolate distribution we’re aiming for.
Muffin Pan serves as our foundation for these delightful treats. We recommend using either a standard 6-cup muffin pan or upgrading to a jumbo muffin pan if you prefer larger, more indulgent portions. The choice depends entirely on your desired muffin size and serving preferences.
Mixing Bowls in both large and small sizes allow us to properly separate and combine our wet and dry ingredients. This separation technique prevents overmixing and ensures our muffins maintain that tender crumb we perfected in our recipe.
Measuring Tools provide the precision necessary for consistent results every time. We need both measuring cups for our flour, milk, and other larger quantities, plus measuring spoons for vanilla extract, baking powder, and salt. Accuracy in these measurements directly impacts our muffin texture and flavor balance.
Large Metal Whisk becomes our primary mixing tool for thoroughly combining the batter without overworking it. This utensil helps us achieve the ideal consistency while maintaining the light texture we want in our finished muffins.
Rubber Spatulas in various sizes prove invaluable for folding ingredients together and scraping down bowl sides. We particularly need both flat and curved spatulas to ensure no pockets of unmixed flour remain in our batter.
Wooden Spoon offers gentle mixing action when we fold in our chocolate chips. This tool prevents us from crushing the chips while ensuring even distribution throughout the batter.
Oven Preparation requires attention to temperature settings for optimal results. We preheat to 350°F for consistent baking, though starting at 425°F and reducing to 350°F after the first few minutes creates more dramatic muffin tops with better rise.
| Equipment | Purpose | Alternative Options |
|---|---|---|
| Muffin Pan | Standard 6-cup or jumbo size | Mini muffin pans for bite-sized treats |
| Temperature | 350°F standard or 425°F start | Convection ovens may require 25°F reduction |
| Mixing Tools | Metal whisk, rubber spatulas, wooden spoon | Electric mixer on lowest speed (sparingly) |
Room temperature ingredients work best with our equipment setup, so we pull butter, eggs, and milk from refrigeration about 30 minutes before we begin mixing. This simple preparation step ensures smooth incorporation and prevents lumpy batter that could affect our final texture.
Instructions
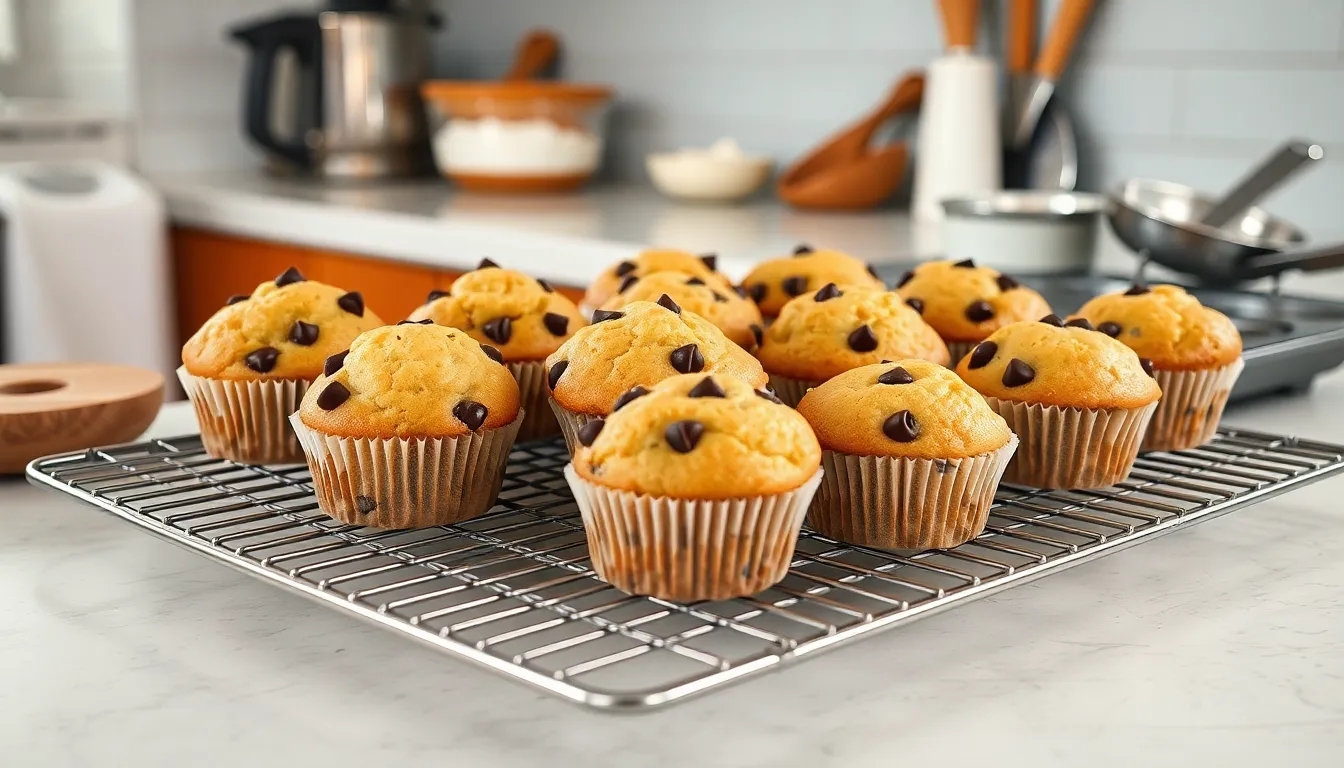
We’ll walk through each step to create perfectly fluffy chocolate chip muffins with bakery-style results. Follow these detailed instructions for consistent success every time.
Prep the Muffin Tin and Oven
Preheat your oven to 425°F and position the rack in the center for even heat distribution. Line a standard 12-cup muffin pan with paper liners or lightly grease each cup with butter to prevent sticking. This high initial temperature creates the perfect dome-topped muffins we’re aiming for.
Mix the Dry Ingredients
Combine 2 cups all-purpose flour, 2 teaspoons baking powder, ½ teaspoon salt, ⅓ cup granulated sugar, and ⅓ cup light brown sugar in a large mixing bowl. Whisk these ingredients thoroughly until evenly distributed and no lumps remain. Proper mixing at this stage ensures our muffins will have consistent texture throughout.
Combine the Wet Ingredients
Whisk together ⅔ cup whole milk, ⅓ cup melted unsalted butter, 1 large egg, and 2 teaspoons vanilla extract in a separate bowl until smooth. Make sure the melted butter isn’t too hot to avoid cooking the egg. The mixture should appear uniform and well blended before moving to the next step.
Fold Everything Together
Pour the wet ingredients into the bowl of dry ingredients and stir gently with a rubber spatula until just combined. Stop mixing as soon as you no longer see dry flour patches. Overmixing develops the gluten and results in dense, tough muffins instead of the light, tender crumb we want.
Add the Chocolate Chips
Fold in ¾ cup semi-sweet chocolate chips using gentle motions to distribute them evenly throughout the batter. Reserve a small handful of chips to sprinkle on top of each muffin before baking. This creates an attractive bakery-style appearance and ensures chocolate in every bite.
Fill the Muffin Cups
Divide the batter evenly among the prepared muffin cups, filling each about ¾ full. Sprinkle the reserved chocolate chips on top of each muffin for extra visual appeal. Bake at 425°F for 5 minutes, then reduce the temperature to 350°F and continue baking for 13-15 minutes until a toothpick inserted in the center comes out with just a few moist crumbs attached. Allow muffins to cool in the pan for 5-10 minutes before transferring to a wire rack.
Baking Directions
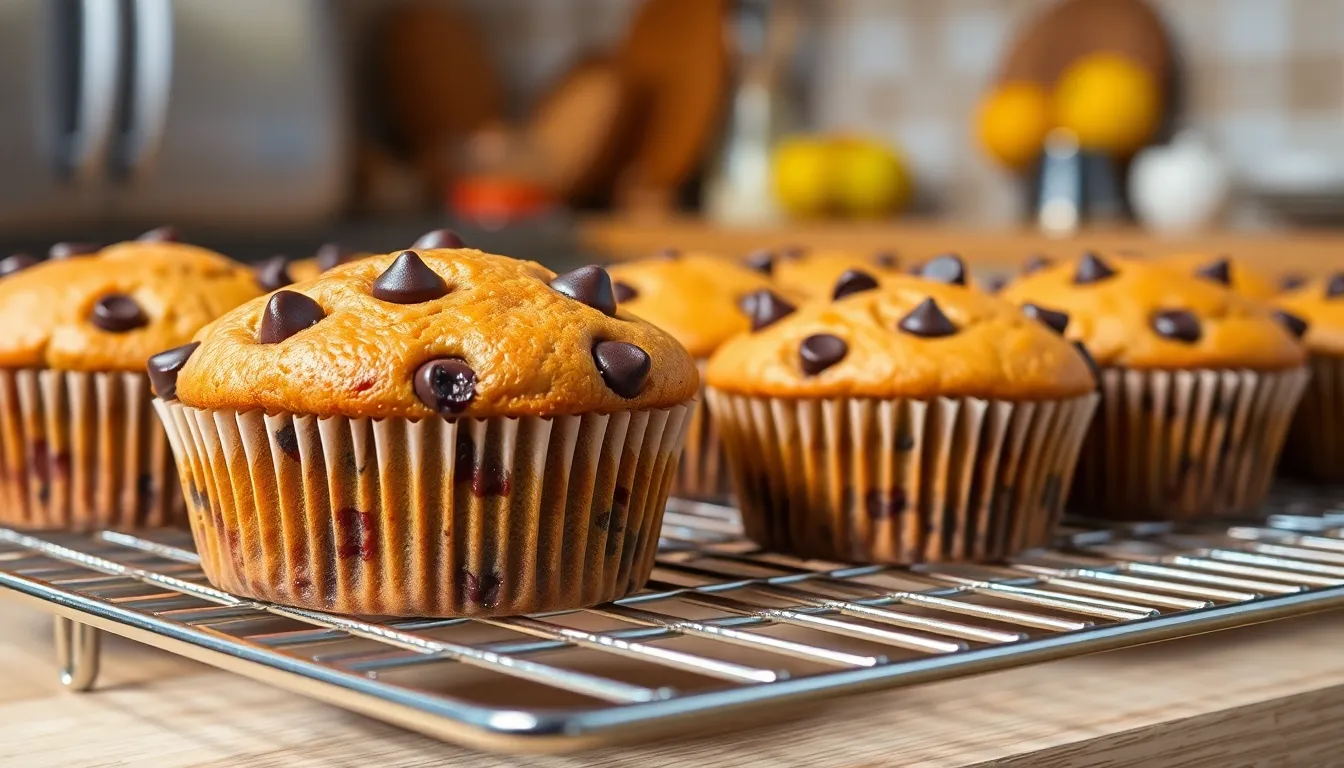
Now that our muffin batter is perfectly mixed and portioned, we move to the crucial baking phase where timing and temperature control create those coveted bakery-style results. These final steps transform our carefully prepared ingredients into golden, fluffy muffins with perfectly distributed chocolate chips.
Bake the Muffins
Place the filled muffin tin on the center rack of our preheated 425°F oven. We bake at this high temperature for exactly 5 minutes to create the signature domed tops that make these muffins look professionally made. After 5 minutes, reduce the oven temperature to 350°F without opening the door.
Continue baking for an additional 15-18 minutes at the lower temperature. The high initial heat creates steam that lifts the muffin tops while the reduced temperature ensures even cooking throughout. We avoid opening the oven door during this process as temperature fluctuations can cause the muffins to sink or bake unevenly.
Test for Doneness
Check for doneness by gently pressing the center of a muffin top with your fingertip. The surface should spring back immediately when properly baked. We also look for golden brown tops that have a slight dome shape.
Insert a toothpick or thin skewer into the center of one muffin. The tester should come out clean or with just a few moist crumbs attached. Small streaks of melted chocolate on the toothpick are normal and indicate the chocolate chips have melted properly without overbaking the muffin itself.
Cool the Muffins
Allow the muffins to cool in the pan for exactly 5-10 minutes after removing from the oven. This brief cooling period prevents the muffins from breaking apart while still warm and maintains their structural integrity.
Transfer the muffins to a wire cooling rack after the initial cooling time. We complete the cooling process on the rack to prevent condensation from forming on the bottom of the pan, which would create soggy muffin bottoms. The muffins will continue to set as they cool to room temperature.
Storage and Make-Ahead Tips

After perfecting our chocolate chip muffins and allowing them to cool completely, proper storage becomes essential for maintaining their bakery-fresh taste and texture. We’ve tested various methods to help you enjoy these delicious treats for days or even months after baking.
Proper Cooling Technique
Before storing our muffins, we must allow them to cool for 10 minutes in the pan. This initial cooling period prevents the muffins from breaking apart when removed. We then transfer them to a wire rack to cool completely, which prevents moisture accumulation that could make our muffins soggy.
Room Temperature Storage
For short-term storage, we place our completely cooled muffins in a resealable, food-safe container. We line the container with paper towels and arrange the muffins in a single layer. Adding more paper towels on top helps absorb any excess moisture. Using this method, our muffins stay fresh on the counter for 2-3 days. Alternatively, we can use a gallon ziptop bag with the same paper towel technique.
Refrigerated Storage
When we need our muffins to last longer, refrigeration extends their freshness to 4-5 days. We use the same container and paper towel method as room temperature storage. The cooler environment slows down spoilage while maintaining the muffins’ texture and flavor.
Freezing Methods
For long-term storage, we freeze our muffins using two effective techniques. The quick freeze method involves placing muffins on a baking sheet in the freezer for 15 minutes before transferring them to a container or bag. This prevents them from sticking together and maintains their shape.
Our preferred method for individual portions involves wrapping each muffin in plastic wrap before storing them in a ziptop freezer bag or resealable container. Both freezing methods keep our muffins fresh for up to 3 months.
Thawing and Reheating
When we’re ready to enjoy our frozen muffins, we set them out on the counter overnight to thaw completely. For warm muffins, we reheat them in a 350°F oven for 10-15 minutes. Microwave reheating works well too, starting with 1 minute and adding 30-second increments as needed until they reach our desired temperature.
| Storage Method | Container Type | Duration | Temperature |
|---|---|---|---|
| Room Temperature | Resealable container with paper towels | 2-3 days | Counter |
| Refrigerated | Resealable container with paper towels | 4-5 days | 35-40°F |
| Frozen (Quick Method) | Container or freezer bag | 3 months | 0°F |
| Frozen (Wrapped) | Plastic wrap + freezer bag | 3 months | 0°F |
Variations and Substitutions

Transform our classic chocolate chip muffin recipe into countless delicious variations with simple ingredient swaps. These modifications allow you to customize the muffins to match dietary preferences or create exciting new flavor combinations.
Different Chocolate Options
We can completely change the muffin’s character by switching out the chocolate chips for different varieties. Dark chocolate chips deliver a rich and slightly bitter complexity that pairs beautifully with the sweet muffin base. Semi-sweet chocolate provides our standard balanced flavor profile while milk chocolate creates an extra creamy and sweet experience.
White chocolate chips offer a vanilla-forward sweetness that transforms these muffins into an elegant treat. For those seeking premium results we recommend using chopped chocolate bars instead of chips since they create irregular melted pockets throughout each muffin. Mini chocolate chips distribute more evenly while jumbo chips create dramatic chocolate bursts in every bite.
Gluten-Free Version
Creating perfect gluten-free chocolate chip muffins requires exact flour substitutions and binding agents to maintain our signature fluffy texture. We replace the all-purpose flour with a high-quality gluten-free flour blend that contains rice flour and potato starch for the best results.
Key Gluten-Free Ingredients:
- 1¾ cups gluten-free flour blend
- ½ teaspoon xanthan gum (if not included in flour blend)
- ¾ cup granulated sugar
- 2 teaspoons baking powder
- ½ teaspoon baking soda
- 1 large egg
- 1 cup whole milk
- ⅓ cup melted butter
- 1 teaspoon vanilla extract
- 1 cup chocolate chips
The xanthan gum acts as a binding agent that replaces gluten’s elasticity. We add this only if our chosen flour blend doesn’t already contain it. Room temperature ingredients become even more critical in gluten-free baking to ensure smooth batter consistency.
Dairy-Free Adaptations
We can easily create dairy-free muffins by making strategic substitutions that maintain moisture and flavor. Non-dairy milk alternatives work seamlessly in this recipe with each option contributing its own subtle flavor notes.
Dairy-Free Substitution Options:
| Original Ingredient | Dairy-Free Alternative | Notes |
|---|---|---|
| Whole milk | Almond milk | Light nutty flavor |
| Whole milk | Soy milk | Neutral taste, closest to dairy |
| Whole milk | Coconut milk | Rich, slightly sweet |
| Unsalted butter | Vegan butter | Use same measurement |
| Unsalted butter | Coconut oil (melted) | Adds subtle coconut notes |
| Chocolate chips | Dairy-free chocolate chips | Check ingredient labels |
Coconut oil should be melted and slightly cooled before mixing to prevent it from solidifying when it contacts other ingredients. We find that using full-fat canned coconut milk instead of the carton version creates exceptionally moist muffins. Always verify that chocolate chips are certified dairy-free since many contain milk derivatives even when not obvious from the packaging.
Troubleshooting Common Issues
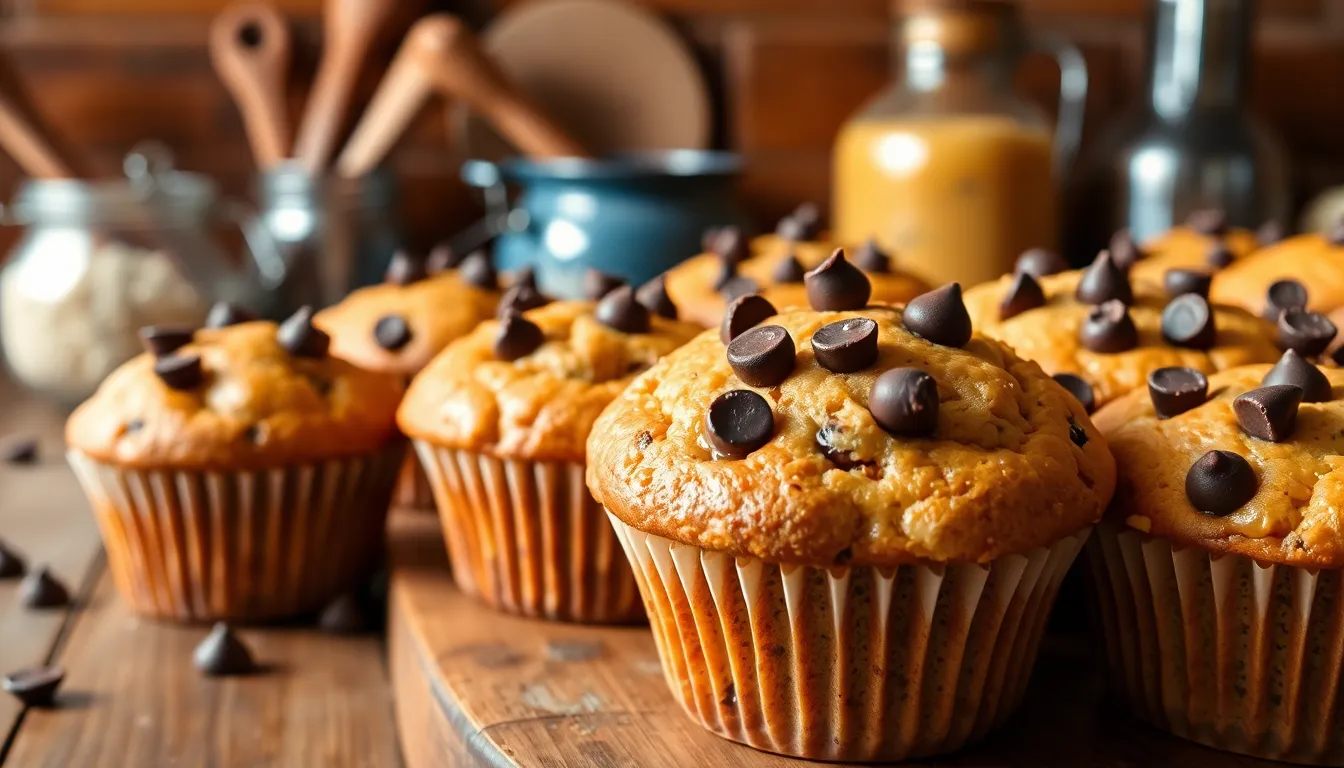
Even with our perfected recipe, chocolate chip muffins can present challenges that affect their final quality. We’ll address the most common problems and provide practical answers to ensure your muffins turn out perfectly every time.
Chocolate Chips Sinking to the Bottom
Our chocolate chips may sink to the bottom of muffins when the batter becomes overmixed or too thin. Overmixing develops excess gluten and creates a thinner consistency that cannot support the chocolate chips during baking. A hot kitchen environment or warm batter temperature can also contribute to this frustrating issue.
We prevent sinking by mixing our ingredients only until just combined and keeping our batter, chocolate chips, and ingredients cool throughout the process. Store chocolate chips in the refrigerator before use and ensure your kitchen isn’t too warm during preparation.
Dry or Crumbly Texture
Muffins turn out dry and crumbly when we overbake them, use excessive flour measurements, or include dry ingredients that absorb too much moisture. We can combat this issue by increasing our oven temperature by 15-25°F to help set the muffin structure before moisture evaporates.
Substituting brown sugar for granulated sugar adds moisture and helps maintain tender texture. Brown sugar contains molasses, which naturally retains moisture and creates a more tender crumb structure.
Uneven Baking or Poor Rise
Incorrect oven temperature and uneven heating lead to muffins that don’t rise properly or bake inconsistently. We must preheat our oven thoroughly and use an oven thermometer for temperature accuracy. Overfilling or underfilling muffin cups dramatically affects both rise and final texture.
Fill our muffin cups two-thirds full for optimal results. This measurement allows proper expansion while preventing overflow or insufficient height.
Cold Ingredient Problems
Using ingredients that are too cold, particularly milk or eggs, results in poor batter consistency and affects the final muffin texture. We let cold ingredients reach room temperature before mixing to ensure smooth integration and proper emulsion.
Room temperature ingredients blend more easily and create a uniform batter that bakes evenly throughout each muffin.
Additional Common Issues
Overmixing Effects: This leads to tough, dense muffins with a chewy texture. We stir our ingredients just until the dry components are incorporated, leaving some small lumps for tender results.
Inadequate Cooling: We let our muffins cool in the tin for 5-10 minutes before transferring to a wire rack. This prevents crumbling and sticking while maintaining structural integrity.
| Issue | Cause | Solution |
|---|---|---|
| Sinking chocolate chips | Overmixed or thin batter | Mix until just combined, keep ingredients cool |
| Dry texture | Overbaking or excess flour | Increase oven temp 15-25°F, use brown sugar |
| Poor rise | Wrong oven temperature | Use oven thermometer, fill cups 2/3 full |
| Uneven baking | Cold ingredients | Bring ingredients to room temperature |
| Dense texture | Overmixing | Stir just until incorporated |
Addressing these common issues ensures our chocolate chip muffins achieve the moist, evenly baked, and well-risen results with properly distributed chocolate chips throughout each delicious bite.
Serving Suggestions
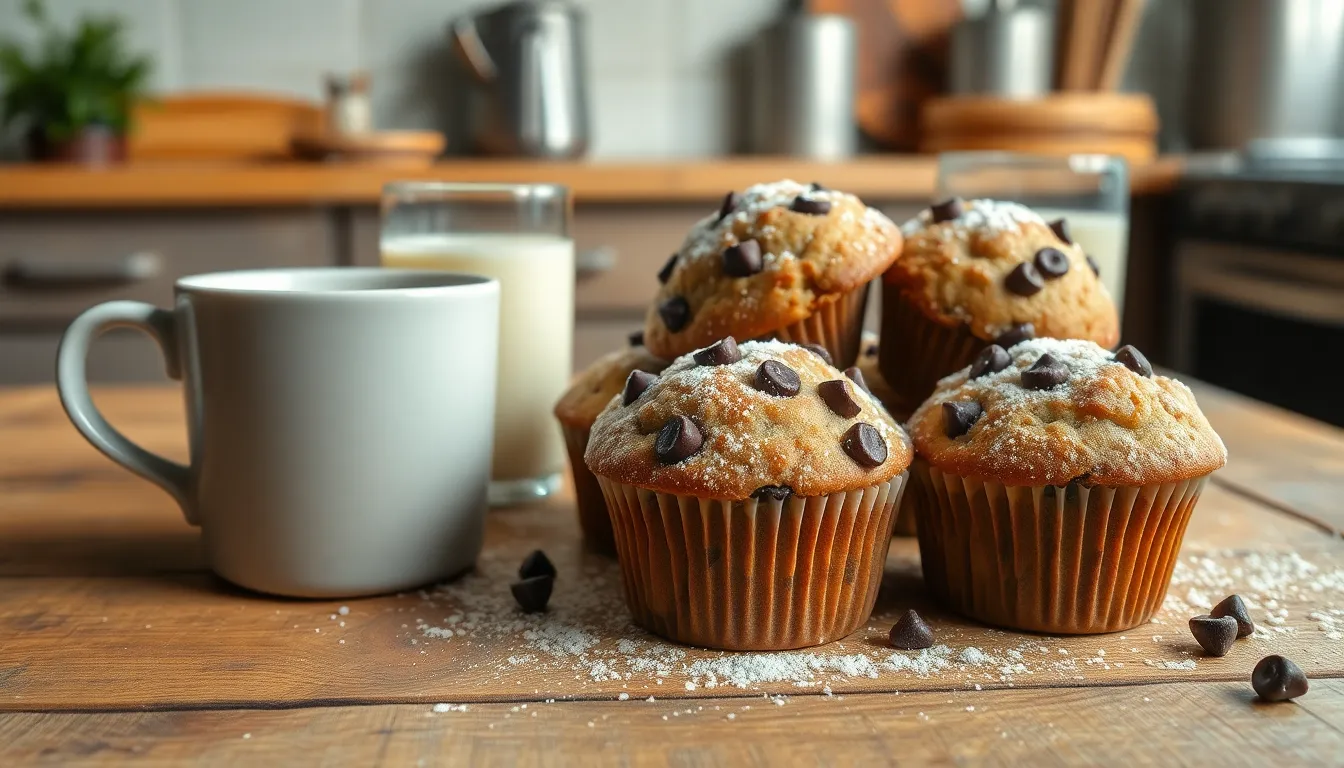
We recommend serving our chocolate chip muffins at room temperature to fully appreciate their fluffy texture and rich chocolate flavor. These versatile treats shine brightest when paired with your favorite morning beverages like freshly brewed coffee, aromatic tea, or a tall glass of cold milk.
Temperature and Timing
Our muffins taste best when served at room temperature after cooling completely on the wire rack. When working with pre-packaged or frozen muffins, we suggest allowing them to thaw for 30 minutes at room temperature before serving to ensure optimal texture and flavor.
Presentation Ideas
We love improving the visual appeal of our chocolate chip muffins with simple finishing touches. A light dusting of powdered sugar creates an elegant bakery-style presentation. Sprinkling additional chocolate chips on top before serving adds extra indulgence and makes each muffin look professionally crafted.
Perfect Pairings
These muffins make excellent companions to various beverages throughout the day. We particularly enjoy them with:
- Rich, dark roast coffee for breakfast
- Earl Grey or English breakfast tea for afternoon treats
- Cold milk for a nostalgic snack experience
- Hot chocolate for an extra chocolatey dessert option
Serving Occasions
Our chocolate chip muffins adapt beautifully to different serving occasions. They work wonderfully as grab-and-go breakfast items, satisfy afternoon snack cravings, or serve as delightful desserts after casual meals. We often include them in brunch spreads alongside fresh fruit and yogurt.
Storage for Serving
We recommend storing muffins in an airtight container at room temperature for up to 2 days to maintain their fresh taste and tender crumb. For extended storage, freezing preserves their quality while ensuring you always have a delicious treat ready to serve when guests arrive unexpectedly.
Conclusion
We’ve shared everything you need to create bakery-quality chocolate chip muffins in your own kitchen. These muffins deliver the perfect combination of fluffy texture and rich chocolate flavor that’ll satisfy any craving.
The beauty of this recipe lies in its reliability and adaptability. Whether you’re baking for a special occasion or just treating yourself to a homemade indulgence you can count on consistent delicious results every time.
Now it’s time to gather your ingredients and start baking. Your kitchen will soon be filled with that irresistible aroma and you’ll have a batch of warm chocolate chip muffins ready to enjoy. Happy baking!
Frequently Asked Questions
What temperature should I bake chocolate chip muffins at?
Start by preheating your oven to 425°F and bake the muffins for 5 minutes to create domed tops. Then reduce the temperature to 350°F and continue baking for 15-18 minutes. This two-temperature method ensures perfect bakery-style muffin tops with even cooking throughout.
How do I prevent chocolate chips from sinking to the bottom?
Coat your chocolate chips lightly in flour before folding them into the batter. This helps them stay suspended throughout the muffin during baking. Also, avoid overmixing the batter, as this can cause the chips to sink and create a dense texture.
How long do homemade chocolate chip muffins stay fresh?
At room temperature, store muffins in a resealable container lined with paper towels for 2-3 days. Refrigerated muffins stay fresh for 4-5 days. For longer storage, freeze them for up to 3 months using proper wrapping techniques to maintain their bakery-fresh taste and texture.
Can I make chocolate chip muffins ahead of time?
Yes! You can freeze baked muffins for up to 3 months. Wrap each muffin individually in plastic wrap or use the quick freeze method on a baking sheet before storing in freezer bags. Thaw at room temperature or reheat gently for fresh-tasting muffins anytime.
What’s the secret to fluffy chocolate chip muffins?
The key is using room temperature ingredients and avoiding overmixing. Combine wet and dry ingredients until just combined – the batter should look slightly lumpy. Overmixing develops gluten, resulting in tough, dense muffins instead of the desired light, fluffy texture.
Can I substitute ingredients to make gluten-free chocolate chip muffins?
Yes, replace all-purpose flour with a 1:1 gluten-free flour blend that contains xanthan gum. If your blend doesn’t include xanthan gum, add 1/4 teaspoon per cup of flour. This substitution maintains the muffins’ fluffy texture while accommodating gluten-free dietary needs.
Why didn’t my muffins rise properly?
Poor rise usually results from expired baking powder, overmixing the batter, or incorrect oven temperature. Check that your baking powder is fresh (replace every 12 months), mix ingredients until just combined, and verify your oven temperature with a thermometer for accurate baking results.
How do I know when chocolate chip muffins are done baking?
Gently press the center of a muffin – it should spring back when done. Insert a toothpick into the center; it should come out clean or with just a few moist crumbs. The tops should be golden brown and the muffins should pull slightly away from the pan edges.

